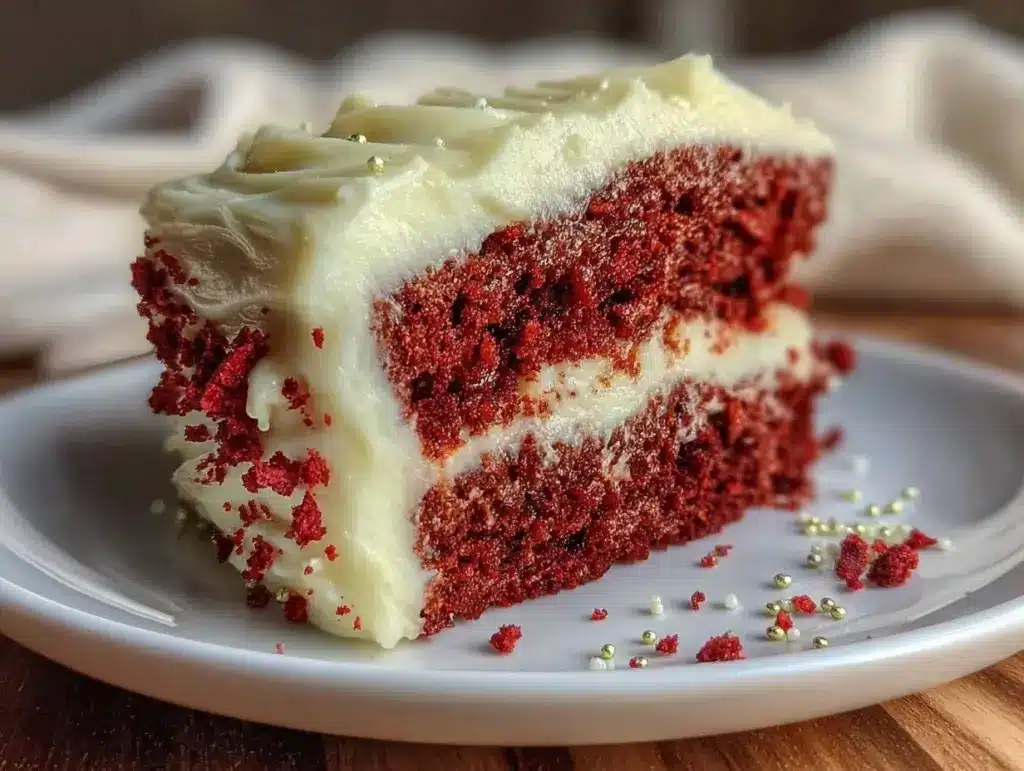
“Wait, are you sure this is supposed to look like that?” my sister asked, squinting at the layers of red velvet cake I had just assembled. Honestly, I wasn’t sure either. The idea was to make a festive flag-inspired cake for the Fourth of July, but I hadn’t planned on the colors bleeding a bit or the frosting layers being slightly uneven. Yet, as we dug in, that rich, velvety texture paired with the tangy cream cheese frosting silenced any doubts.
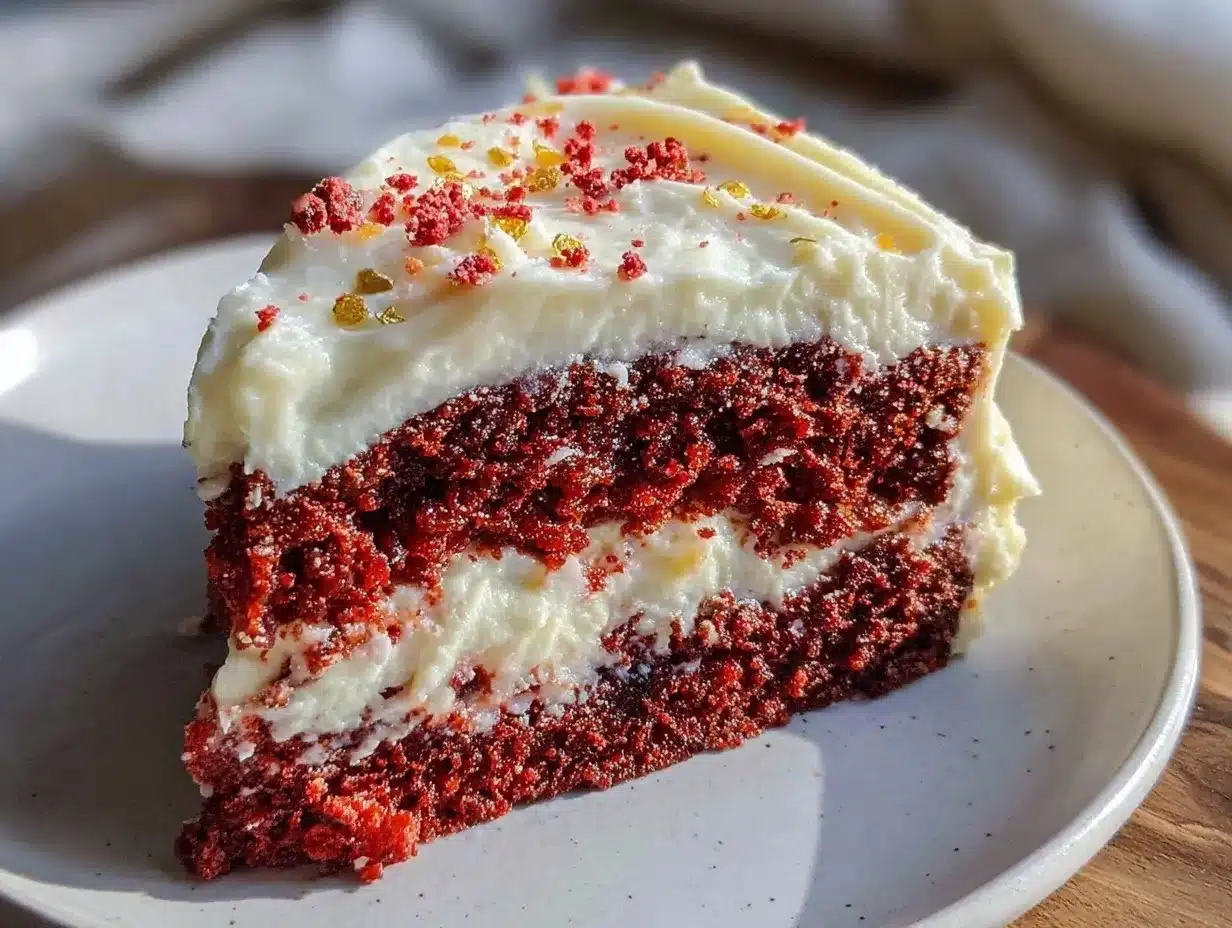
This Perfect Red Velvet Flag Cake with Cream Cheese Frosting wasn’t born from precision or fancy tools—it was a happy accident on a chaotic afternoon when I needed a quick dessert that looked special but didn’t require hours of fussing. The deep red sponge contrasted beautifully with the snowy frosting stripes and the scattered blueberries and stars of white chocolate chips. The whole thing felt like a little edible flag waving with personality.
I’ve since made this recipe a few times—sometimes tweaking the frosting, sometimes swapping out the berries for other seasonal fruits—and it always brings the same smile. It’s that kind of cake you want to share with friends, whether at a backyard barbecue or a spontaneous summer get-together. There’s something quietly satisfying about how the cream cheese frosting balances the cocoa flavor, and how the cake stays moist even after a day or two.
So, if you’re looking for a red velvet cake that’s not just pretty but genuinely delicious, and a frosting that’s easy enough to whip up on a busy weekend, this recipe might just become your new go-to. No perfection required—just good flavors and a bit of festive fun.
Why You’ll Love This Perfect Red Velvet Flag Cake Recipe
Having tested this cake multiple times, I can confidently say it’s one of those recipes that checks all the boxes for both novice and experienced bakers. Here’s what makes it stand out:
- Quick & Easy: You can have this cake ready in about 1 hour and 30 minutes from start to finish, making it perfect for last-minute celebrations or spontaneous dessert cravings.
- Simple Ingredients: No hunting for obscure items here—most ingredients are pantry staples or easy-to-find in any grocery store.
- Perfect for Festive Occasions: Whether it’s Independence Day, Memorial Day, or any patriotic event, the flag-inspired design adds a special touch without extra stress.
- Crowd-Pleaser: Kids and adults alike always ask for seconds. The subtle cocoa flavor with the creamy frosting hits just the right note.
- Unbelievably Delicious: The cream cheese frosting is smooth and tangy, cutting through the richness of the cake for a balanced bite that keeps everyone coming back.
- Unique Yet Approachable: Unlike some red velvet cakes that can be dry or overly sweet, this version stays moist and tender thanks to a few key technique tips I’ll share below.
This recipe isn’t just another red velvet; it’s one I’ve trusted for years to deliver consistent results, whether for casual family dinners or special gatherings. Honestly, it’s the kind of dessert that makes you pause and appreciate the simple joy of perfectly matched flavors and textures. And if you want to try a different cake with a similar level of comfort, you might enjoy the Earl Grey Tea Cake with Honey Glaze, which offers a delicate twist on classic flavors.
What Ingredients You Will Need for the Perfect Red Velvet Flag Cake
This recipe uses simple, wholesome ingredients to deliver bold flavor and a satisfying, moist texture without fuss. Most of these will be familiar staples, making the cake approachable and budget-friendly.
- For the Cake Batter:
- All-purpose flour – 2 ½ cups (312 g), sifted (for a tender crumb)
- Granulated sugar – 1 ½ cups (300 g)
- Unsweetened cocoa powder – 2 tablespoons (use a mild Dutch-processed cocoa for best color)
- Baking soda – 1 teaspoon
- Salt – ½ teaspoon
- Buttermilk – 1 cup (240 ml), room temperature (adds moisture and tang)
- Vegetable oil – 1 cup (240 ml), neutral flavor
- Large eggs – 2, room temperature
- Red food coloring – 2 tablespoons (gel-based works best for vibrant color)
- Vanilla extract – 1 teaspoon
- White vinegar – 1 teaspoon (reacts with baking soda for lift)
- For the Cream Cheese Frosting:
- Cream cheese – 8 ounces (227 g), softened (Philadelphia brand recommended for smooth texture)
- Unsalted butter – ½ cup (113 g), softened
- Powdered sugar – 4 cups (480 g), sifted (for smooth frosting)
- Vanilla extract – 1 teaspoon
- Pinch of salt (balances sweetness)
- For the Flag Decoration:
- Fresh blueberries – 1 cup (for blue star field)
- White chocolate chips or mini marshmallows – ½ cup (to mimic stars)
If fresh blueberries aren’t in season, frozen work well too—just thaw and pat dry to avoid extra moisture. For a gluten-free version, swapping the flour for a 1-to-1 gluten-free blend works nicely, though texture may vary slightly. If you want to experiment with a dairy-free cream cheese frosting, try substituting the cream cheese with a plant-based alternative like Kite Hill.
Equipment Needed
- Two 9-inch (23 cm) round cake pans – nonstick or well-greased
- Mixing bowls – medium and large
- Electric mixer – stand or hand-held (makes frosting easier)
- Measuring cups and spoons – for accuracy
- Rubber spatula – for folding batter and scraping bowls
- Cooling racks – to cool cakes evenly
- Offset spatula or butter knife – for frosting application
- Toothpick or cake tester – to check doneness
If you don’t have a stand mixer, a sturdy hand mixer works just fine. For frosting, an offset spatula really helps with smooth spreading, but a butter knife or even the back of a spoon can do in a pinch. I once used a plastic card to frost a cake when I was out of tools—turned out okay but definitely not ideal!
Preparation Method for the Perfect Red Velvet Flag Cake
- Preheat and prep: Preheat your oven to 350°F (177°C). Grease the two 9-inch cake pans and line the bottoms with parchment paper for easy release. Set aside. (5 minutes)
- Mix dry ingredients: In a large bowl, sift together the all-purpose flour, sugar, cocoa powder, baking soda, and salt. Whisk to combine evenly. (3 minutes)
- Combine wet ingredients: In a separate bowl, whisk the buttermilk, vegetable oil, eggs, red food coloring, vanilla extract, and vinegar until smooth and well mixed. (4 minutes)
- Make the batter: Gradually add the wet ingredients to the dry ingredients, stirring gently with a rubber spatula until just combined. Be careful not to overmix; the batter should be smooth but a few lumps are okay. (3 minutes)
- Divide and bake: Pour the batter evenly into the prepared pans, smoothing the tops. Bake for 25-30 minutes, or until a toothpick inserted into the center comes out clean. The cakes should spring back lightly when pressed. (25-30 minutes)
- Cool completely: Let the cakes cool in the pans for 10 minutes, then turn out onto cooling racks. Wait until fully cooled before frosting to avoid melting the cream cheese. (at least 1 hour)
- Prepare frosting: While the cakes cool, beat the softened cream cheese and butter together on medium speed until creamy and smooth, about 2-3 minutes. Gradually add powdered sugar, one cup at a time, mixing well after each addition. Stir in vanilla extract and salt. Beat for an additional minute until fluffy. (10 minutes)
- Assemble the cake: Place one cake layer on your serving plate. Spread a thick, even layer of frosting on top. Place the second cake layer on top, then frost the entire cake with a thin crumb coat and chill for 20 minutes. Finish frosting with a smooth final layer. (20 minutes)
- Create the flag design: Use the cream cheese frosting to pipe or spread white stripes across the cake. Arrange blueberries in the upper left corner to represent the blue field, and scatter white chocolate chips or mini marshmallows on top as stars. (15 minutes)
- Chill before serving: Refrigerate the finished cake for at least 30 minutes to set the frosting. Bring to room temperature before slicing for the best flavor and texture. (30 minutes)
If your frosting feels too soft, a quick chill in the fridge helps firm it up for easier decorating. Also, using gel food coloring prevents the batter from becoming too runny, which I learned the hard way after overdosing on liquid dye once!
Cooking Tips & Techniques for the Best Red Velvet Flag Cake
Here are some lessons from my kitchen mishaps and wins to help you nail this cake every time:
- Measure carefully: Baking soda and vinegar create the signature lift, but too much can make the cake bitter. Use teaspoons, not tablespoons!
- Don’t skip sifting: It helps remove lumps and aerates the flour for a lighter crumb.
- Mix but don’t overmix: Overworking the batter develops gluten, making the cake tough instead of tender.
- Use room temperature ingredients: Eggs and buttermilk blend more smoothly, creating better texture.
- Chill frosting if needed: If your cream cheese frosting is too soft to pipe or spread neatly, pop it in the fridge for 15-20 minutes. It firms up perfectly without losing creaminess.
- Multitask wisely: While the cake bakes, mix the frosting to save time. Just watch the clock carefully so nothing burns!
- Color tip: Gel food coloring packs more punch without watering down the batter.
I remember the first time I tried making a layered cake without a crumb coat—crumbs everywhere, frosting patchy. That little step makes all the difference in a smooth finish, trust me.
Variations & Adaptations for Your Red Velvet Flag Cake
This recipe is a great base to customize depending on your preferences or dietary needs:
- Dietary variation: Swap all-purpose flour for almond or oat flour for a gluten-free version. Use coconut yogurt or vegan cream cheese to make it dairy-free.
- Flavor twist: Add a teaspoon of espresso powder to the batter to deepen the cocoa notes without tasting like coffee.
- Seasonal adaptation: Replace blueberries with fresh blackberries or raspberries, which add a tart contrast to the sweet frosting.
- Cooking method: Try baking the cake in a sheet pan and cutting out flag shapes for individual servings—perfect for picnics or potlucks.
- Personal favorite: I once added a thin layer of homemade raspberry jam between the layers for a fruity surprise that paired beautifully with the cream cheese frosting.
Serving & Storage Suggestions
This cake tastes best at room temperature, which brings out the cream cheese frosting’s tang and the cake’s moistness. Serve slices with a fresh berry garnish or alongside a scoop of vanilla ice cream for an indulgent touch.
For storage, wrap the cake tightly with plastic wrap or store in an airtight container in the refrigerator. It keeps well for up to 4 days, and the flavors actually mellow and deepen overnight. For longer storage, you can freeze the unfrosted cake layers for up to 3 months; thaw completely before frosting.
When reheating slices, let them sit at room temperature for about 30 minutes or microwave briefly (10-15 seconds) to soften the frosting slightly without melting it completely.
If you enjoy brunch treats, this cake pairs surprisingly well with a light tea such as the fragrant Earl Grey Tea Cake, adding a floral note to the rich cocoa flavors.
Nutritional Information & Benefits
Each slice (based on 12 servings) contains approximately:
| Calories | 320 kcal |
|---|---|
| Fat | 18 g |
| Carbohydrates | 38 g |
| Protein | 4 g |
| Sugar | 28 g |
The cream cheese provides calcium and protein, while the buttermilk adds probiotics that support digestion. Cocoa powder is rich in antioxidants, and blueberries contribute vitamins and fiber. While it’s a sweet treat, balancing portion size and pairing with fresh fruit can make it part of a wholesome celebration.
For those mindful of allergens, this recipe contains dairy, eggs, and gluten (unless substituted). Adjustments can be made for many dietary needs without losing the cake’s signature flavor and texture.
Conclusion
This Perfect Red Velvet Flag Cake with Cream Cheese Frosting recipe is a testament to the joy of baking without overthinking. It’s approachable, reliably delicious, and visually impressive even for a casual baker. Whether you’re celebrating a holiday, hosting a party, or just craving a slice of something sweet and comforting, this cake fits the bill.
Feel free to tweak the decorations or try the variations mentioned to make it your own. For me, it’s the balance of moist cake and tangy frosting that keeps me coming back, and the little moments of sharing it with friends—that accidental creation that turned into a favorite tradition.
Would love to hear how your version turns out or any creative twists you give it!
Frequently Asked Questions
Can I make this red velvet cake from scratch without food coloring?
While traditional red velvet relies on food coloring for its signature hue, you can try natural alternatives like beet juice or powder. Just note that color may be less vibrant and slightly affect flavor.
How do I prevent the cake layers from crumbling?
Use room temperature ingredients, avoid overmixing the batter, and make sure the cakes are fully cooled before frosting. Adding the vinegar and buttermilk also helps keep it tender.
Can I prepare this cake in advance?
Absolutely! Bake the layers up to 2 days ahead and store wrapped tightly at room temperature or in the fridge. Frost the cake the day you plan to serve it for the best texture.
What if I don’t have buttermilk?
Make a quick substitute by adding 1 tablespoon of white vinegar or lemon juice to 1 cup (240 ml) of regular milk. Let it sit for 5 minutes before using.
How should I store leftover cake?
Store leftovers in an airtight container in the refrigerator for up to 4 days. Bring slices to room temperature before eating for better flavor and texture.
Pin This Recipe!
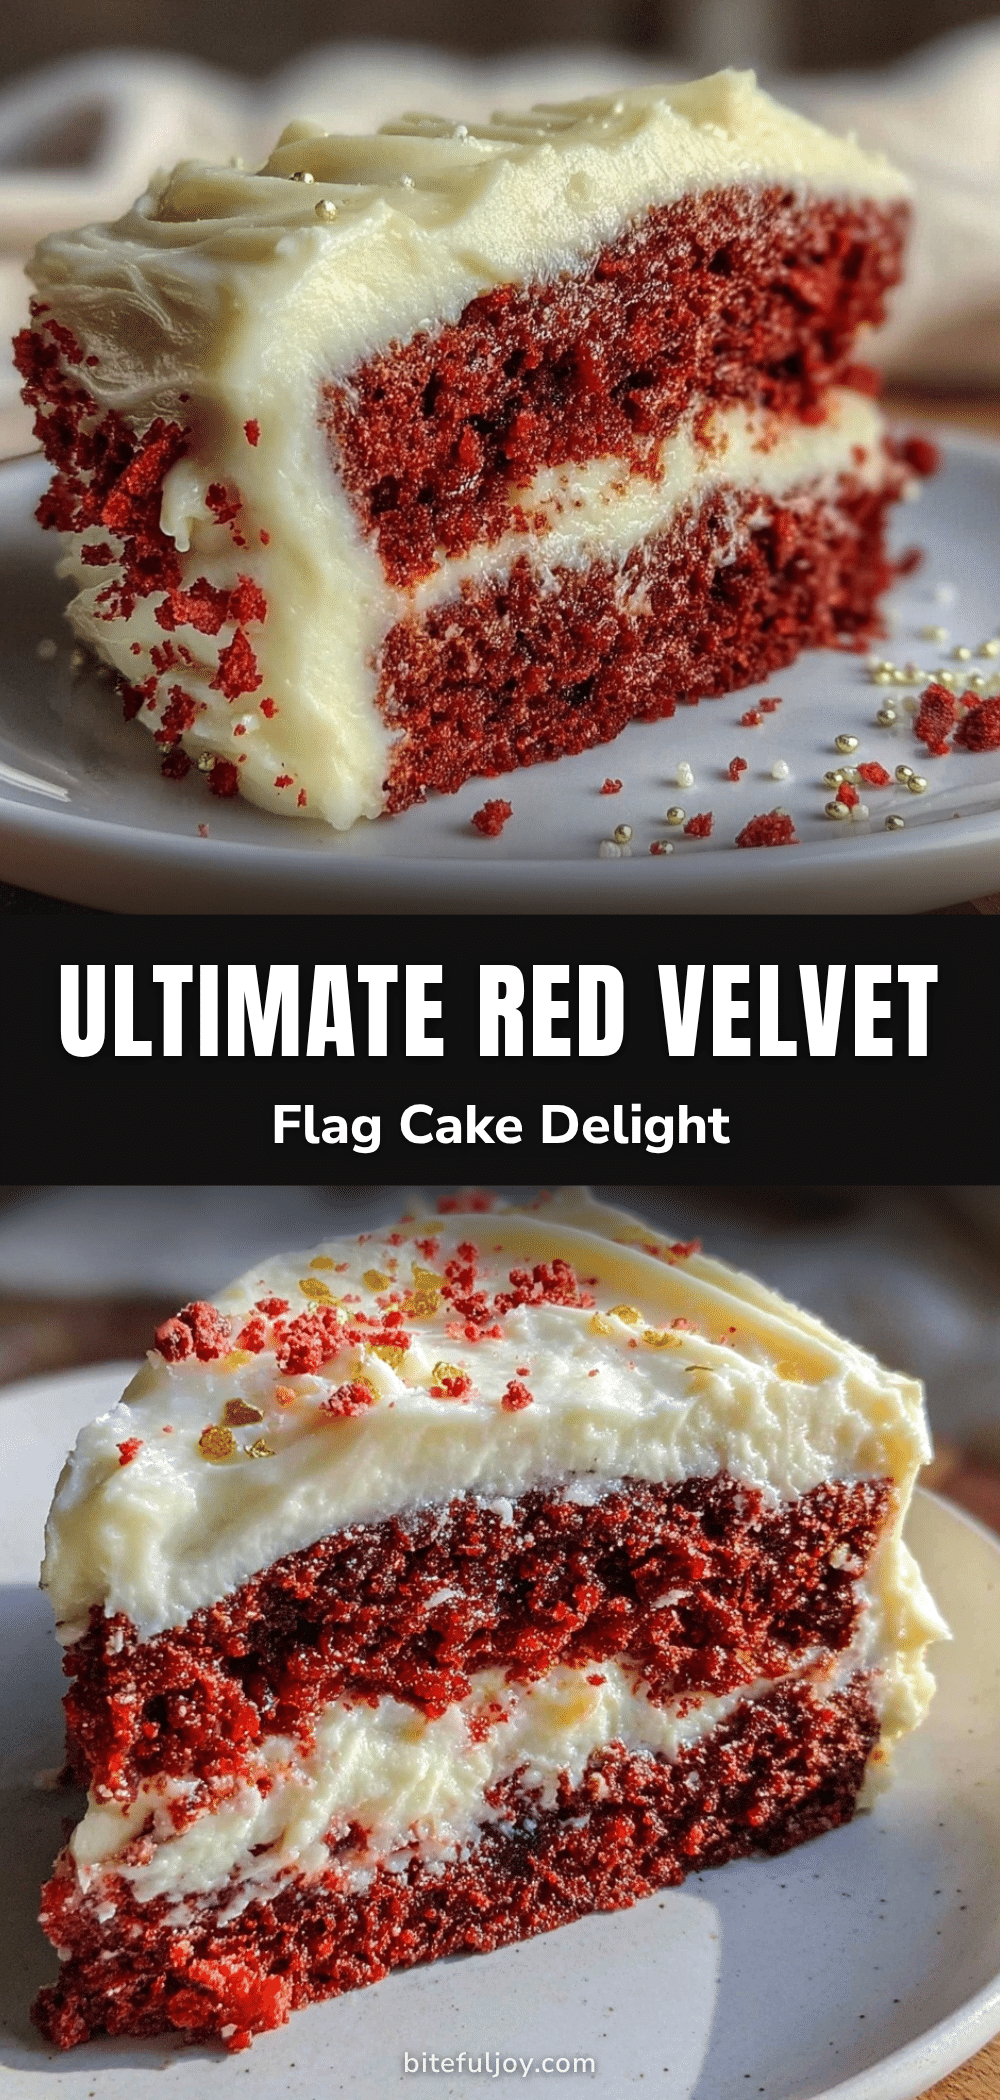
Perfect Red Velvet Flag Cake Recipe with Easy Cream Cheese Frosting

A moist and tender red velvet cake with tangy cream cheese frosting, decorated to resemble a festive flag, perfect for patriotic celebrations or any special occasion.
- Prep Time: 20 minutes
- Cook Time: 30 minutes
- Total Time: 1 hour 30 minutes
- Yield: 12 servings 1x
- Category: Dessert
- Cuisine: American
Ingredients
- 2 ½ cups (312 g) all-purpose flour, sifted
- 1 ½ cups (300 g) granulated sugar
- 2 tablespoons unsweetened cocoa powder (preferably mild Dutch-processed)
- 1 teaspoon baking soda
- ½ teaspoon salt
- 1 cup (240 ml) buttermilk, room temperature
- 1 cup (240 ml) vegetable oil, neutral flavor
- 2 large eggs, room temperature
- 2 tablespoons red food coloring (gel-based preferred)
- 1 teaspoon vanilla extract
- 1 teaspoon white vinegar
- 8 ounces (227 g) cream cheese, softened
- ½ cup (113 g) unsalted butter, softened
- 4 cups (480 g) powdered sugar, sifted
- 1 teaspoon vanilla extract
- Pinch of salt
- 1 cup fresh blueberries
- ½ cup white chocolate chips or mini marshmallows
Instructions
- Preheat oven to 350°F (177°C). Grease two 9-inch round cake pans and line bottoms with parchment paper. Set aside.
- In a large bowl, sift together flour, sugar, cocoa powder, baking soda, and salt. Whisk to combine evenly.
- In a separate bowl, whisk buttermilk, vegetable oil, eggs, red food coloring, vanilla extract, and vinegar until smooth.
- Gradually add wet ingredients to dry ingredients, stirring gently with a rubber spatula until just combined. Do not overmix; a few lumps are okay.
- Divide batter evenly between prepared pans and smooth tops. Bake for 25-30 minutes or until a toothpick inserted in the center comes out clean and cakes spring back lightly when pressed.
- Cool cakes in pans for 10 minutes, then turn out onto cooling racks. Let cool completely (at least 1 hour) before frosting.
- While cakes cool, beat cream cheese and butter on medium speed until creamy and smooth, about 2-3 minutes. Gradually add powdered sugar, one cup at a time, mixing well after each addition. Stir in vanilla extract and salt. Beat for an additional minute until fluffy.
- Place one cake layer on serving plate. Spread a thick, even layer of frosting on top. Place second cake layer on top, frost entire cake with a thin crumb coat, and chill for 20 minutes.
- Finish frosting with a smooth final layer. Use cream cheese frosting to pipe or spread white stripes across the cake.
- Arrange blueberries in the upper left corner to represent the blue star field and scatter white chocolate chips or mini marshmallows on top as stars.
- Refrigerate finished cake for at least 30 minutes to set frosting. Bring to room temperature before slicing for best flavor and texture.
Notes
[‘Use gel-based red food coloring to avoid runny batter.’, ‘Do not overmix batter to keep cake tender.’, ‘Use room temperature ingredients for better texture.’, ‘Chill frosting if too soft for easier decorating.’, ‘Sift dry ingredients to aerate flour and remove lumps.’, ‘If fresh blueberries are not in season, frozen can be used after thawing and drying.’, ‘For gluten-free version, substitute flour with a 1-to-1 gluten-free blend.’, ‘For dairy-free frosting, substitute cream cheese with plant-based alternatives like Kite Hill.’, ‘A crumb coat helps achieve a smooth frosting finish.’, ‘Bring cake to room temperature before serving for best flavor.’]
Nutrition
- Serving Size: 1 slice (1/12th of c
- Calories: 320
- Sugar: 28
- Fat: 18
- Carbohydrates: 38
- Protein: 4
Keywords: red velvet cake, cream cheese frosting, flag cake, patriotic dessert, easy red velvet, Fourth of July cake, festive cake


