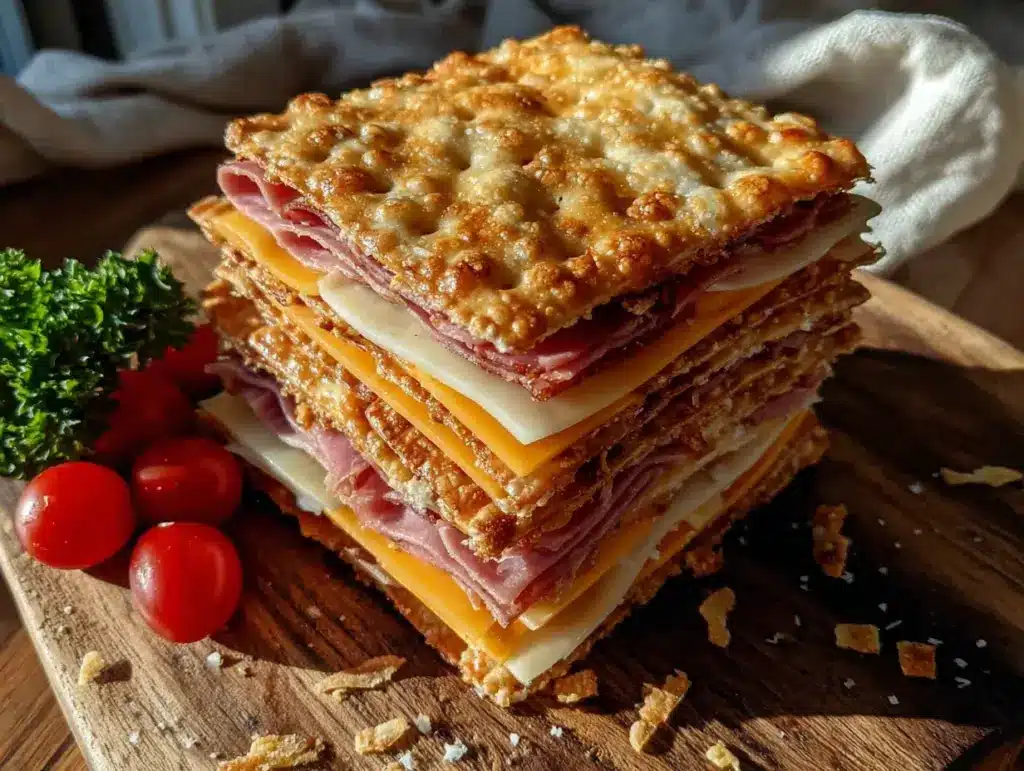
My husband did not believe a snack this simple could actually be good. He stood there, arms crossed, watching me layer a cheddar square onto a butter cracker, add a fold of ham, and top it with another cracker. “That’s it?” he asked. I handed him one. He ate it. Then he ate three more without saying a word. That was the moment I knew these Easy Ham and Cheddar Cracker Stackers were going to become a regular thing in our house.
Honestly, I get the skepticism. We’ve all been burned by recipes that promise “five minutes” and then require a trip to three different stores for specialty ingredients. But these stackers? They’re exactly what they claim to be. A good cheddar, some decent ham, and a sturdy cracker are all you need. No chopping, no cooking, no fancy techniques. Just assembly.
I started making them during a particularly chaotic week when even making a sandwich felt like too much effort. I needed something that would keep me full between meetings without requiring me to actually cook anything. After a few rounds of trial and error (too much ham makes them slide apart, too little cheese leaves you disappointed), I landed on the perfect ratio. Now I keep the ingredients on hand at all times. They’ve saved me from hangry decisions more times than I can count.
There’s something quietly satisfying about a snack that doesn’t pretend to be more than it is. These stackers won’t win any beauty contests, and they’re not trying to. But they’re reliably good, endlessly adaptable, and ready before you’ve finished deciding what you actually want to eat. Sometimes that’s exactly what you need.
Why You’ll Love This Recipe
Let me tell you why these little stackers have earned a permanent spot in my snack rotation. I’ve tested them on picky kids, hungry adults, and even a few skeptical foodie friends. The verdict is always the same: they disappear fast.
- Ready in under 5 minutes: No joke. You can make a plate of these while you’re waiting for your coffee to finish brewing. Perfect for those moments when hunger hits and you need something now.
- Simple ingredients you already have: Cheddar, ham, crackers. That’s it. No obscure spice blends, no specialty items you’ll use once and forget about. These are fridge and pantry staples for most people.
- Perfect for busy days and lazy evenings: Whether you need a quick lunch between meetings, an after-school snack for hungry kids, or something to nibble on while you watch a movie, these stackers deliver.
- Crowd-pleaser for gatherings: I’ve brought these to potlucks and game nights, and they always get noticed. People love how familiar and satisfying they are. They’re like a deconstructed ham and cheese sandwich with better texture.
- Unbelievably satisfying for something so simple: The combination of salty ham, creamy cheddar, and crunchy cracker hits all the right notes. It’s comfort food at its most basic and honest.
What makes these different from just throwing ham and cheese on a cracker? It’s the layering and the ratio. A single slice of cheddar folded to fit the cracker size, a thin fold of ham that doesn’t overwhelm, and a second cracker on top to keep everything contained. The stacker format means every bite has the perfect balance of all three components. No bare crackers, no bites that are all ham. Just consistent, satisfying goodness every time.
I love that this recipe doesn’t require any special skills or equipment. It’s the kind of thing you can teach a kid to make or throw together with your eyes half open at midnight. And honestly, in a world that often makes cooking feel complicated, having something this simple and genuinely good feels like a small victory.
What Ingredients You Will Need
This recipe uses three main ingredients, and each one matters more than you might think. I’ve made these stackers with different combinations, and the quality of each component really does make a difference in the final result. Here’s what you need and why it works.
- Cheddar cheese slices: Use good quality cheddar, preferably sharp or extra sharp. The stronger flavor holds up better against the salty ham and neutral cracker. I prefer Tillamook or Cabot for consistent melting and flavor. Pre-sliced deli cheese works perfectly here, just make sure the slices are large enough to cover the cracker. If your slices are small, use two or cut them to fit. Avoid pre-shredded cheese—it won’t layer properly and the texture isn’t right for stackers.
- Deli ham slices: Look for thinly sliced ham from the deli counter. Honey ham, smoked ham, or black forest ham all work well. The key is thin slices—thick-cut ham makes the stackers bulky and hard to eat. I usually ask for the thinnest slice available. About 2-3 ounces per serving is plenty. If you have leftover ham from a holiday meal, that works beautifully too. Just slice it thin.
- Butter crackers or sturdy crackers: This is where you have some flexibility. I’ve tested these with Ritz, Club crackers, and even saltines. Ritz are my personal favorite because they’re buttery enough to complement the ham and cheese without overpowering them. Club crackers are slightly sturdier and work well if you’re making these ahead. Saltines are fine in a pinch but tend to get soggy faster. You want a cracker that can hold up to the moisture from the ham and cheese without falling apart. Avoid thin, delicate crackers like water crackers or wheat thins—they’ll break under pressure.
Optional additions: A tiny smear of Dijon mustard or honey mustard adds a nice tangy kick. I sometimes add a thin slice of apple or a few arugula leaves for freshness. Dill pickle slices are also surprisingly good if you like that briny crunch. But honestly, the basic three-ingredient version is so good that I usually skip the extras.
Substitution guidance: If you don’t have cheddar, Swiss, provolone, or Gouda work beautifully. For a lower-sodium option, use low-sodium ham and reduced-fat cheese. If you’re dairy-free, there are decent plant-based cheddar slices available now—just check that they’re firm enough to hold their shape. For gluten-free, use your favorite gluten-free crackers. I’ve had good luck with Schar’s table crackers.
Equipment Needed
The beauty of this recipe is that you barely need any equipment at all. Here’s what you’ll need:
- A cutting board: Just for assembling the stackers. Any size works.
- A small knife: For cutting the cheese slices if they’re larger than your crackers. A paring knife or butter knife is perfect.
- A plate or serving platter: To arrange the finished stackers. I like using a small wooden board or a simple white plate.
- Optional: A small offset spatula: Handy if you’re adding mustard or any spread to the crackers. Not necessary, but it makes the application neater.
That’s genuinely it. No bowls, no mixers, no special gadgets. If you have hands and a flat surface, you can make these. I’ve assembled them on a napkin at my desk, on a paper towel at a picnic, and directly on the counter when I was too hungry to care about presentation. They’re forgiving that way.
Preparation Method
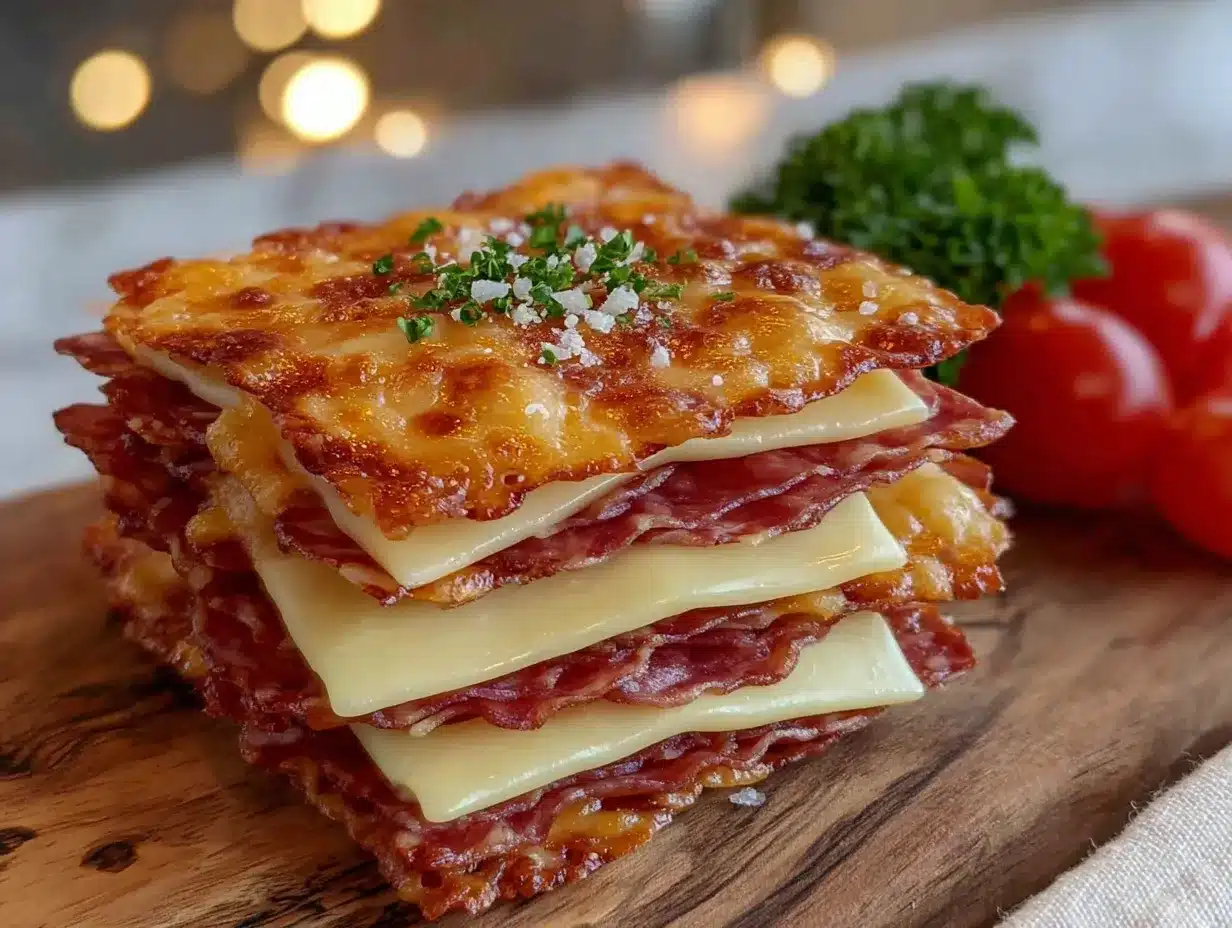
Making these stackers is almost too simple to call a recipe, but the technique matters if you want them to hold together well and taste balanced. Here’s my method, step by step.
- Prepare your ingredients: Take the ham and cheese out of the refrigerator about 5 minutes before you start. Cold cheese and ham are harder to work with and don’t taste as good. While they’re coming to temperature, open your crackers and arrange them on your work surface in pairs—one for the bottom, one for the top of each stacker.
- Cut the cheese to fit: Lay a slice of cheddar on your cutting board. If it’s larger than your cracker, cut it into squares or rectangles that match the cracker size. You want the cheese to cover the cracker completely but not hang over the edges too much. For Ritz-sized crackers, I usually cut a standard deli slice into four smaller squares. Each square covers one cracker perfectly.
- Prepare the ham: Take a slice of ham and fold it in half, then in half again, so you have a small square about the size of your cracker. Alternatively, you can tear the ham into pieces that fit. The goal is to have a thin layer of ham that covers the cheese without being too thick. If your ham slices are very thin, you might want two layers. If they’re thicker, one layer is plenty.
- Assemble the first layer: Place a cracker on your work surface, flat side up. Lay a piece of cheddar on top, making sure it covers the cracker surface. The cheese should be at room temperature so it’s slightly soft and pliable—this helps it stick to the cracker and the ham.
- Add the ham: Place your folded or torn ham piece on top of the cheese. Press down gently so it adheres to the cheese. Make sure the ham doesn’t extend too far past the edges of the cracker, or it will make the stacker unstable.
- Top with the second cracker: Take your second cracker and place it on top of the ham, flat side down. Press down gently but firmly to create a sandwich. The cracker should sit evenly on top without wobbling.
- Repeat: Continue assembling stackers until you’ve used all your ingredients. I usually make 6-8 stackers per serving, which takes about 3-4 minutes total once you get into a rhythm.
- Rest briefly: Let the stackers sit for 1-2 minutes before serving. This gives the cheese a moment to soften slightly against the cracker, creating a better texture. The crackers also absorb a tiny bit of moisture from the ham, which helps everything meld together.
- Serve immediately: Arrange the stackers on a plate or board and serve right away. They’re best within 15 minutes of assembly, before the crackers start to lose their crunch.
Pro tip: If you’re making these for a party, assemble them no more than 30 minutes before serving. After that, the crackers start to soften. For meal prep, keep the components separate and assemble fresh each time. The ham and cheese will keep in the fridge for up to 5 days, and crackers stay fresh in their package for weeks.
Sensory cues: When you press the top cracker down, you should feel a slight give as the cheese compresses. The stacker should feel firm but not squished. When you bite into one, you should hear a clean snap from the cracker, followed by the soft texture of the ham and the creamy richness of the cheese. If the cracker crumbles, you pressed too hard. If the stacker slides apart, you need more cheese or a firmer press.
Cooking Tips & Techniques
I’ve made a lot of these stackers, and I’ve learned a few things the hard way. Here are my best tips for getting them right every time.
Temperature matters more than you think. Cold cheese straight from the fridge is stiff and doesn’t adhere well to the cracker. Cold ham is harder to fold without tearing. Let both sit at room temperature for about 5-10 minutes before you start. The cheese becomes slightly soft and pliable, which helps it stick to the cracker and creates a better overall texture. I learned this after making a batch with fridge-cold ingredients and watching the cheese slide right off the crackers.
Don’t overstuff. It’s tempting to pile on the ham and cheese, but too much filling makes the stackers unstable. You want a thin, even layer of each. Think of it like a well-made sandwich—the ingredients should complement each other, not compete. If you’re using thick ham slices, cut them in half horizontally or use just one thin slice folded to fit. For cheese, one layer is plenty. The cracker-to-filling ratio should be about equal.
Match your cracker size. This seems obvious, but I’ve made the mistake of using crackers that are too small for my cheese slices. The overhanging cheese makes the stackers messy and hard to eat. Cut your cheese to match the cracker dimensions exactly. If your crackers are round, square cheese works fine—just trim the corners. If they’re square, square cheese is ideal.
Press, don’t smash. When you add the top cracker, press down with gentle, even pressure. You want the stacker to hold together without crushing the crackers. If you hear cracking, you’re pressing too hard. A light press that just makes contact between the layers is all you need.
Make them in batches. If you’re serving these to a crowd, assemble them in batches of 6-8 and serve immediately. Don’t try to make 30 stackers at once and leave them sitting. They’re best fresh. I usually make one batch, put it out, and then make another batch when the first one runs low.
Variations & Adaptations
One of the best things about this recipe is how easy it is to customize. Here are some variations I’ve tried and loved.
Spicy version: Add a thin slice of pickled jalapeño between the ham and cheese. The heat cuts through the richness beautifully. You can also use pepper jack cheese instead of cheddar for a milder heat that builds with each bite. I made these for a game day party and they were gone in minutes.
Apple and brie variation: Swap the cheddar for brie and add a thin slice of green apple. The sweetness of the apple and the creaminess of the brie are a perfect match for the salty ham. Use a slightly sweeter cracker like a butter crisp or a water cracker. This version feels more elegant and works well for brunch or light entertaining. It reminds me of the watermelon feta mint salad I make in summer—both are proof that simple combinations can be surprisingly sophisticated.
Herb and mustard version: Spread a tiny amount of Dijon mustard on the bottom cracker before adding the cheese. Sprinkle a few fresh thyme leaves or a pinch of dried dill on top of the ham. The mustard adds tang, and the herbs add freshness. This is my go-to when I want something a little more grown-up than the basic version.
Low-carb version: Use large cucumber slices or bell pepper rounds instead of crackers. The crunch is different but still satisfying. This works especially well if you’re watching your carb intake or serving these as part of a lighter meal. Just pat the cucumber slices dry with a paper towel before assembling to prevent sogginess.
Turkey and Swiss variation: Swap the ham for turkey and the cheddar for Swiss. This is a classic combination that works perfectly in stacker form. Add a thin slice of tomato if you have one. It’s like a mini turkey club without the bread.
Serving & Storage Suggestions
These stackers are best served immediately, but there are a few ways to extend their life if needed.
Serving temperature: Serve at room temperature for the best flavor and texture. If you’ve refrigerated the ingredients, let the assembled stackers sit for 5 minutes before serving. Cold crackers lose their snap quickly, and cold cheese doesn’t taste as rich.
Presentation ideas: Arrange the stackers on a wooden board or slate platter for a rustic look. Garnish with a few cornichons or pickled onions on the side. For a party, I like to arrange them in a circular pattern with a small bowl of mustard or honey in the center for dipping. They also look great lined up on a rectangular platter with fresh herbs scattered around.
What to serve with them: These stackers pair beautifully with a simple soup or salad for a light meal. Try them alongside a bowl of tomato soup or a crisp green salad with vinaigrette. For a party spread, serve them with other finger foods like crispy bacon wrapped jalapeño poppers or savory pulled pork sliders. They’re also great with a glass of crisp white wine or a cold beer.
Storage instructions: These stackers don’t store well once assembled. The crackers absorb moisture from the ham and cheese and become soft within 30 minutes. If you have leftovers, separate the components and store them individually. Ham and cheese keep in the fridge for up to 5 days in airtight containers. Crackers stay fresh in their original packaging at room temperature for weeks.
Reheating tips: These are meant to be served cold or at room temperature, so reheating isn’t necessary or recommended. If you want a warm version, you can briefly microwave an assembled stacker for 5-10 seconds, but the cracker will lose its crunch. A better option is to make a hot version by placing the ham and cheese on a cracker and broiling for 1-2 minutes until the cheese melts, then topping with another cracker.
How flavors develop: If you let the assembled stackers rest for 5-10 minutes, the flavors meld together slightly as the cheese softens and the ham releases a bit of moisture. They’re good immediately, but they’re even better after a short rest. Just don’t wait too long, or the crackers will start to soften.
Nutritional Information & Benefits
Here’s a rough estimate for one serving (about 6 stackers, using standard ingredients):
- Calories: Approximately 280-320
- Protein: 18-22 grams
- Fat: 18-22 grams
- Carbohydrates: 12-16 grams
- Fiber: 0-1 gram
- Sugar: 2-4 grams
- Sodium: 800-1000 mg (varies by ham and cheese brand)
Health benefits: This snack provides a good amount of protein from the ham and cheese, which helps keep you full and satisfied. Cheddar is a good source of calcium and vitamin K2, which support bone health. Ham provides B vitamins, particularly B6 and B12, which are important for energy metabolism. If you use whole grain crackers, you’ll get a small amount of fiber as well.
Dietary considerations: This recipe is naturally low-carb and keto-friendly if you use full-fat cheese and standard crackers. For a gluten-free version, use gluten-free crackers. For a lower-sodium option, choose low-sodium ham and reduced-sodium cheese. This recipe contains dairy and gluten in its standard form, so it’s not suitable for those with dairy allergies or celiac disease without substitutions.
Potential allergens: Dairy (cheese), gluten (crackers), and possibly nitrates (ham, depending on the brand). Always check labels if you’re serving someone with food allergies.
My perspective: I don’t pretend these are health food, but they’re a much better option than most packaged snacks. The protein keeps you full, and the ingredients are recognizable and minimally processed if you choose quality brands. I feel good about eating these as a snack, especially compared to chips or cookies that leave me hungry again in 20 minutes.
Conclusion
These Easy Ham and Cheddar Cracker Stackers are proof that you don’t need a complicated recipe to make something genuinely satisfying. They’re the kind of snack you’ll find yourself making again and again, not because they’re fancy or impressive, but because they’re reliably good and almost no effort at all.
I love that I can make them with my eyes half closed at midnight when hunger strikes. I love that they use ingredients I almost always have on hand. And I love that they’re endlessly adaptable—I can dress them up for a party or keep them simple for a Tuesday afternoon. They’ve become my default snack, the thing I reach for when I want something that tastes like real food without requiring any real effort.
Try them with your favorite ham and cheese combination. Add a smear of mustard or a slice of apple if you’re feeling adventurous. Make them for your kids, your guests, or just yourself on a busy day. And if you come up with a variation that blows your mind, please share it in the comments. I’m always looking for new ways to make these little stackers even better.
Sometimes the simplest things are the ones that stick. These stackers have definitely stuck with me, and I have a feeling they’ll stick with you too.
Frequently Asked Questions
Can I make these ahead of time for a party?
You can assemble them up to 30 minutes ahead, but the crackers will start to soften after that. For best results, assemble them just before serving. You can prep the ham and cheese in advance and store them separately, then assemble quickly when guests arrive.
What kind of ham works best for these stackers?
Thinly sliced deli ham works best. Honey ham, smoked ham, or black forest ham are all great choices. Avoid thick-cut ham, which makes the stackers bulky and hard to eat. If you have leftover holiday ham, slice it as thin as possible.
Can I use a different type of cheese?
Absolutely. Swiss, provolone, Gouda, and pepper jack all work well. The key is using a cheese that’s firm enough to hold its shape but soft enough to adhere to the cracker. Avoid very soft cheeses like brie or goat cheese unless you’re making a specific variation.
How do I keep the crackers from getting soggy?
Assemble the stackers as close to serving time as possible. If you’re making them ahead, keep the components separate and assemble just before serving. Using room temperature ingredients helps too—cold ham releases more moisture as it warms up, which can soften the crackers.
Are these stackers kid-friendly?
Very much so. Kids love the small size and familiar flavors. They’re easy for little hands to hold, and you can customize them with kid-friendly additions like a tiny smear of honey or a slice of apple. My nephew calls them “cracker sandwiches” and asks for them every time he visits.
Pin This Recipe!
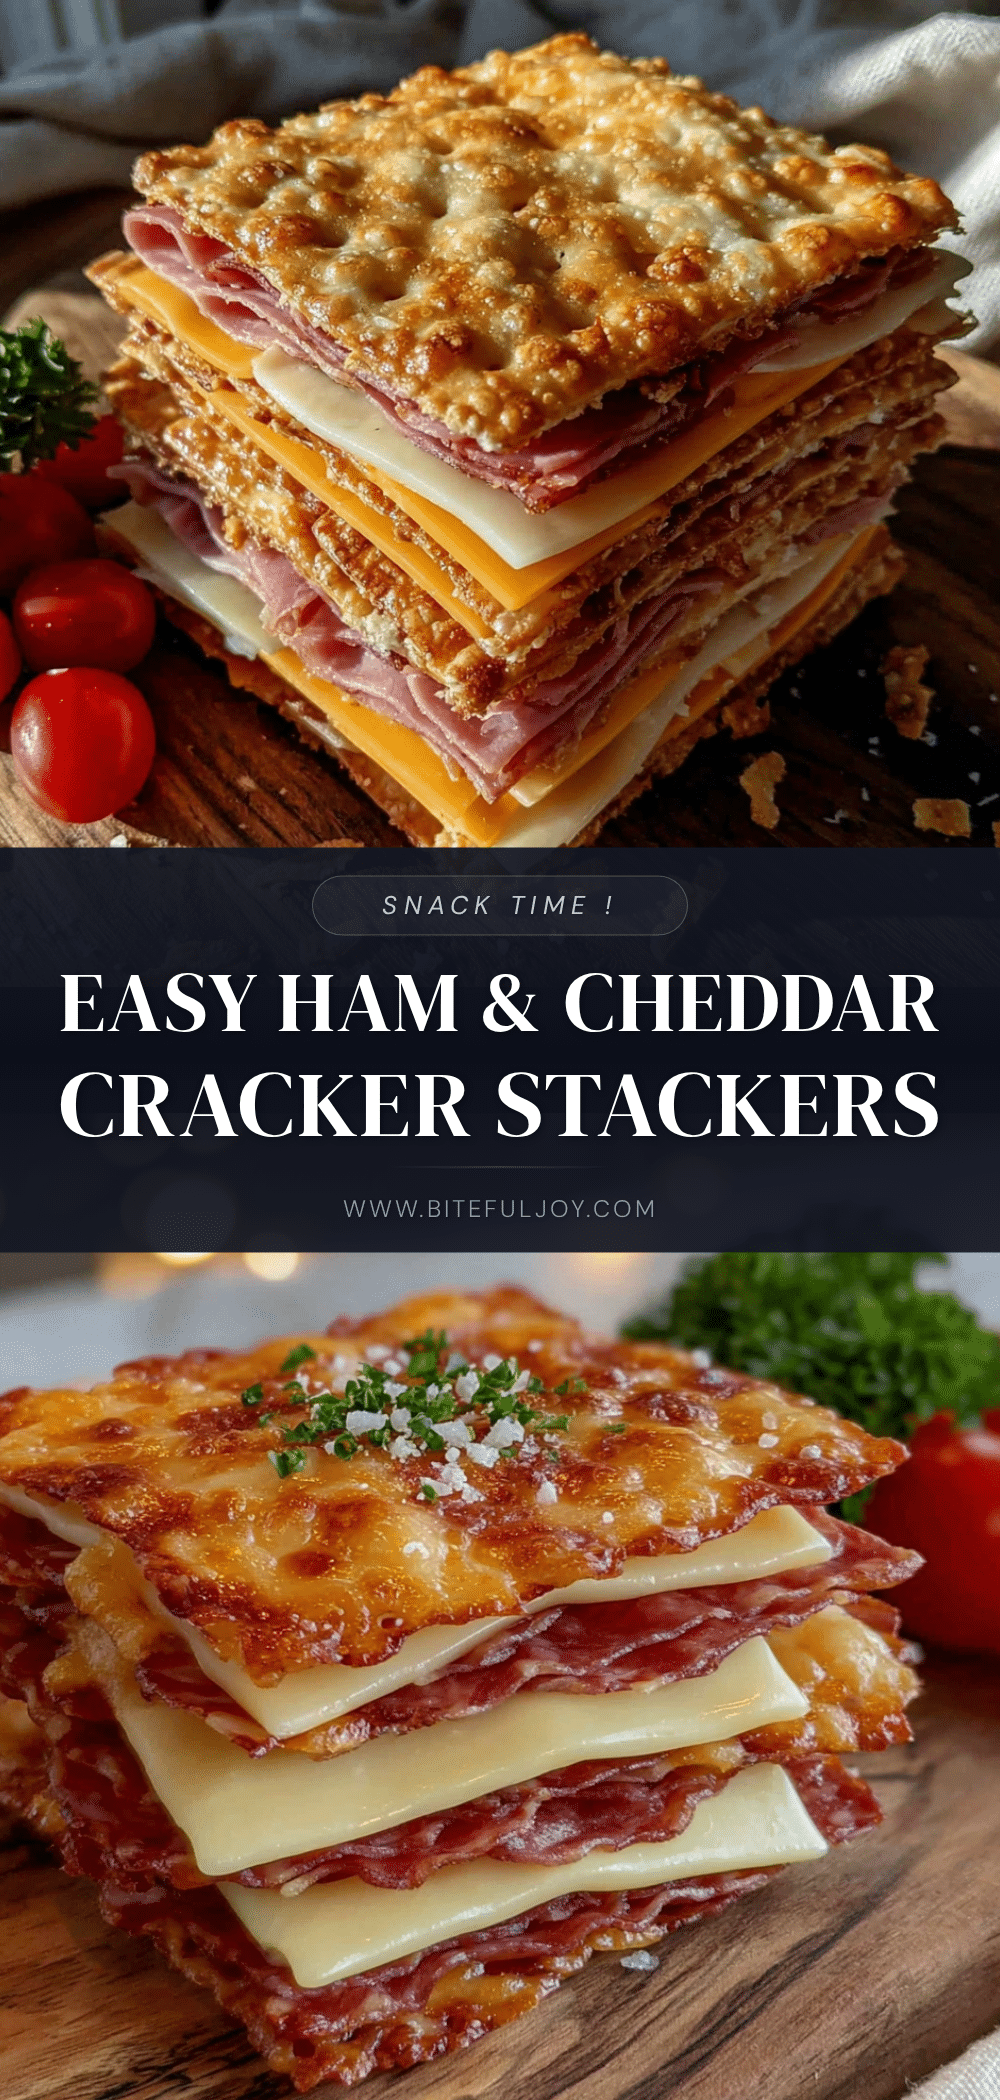
Easy Ham and Cheddar Cracker Stackers: Best 5-Minute Snack

These Easy Ham and Cheddar Cracker Stackers are a quick, satisfying snack made with just three ingredients: cheddar cheese, deli ham, and sturdy crackers. Ready in under 5 minutes, they’re perfect for busy days, lazy evenings, or as a crowd-pleasing appetizer.
- Prep Time: 5 minutes
- Cook Time: 0 minutes
- Total Time: 5 minutes
- Yield: 4 servings
- Category: Appetizer
- Cuisine: American
Ingredients
- Cheddar cheese slices (sharp or extra sharp, such as Tillamook or Cabot)
- Deli ham slices (thinly sliced, such as honey ham, smoked ham, or black forest ham)
- Butter crackers or sturdy crackers (such as Ritz or Club crackers)
- Optional: Dijon mustard or honey mustard
- Optional: Thin apple slices or arugula leaves
- Optional: Dill pickle slices
Instructions
- Take the ham and cheese out of the refrigerator about 5 minutes before starting to let them come to room temperature.
- Open your crackers and arrange them on your work surface in pairs—one for the bottom, one for the top of each stacker.
- Lay a slice of cheddar on a cutting board. If larger than the cracker, cut it into squares or rectangles that match the cracker size.
- Take a slice of ham and fold it in half, then in half again, to form a small square about the size of your cracker. Alternatively, tear the ham into pieces that fit.
- Place a cracker on your work surface, flat side up. Lay a piece of cheddar on top, covering the cracker surface.
- Place the folded or torn ham on top of the cheese. Press down gently to adhere.
- Top with the second cracker, flat side down. Press down gently but firmly to create a sandwich.
- Repeat with remaining ingredients. Let stackers rest for 1-2 minutes before serving.
- Serve immediately, preferably within 15 minutes of assembly.
Notes
For best results, use room temperature ingredients. Avoid overstuffing to keep stackers stable. Assemble no more than 30 minutes before serving to prevent crackers from softening. For meal prep, keep components separate and assemble fresh.
Nutrition
- Serving Size: 6 stackers
- Calories: 300
- Sugar: 3
- Sodium: 900
- Fat: 20
- Saturated Fat: 10
- Carbohydrates: 14
- Protein: 20
Keywords: ham and cheese crackers, easy snack, 5-minute snack, ham and cheddar stackers, no-cook snack, party appetizer, kid-friendly snack