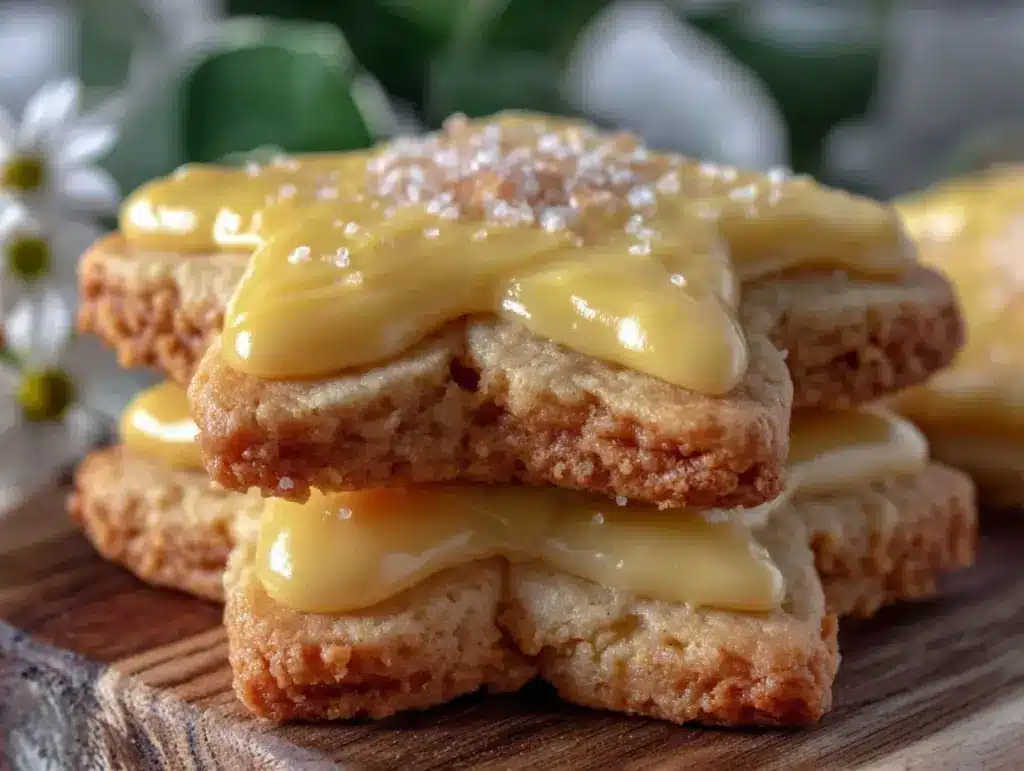
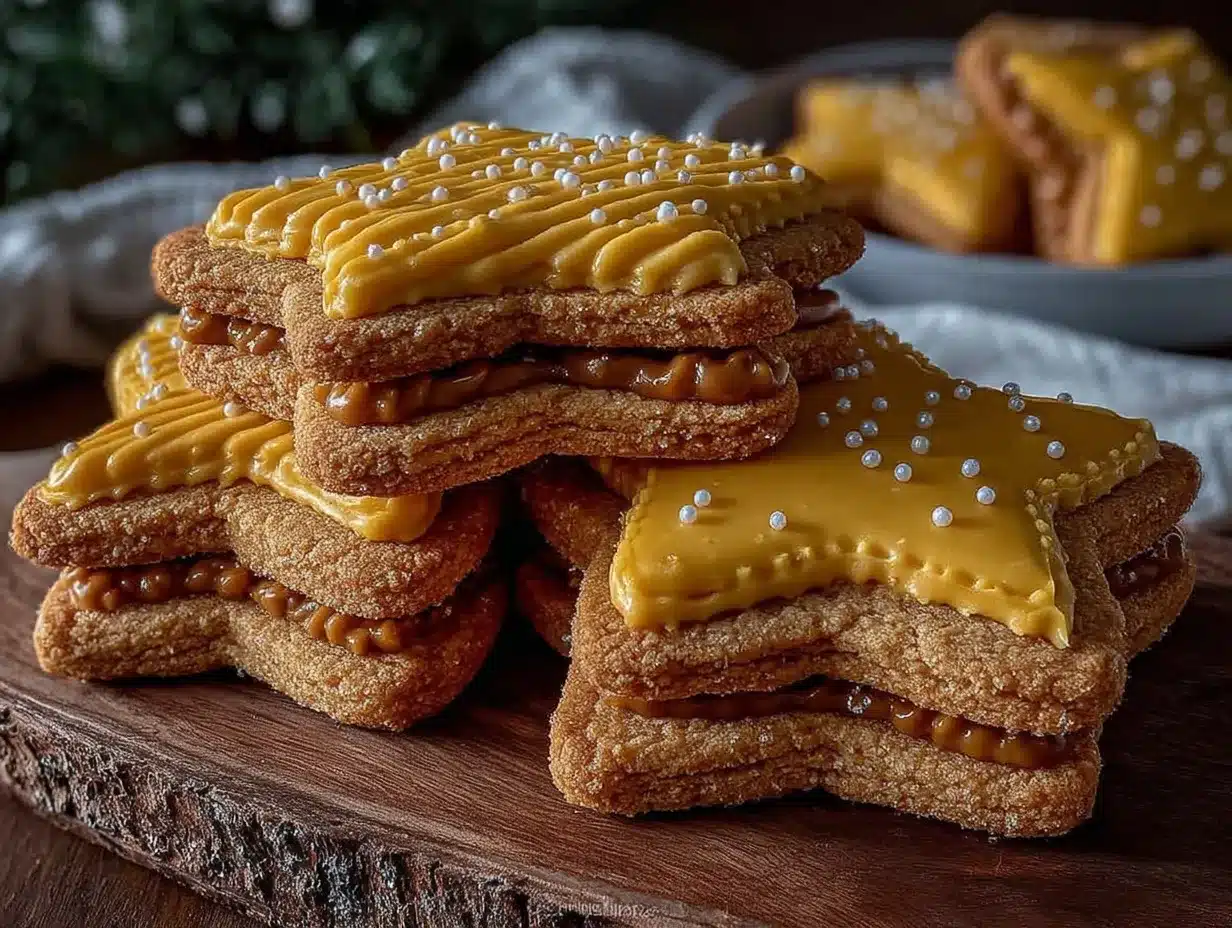
“You seriously made Mario cookies? For real?” My nephew’s incredulous voice echoed through the kitchen as I carefully placed the last glossy royal iced star cookie on the platter. Honestly, I wasn’t sure how these sugar cookies would turn out at first. I’d been fiddling around with royal icing for weeks, trying to get that perfect sheen without it cracking or dulling. Making star-shaped cookies inspired by Mario’s iconic power-up felt like a fun challenge rather than an everyday baking task. But you know that feeling when you finally nail something? The icing glistened like little edible trophies, and those bright yellow stars seemed to hold a bit of magic all their own.
It wasn’t a fancy occasion or a planned party — just a quiet Saturday that got delightfully interrupted by my inner kid’s love for video games and baking. I remember thinking, “What if these actually taste as good as they look?” Turns out, they do. And more importantly, they bring a little burst of joy — that nostalgic Mario vibe paired with the buttery sweetness of classic sugar cookies. It’s the kind of recipe that sticks around because it’s fun, satisfying, and honestly, a bit addictive.
These Perfect Mario Star Power-Up Sugar Cookies with Glossy Royal Icing have since become my go-to treat when I want to impress without stressing. The texture is just right — tender with a slight crisp edge — and the icing? Smooth, shiny, and just sweet enough to make you smile after every bite. I’m pretty sure this recipe will find a little corner in your heart too, whether you’re baking for a kid’s birthday, a game night, or just because the day needs a little sparkle.
Why You’ll Love This Recipe
After testing a handful of sugar cookie recipes and experimenting with royal icing techniques, I’m confident this one stands apart. Here’s why this Mario Star Power-Up Sugar Cookies recipe is a winner:
- Quick & Easy: The dough comes together in under 20 minutes, and the cookies bake in just 10-12 minutes. Perfect for last-minute baking bursts.
- Simple Ingredients: You won’t need any obscure items—just pantry staples like flour, butter, and sugar, plus basic royal icing ingredients.
- Perfect for Themed Parties: Whether it’s a video game birthday or a fun weekend project, these star cookies add a playful touch that kids and adults adore.
- Crowd-Pleaser: The buttery cookie base paired with the smooth, glossy icing is always a hit. Guests often ask for seconds!
- Unbelievably Delicious: The balance of sweet, tender cookie and slightly crisp icing creates that irresistible combination everyone loves in decorated sugar cookies.
What makes this recipe different? Well, the royal icing technique here is a bit of a game-changer. I’ve fine-tuned the ratio and drying method to get that mirror-like shine without the usual dull finish or cracks. The secret is in the meringue powder and the careful mixing, which I swear by after many less-than-perfect batches. Plus, the dough is sturdy enough to hold the star shape beautifully but soft enough to melt in your mouth.
This recipe isn’t just about cookies; it’s about capturing a little magic, a nostalgia-tinged moment that feels like power-up energy on a plate. I hope it brings you the same quiet satisfaction it does me every time I bake these stars.
What Ingredients You Will Need
This recipe uses simple, wholesome ingredients to deliver bold flavor and that classic sugar cookie texture without any fuss. Most of these are pantry staples, and substitutions are easy if needed.
- For the Sugar Cookie Dough:
- 2 ¾ cups (345g) all-purpose flour (I prefer King Arthur for consistent texture)
- 1 teaspoon baking powder
- ½ teaspoon salt
- 1 cup (227g) unsalted butter, softened (room temperature for easy creaming)
- 1 ½ cups (300g) granulated sugar
- 1 large egg, room temperature
- 2 teaspoons pure vanilla extract (Madagascar bourbon vanilla adds great aroma)
- 2 tablespoons whole milk (can swap for almond milk if needed)
- For the Glossy Royal Icing:
- 3 tablespoons meringue powder (like Wilton brand for best results)
- 4 cups (480g) powdered sugar, sifted
- 6-8 tablespoons warm water (adjust for desired consistency)
- Yellow gel food coloring (Americolor gels give vibrant, true color)
- Optional: a few drops of clear vanilla extract for subtle flavor
Feel free to swap all-purpose flour for a gluten-free blend if gluten is a concern, but note the texture will be slightly different. For a dairy-free twist, use coconut oil instead of butter and dairy-free milk. Freshness counts here — especially for the butter and egg, so try to use fresh, high-quality ingredients for best flavor.
Equipment Needed
For these Mario Star Power-Up Sugar Cookies, you’ll want a few basic tools along with some baking essentials:
- Stand mixer or hand mixer (helps cream butter and sugar smoothly; I usually use my KitchenAid)
- Mixing bowls (medium and large)
- Measuring cups and spoons (precision is key here)
- Rolling pin (a silicone one works well to avoid sticking)
- Star-shaped cookie cutters (around 3-4 inches wide; metal cutters give crisp edges)
- Baking sheets lined with parchment paper or silicone baking mats
- Cooling racks (to keep cookies crisp)
- Small squeeze bottles or piping bags with fine round tips (for precise royal icing application)
- Spatula for mixing and spreading
If you don’t have a stand mixer, no worries — a sturdy hand mixer or even a strong arm with a wooden spoon can work. I find that silicone mats make cleanup easier and help cookies bake evenly. For piping, I often reuse zip-top bags with a tiny corner snipped off when I’m in a pinch.
Preparation Method
- Mix Dry Ingredients: In a medium bowl, whisk together 2 ¾ cups (345g) all-purpose flour, 1 teaspoon baking powder, and ½ teaspoon salt. Set aside. This keeps your leavening and salt evenly distributed.
- Cream Butter and Sugar: Using a stand mixer or hand mixer, beat 1 cup (227g) softened unsalted butter and 1 ½ cups (300g) granulated sugar on medium speed for about 3-4 minutes. The mixture should look pale and fluffy — this is what gives your cookies that tender crumb.
- Add Egg and Vanilla: Beat in 1 large egg and 2 teaspoons pure vanilla extract until fully combined. The batter might look soft but will firm up once flour is added.
- Incorporate Dry Ingredients and Milk: Gradually add the flour mixture to the butter mixture on low speed, alternating with 2 tablespoons whole milk. Mix until just combined — avoid overmixing or the cookies will get tough.
- Chill the Dough: Shape dough into a disk, wrap in plastic, and chill for at least 1 hour (or up to overnight). This step is crucial for rolling out the dough without it sticking or warping.
- Preheat Oven and Prepare Baking Sheets: Heat oven to 350°F (175°C). Line baking sheets with parchment or silicone mats.
- Roll and Cut: On a lightly floured surface, roll dough to about ¼-inch (6mm) thickness. Use your star-shaped cutter to cut out cookies, placing them about 1 inch (2.5 cm) apart on the baking sheets.
- Bake: Bake for 10-12 minutes until edges just begin to turn golden. The centers will look slightly soft but will firm up as they cool.
- Cool Completely: Transfer cookies to wire racks to cool fully before decorating. Decorating warm cookies can cause icing to melt or slide off.
- Prepare Royal Icing: In a large bowl, combine 3 tablespoons meringue powder and 4 cups (480g) sifted powdered sugar. Add 6 tablespoons warm water and beat on medium speed until icing holds stiff peaks, about 5 minutes. Adjust water for flood consistency (should flow slowly but hold shape). Mix in yellow gel food coloring until vibrant.
- Decorate: Use piping bags or squeeze bottles to outline each star cookie, then flood the center with icing. Use a toothpick or small spatula to smooth and pop any bubbles. Let icing dry at room temperature for 4-6 hours, or overnight for best shine.
Pro tip: If your icing crusts too quickly, cover it with a damp towel or plastic wrap while working. Also, if your cookies spread too much, chill the cut dough again before baking.
Cooking Tips & Techniques
Getting the perfect sugar cookie and royal icing combo is part science, part art. Here’s what I’ve learned:
- Butter Temperature Matters: Softened, not melted butter is key. Too warm, and your dough will be greasy and hard to handle.
- Don’t Skip Chilling: Chilling the dough firms up the fat, which helps the cookies hold their shape and bake evenly.
- Use Meringue Powder for Royal Icing: It stabilizes the icing without the fuss of raw egg whites, making your glossy finish safer and more consistent.
- Flood Icing in Layers: Outline first, then fill. This prevents icing from running off the edges.
- Humidity is the Enemy: On humid days, icing takes longer to dry and can get sticky. Try a dehumidifier or air-conditioned room if possible.
- Practice Piping: Royal icing can be intimidating, but steady hands come with practice. If your first tries look funny, keep going — they’ll taste just as good!
One time, I underestimated drying time and stacked the cookies too soon; the icing smudged and dulled. Now, I always give the icing ample time to cure and usually leave them overnight. It’s worth the wait for that perfect glossy finish.
Variations & Adaptations
This Mario Star Power-Up Sugar Cookies recipe is pretty flexible, so you can make it your own:
- Flavor Twists: Add lemon or orange zest to the dough for a citrusy punch that brightens the cookie’s flavor.
- Color Variations: Instead of classic yellow, try pastel tones for a softer look or add edible glitter for extra sparkle.
- Dietary Options: Use almond flour and dairy-free butter substitutes to make these gluten- and dairy-free — they still hold their shape beautifully.
- Alternative Icing: Swap royal icing for a simple powdered sugar glaze if you prefer something less firm but still shiny.
- Shape Experiments: Use other Nintendo-inspired cutters like mushrooms or hearts for variety. I once made a whole batch of star-shaped cookies for a summer barbecue, and they were a hit!
Personally, I tried adding a hint of almond extract to the icing once and loved the subtle twist it gave. Play around with what you like — these cookies are forgiving and fun.
Serving & Storage Suggestions
These cookies are best served at room temperature so you get that tender, buttery bite with the smooth, glossy icing still intact. They make fantastic party favors, dessert table highlights, or afternoon treats with a cup of tea or coffee.
For storage, keep cookies in an airtight container at room temperature. They’ll stay fresh for up to 5 days, though the texture is best within the first 2-3 days. If you want to keep them longer, store them in the fridge for up to a week — just bring them back to room temp before serving.
Freezing decorated sugar cookies is possible but tricky because royal icing can crack. If you must freeze, place cookies in a single layer on a baking sheet, freeze until solid, then wrap tightly with plastic wrap and foil. Thaw gently to avoid moisture buildup.
Flavors often deepen after a day, so if you can wait, let them rest overnight. I like pairing these cookies with a lightly brewed cup of Earl Grey tea — reminds me of the subtle floral notes in the Earl Grey Tea Cake I made last spring.
Nutritional Information & Benefits
Each cookie contains approximately 150-180 calories, depending on size, with around 7 grams of fat and 20 grams of carbohydrates. While these are certainly a treat, there’s some value in the ingredients:
- Butter provides a source of vitamin A and healthy fats.
- Eggs add protein and essential nutrients.
- Vanilla extract and lemon zest bring antioxidants without extra calories.
These sugar cookies aren’t a health food but can fit into an occasional indulgence balanced with a wholesome diet. If you need options, swapping in almond flour and a sugar substitute can lower carbs somewhat, but for me, these are all about joy and celebration — a little sweetness to brighten the day.
Conclusion
Making these Perfect Mario Star Power-Up Sugar Cookies with Glossy Royal Icing has been a joyful journey of trial, error, and finally, sweet success. They’re not just cookies; they’re a little power-up moment you can bake and share. Whether you’re a seasoned baker or just someone who loves a good themed treat, this recipe brings simple ingredients and approachable techniques together for truly magical results.
Feel free to tweak the flavors, colors, and shapes to make them your own. I’ve found that the best part is seeing the smiles these cookies bring, no matter the occasion. If you’re looking for a fun project that tastes as good as it looks, this is it.
And if you like themed baking, you might enjoy trying the Creamy Passion Fruit Mousse Cups for a refreshing finish or the Crispy Brioche French Toast with Caramelized Bananas for your next brunch adventure. Happy baking!
Frequently Asked Questions
Can I make the sugar cookie dough ahead of time?
Yes! The dough can be made and refrigerated for up to 48 hours before rolling and cutting. This actually helps the flavors develop and makes rolling easier.
How do I get the royal icing to be shiny and smooth?
Use meringue powder and sifted powdered sugar, then beat the icing until stiff peaks form. Flood the cookies after outlining and let them dry undisturbed for several hours or overnight for the best glossy finish.
Can I substitute butter with margarine or oil?
Butter is preferred for flavor and texture, but margarine can work in a pinch. Oil is not recommended as it changes the dough’s consistency and flavor significantly.
What’s the best way to store decorated sugar cookies?
Store them in an airtight container at room temperature for up to 5 days. Avoid stacking them while the icing is still wet to prevent smudging.
Are these cookies suitable for kids to decorate?
Absolutely. The dough is easy to work with, and kids love piping the royal icing. Just supervise if using meringue powder and be sure the icing dries completely before handling.
Pin This Recipe!
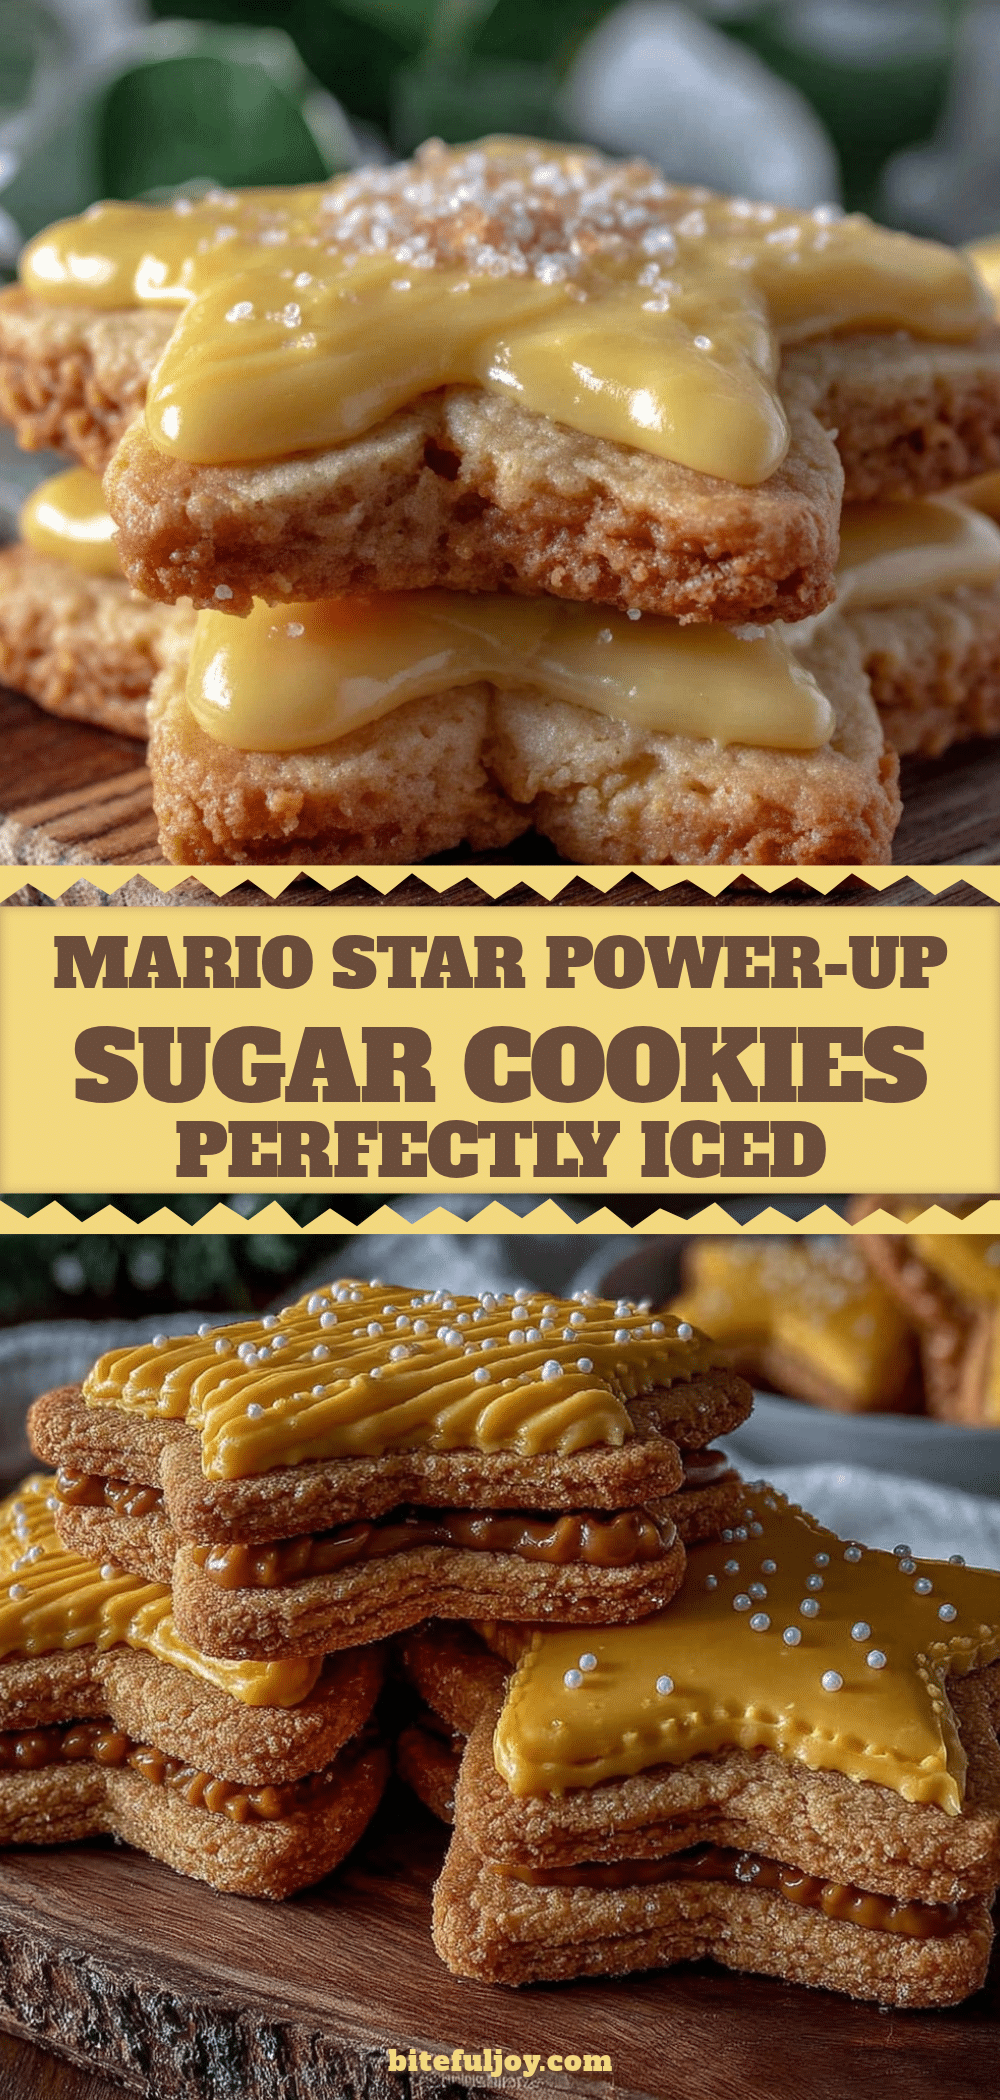
Perfect Mario Star Power-Up Sugar Cookies Recipe with Glossy Royal Icing Made Easy

These star-shaped sugar cookies inspired by Mario’s iconic power-up feature a tender, buttery base with smooth, glossy royal icing that shines like edible trophies. Perfect for themed parties, game nights, or just a fun baking project.
- Prep Time: 20 minutes
- Cook Time: 12 minutes
- Total Time: 1 hour 40 minutes
- Yield: 24 cookies 1x
- Category: Dessert
- Cuisine: American
Ingredients
- 2 ¾ cups (345g) all-purpose flour
- 1 teaspoon baking powder
- ½ teaspoon salt
- 1 cup (227g) unsalted butter, softened
- 1 ½ cups (300g) granulated sugar
- 1 large egg, room temperature
- 2 teaspoons pure vanilla extract
- 2 tablespoons whole milk
- 3 tablespoons meringue powder
- 4 cups (480g) powdered sugar, sifted
- 6–8 tablespoons warm water
- Yellow gel food coloring
- Optional: a few drops of clear vanilla extract
Instructions
- Mix dry ingredients: whisk together flour, baking powder, and salt in a medium bowl; set aside.
- Cream butter and sugar: beat softened butter and granulated sugar on medium speed for 3-4 minutes until pale and fluffy.
- Add egg and vanilla extract; beat until fully combined.
- Gradually add flour mixture alternating with milk; mix until just combined without overmixing.
- Shape dough into a disk, wrap in plastic, and chill for at least 1 hour or overnight.
- Preheat oven to 350°F (175°C). Line baking sheets with parchment paper or silicone mats.
- Roll dough on a lightly floured surface to ¼-inch thickness. Cut out star shapes and place 1 inch apart on baking sheets.
- Bake for 10-12 minutes until edges begin to turn golden; centers may look slightly soft.
- Cool cookies completely on wire racks before decorating.
- Prepare royal icing: combine meringue powder and powdered sugar, add 6 tablespoons warm water, and beat until stiff peaks form (about 5 minutes). Adjust water for flood consistency.
- Mix in yellow gel food coloring until vibrant.
- Decorate cookies by outlining stars with icing, then flood centers. Smooth bubbles with a toothpick or spatula.
- Let icing dry at room temperature for 4-6 hours or overnight for best glossy finish.
Notes
Use softened, not melted butter for best texture. Chill dough to help cookies hold shape and bake evenly. Use meringue powder in royal icing for a glossy, crack-free finish. Let icing dry undisturbed for several hours or overnight. On humid days, icing may take longer to dry. Practice piping for best results. Dough can be refrigerated up to 48 hours before rolling. Store cookies in airtight container at room temperature up to 5 days. Freezing decorated cookies is possible but tricky; freeze individually and thaw gently.
Nutrition
- Serving Size: 1 cookie
- Calories: 165
- Sugar: 12
- Sodium: 90
- Fat: 7
- Saturated Fat: 4
- Carbohydrates: 20
- Protein: 2
Keywords: Mario cookies, sugar cookies, royal icing, star-shaped cookies, video game themed cookies, glossy icing, easy sugar cookies, party cookies


