“I swear, it was the chocolate that saved the night,” my friend whispered as we scrambled to throw something together for an unexpected gathering. Honestly, the chaos of the day had me doubting anything would come together, but then I spotted a bowl of fresh berries and some chocolate bars tucked away in the pantry. That’s how the idea of this perfect dessert charcuterie board with chocolate and berries was born—totally unplanned, yet somehow, it turned into the star of the evening.
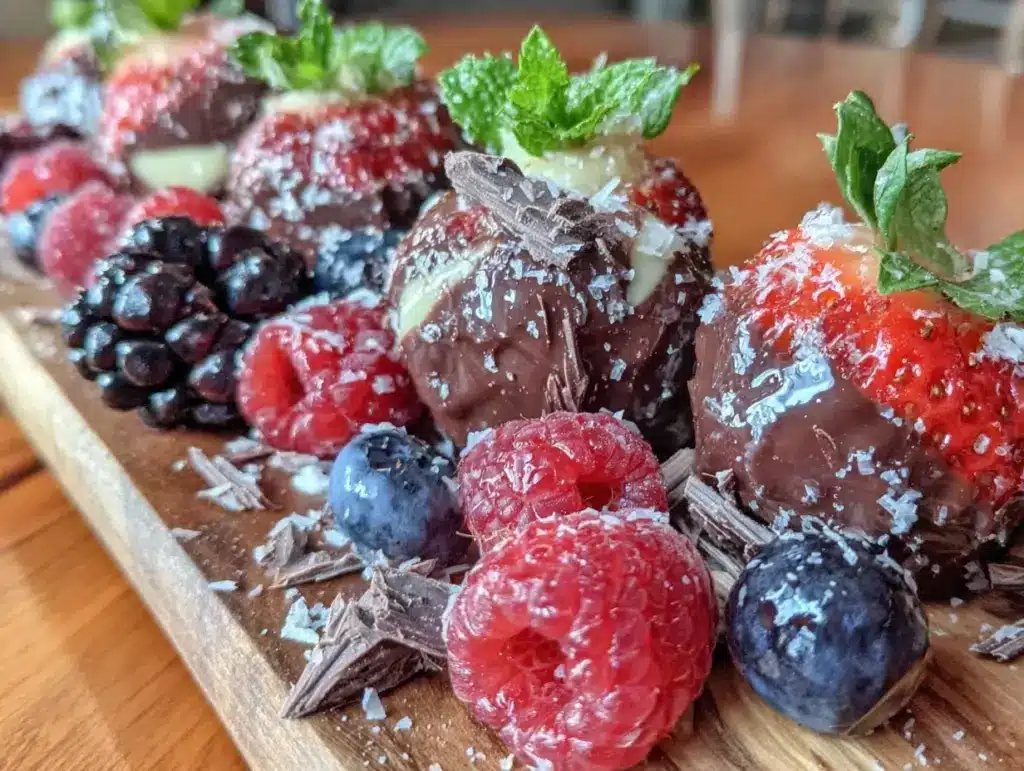
There’s something about the mix of juicy berries and rich chocolate that feels like a little celebration on its own. I remember the quiet moment when I arranged the pieces just right, stepping back to admire how a few simple ingredients could look so inviting. The best part? It didn’t need hours of prep or complicated recipes—just a bit of creativity and some good flavors coming together.
Over time, this dessert board has become my go-to whenever life throws a curveball or when I want to impress friends without breaking a sweat. It’s the kind of spread that invites everyone to nibble and chat, with the sweet and tangy bites sparking smiles all around. This recipe stuck with me because it’s easy, elegant, and honestly, it feels like a little luxury wrapped up in simplicity.
Why You’ll Love This Recipe
Honestly, the charm of this perfect dessert charcuterie board with chocolate and berries lies in its effortless style and how it brings people together. I’ve tested this setup multiple times—sometimes with last-minute guests and other times just for a cozy night in. Here’s why it’s a winner every time:
- Quick & Easy: Assembling this board takes under 20 minutes, making it ideal for those busy evenings or surprise company.
- Simple Ingredients: No need for fancy shopping trips. Most items are pantry staples or easy to grab at any grocery store.
- Perfect for Entertaining: Whether it’s a casual brunch or a glam dinner party, this board fits the bill beautifully.
- Crowd-Pleaser: Kids, adults, chocolate lovers, and fruit fans alike all find something to love here.
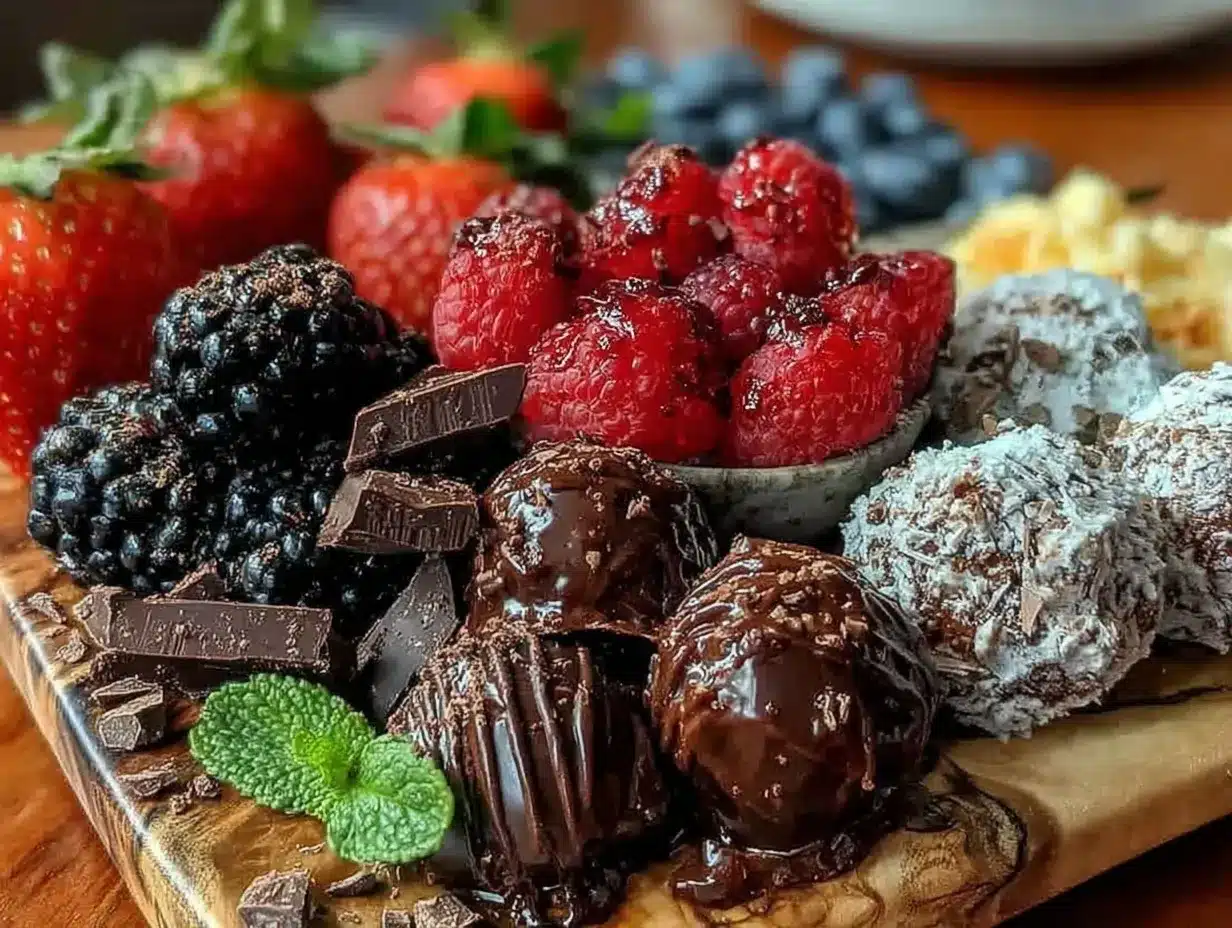
- Unbelievably Delicious: The combination of creamy chocolate, fresh berries, crunchy nuts, and soft cheeses creates a texture and flavor party in your mouth.
What sets this dessert board apart? It’s not just about piling on sweets. The artful balance of flavors and textures—like the slight tartness of berries against velvety dark chocolate and a sprinkle of sea salt—takes it beyond ordinary. Plus, I often add a touch of rosemary or a drizzle of honey, which adds a subtle sophistication that guests keep asking about.
In my experience, this board isn’t just a dessert; it’s a way to slow down and savor moments with loved ones. It’s comfort food, yes, but with a twist that makes it feel special without the stress. If you’ve ever enjoyed the creamy passion fruit mousse cups, you’ll appreciate how this board offers a different kind of indulgence that’s just as satisfying.
What Ingredients You Will Need
This perfect dessert charcuterie board with chocolate and berries relies on straightforward, wholesome ingredients that bring bold flavors and a satisfying mix of textures. You likely have many of these on hand, and substitutions are easy if needed.
- Fresh Berries: A mix of strawberries (hulled and halved), blueberries, raspberries, and blackberries. Freshness is key—look for firm, plump berries.
- Chocolate: A few varieties work best—dark chocolate bars (70% cocoa or higher for a rich bite), milk chocolate chunks for a sweeter touch, and white chocolate chips for contrast.
- Cheeses: Soft cheeses like mascarpone or cream cheese, and a mild goat cheese or brie to add creaminess and tang.
- Nuts: Toasted almonds, walnuts, or pecans bring crunch and warmth. I prefer raw almonds toasted lightly in a dry pan for a subtle flavor.
- Honey or Maple Syrup: For drizzling—adds a natural sweetness that pairs beautifully with both berries and cheese.
- Fresh Herbs: Rosemary or mint sprigs for garnish and a hint of freshness.
- Crackers or Biscotti: For texture and a base to layer flavors—opt for lightly sweet or neutral crackers.
- Dried Fruit: Apricots or figs add chewiness and deepen the flavor profile.
For a seasonal twist, try swapping fresh berries with stone fruits in summer or pomegranate seeds in winter. If you need a gluten-free option, almond flour crackers or nut clusters fit right in.
Brands I trust for chocolate include Lindt and Ghirardelli for consistent quality, and when it comes to cheese, I favor local dairies for fresh, creamy textures. If dairy isn’t your thing, coconut-based cream cheese works surprisingly well, keeping the board just as luscious.
Equipment Needed
Putting together this dessert board doesn’t require anything fancy. Here’s what I usually have on hand:
- Large Serving Platter or Wooden Board: A flat surface with enough space to spread out ingredients attractively.
- Small Bowls or Ramekins: Perfect for honey, nuts, or chocolate chips to keep things tidy.
- Sharp Knife: For slicing berries and cheese neatly.
- Small Tongs or Toothpicks: Helpful for guests to grab items without mess.
If you don’t own a wooden board, a large ceramic or glass platter works just as well. Over the years, I’ve found that a board with a bit of texture helps keep nuts and crackers from sliding around—something to consider if you’re picking new equipment.
Cleaning the board right after use with warm soapy water keeps it in good shape. If you’re using a wooden board, occasional oiling with food-grade mineral oil will maintain its appearance and prevent cracking.
Preparation Method
- Prep the Fruit (10 minutes): Rinse all berries gently under cold water and pat dry with paper towels. Hull and halve strawberries, leaving smaller berries whole. Dry fruit is essential to avoid sogginess on the board.
- Slice the Cheese (5 minutes): Cut soft cheeses like brie or goat cheese into bite-sized wedges or rounds. For mascarpone or cream cheese, spoon into small serving bowls or spread on crackers right before serving.
- Toast the Nuts (7 minutes): Heat a dry skillet over medium heat. Add almonds or walnuts and toast, stirring frequently until fragrant and lightly browned. Watch closely—they can burn fast! Let cool before adding to the board.
- Arrange the Board (10-15 minutes): Start by placing bowls of cheese and honey/maple syrup spaced evenly. Then add clusters of berries, nuts, dried fruits, and chocolate chunks in groups around the board. Leave space to avoid overcrowding.
- Add Crackers and Garnishes (5 minutes): Place crackers or biscotti in small stacks or scattered groups. Tuck fresh rosemary or mint sprigs for a pop of green and aroma.
- Final Touches: Drizzle a bit of honey over some berries or cheese if you like. Sprinkle a pinch of flaky sea salt on dark chocolate chunks to sharpen the flavors.
Keep the board chilled until serving but avoid putting it in the fridge too early—berries can get mushy and crackers soggy. Ideally, assemble no more than 30 minutes ahead.
One time, I accidentally grabbed frozen berries instead of fresh and tried thawing them on the board. The mess was real, but it taught me that fresh fruit really makes all the difference in texture and presentation.
Cooking Tips & Techniques
Though this dessert board is mostly about assembly, a few tips can make your experience smoother and tastier:
- Balance Flavors & Textures: I like to mix sweet, tart, creamy, crunchy, and salty elements. This keeps every bite interesting and satisfying.
- Mind the Temperature: Serve cheeses slightly chilled but let them warm up to room temperature for 15 minutes before serving—that’s when their flavors bloom.
- Prep Nuts Fresh: Toasting nuts yourself is a game-changer. It adds warmth and depth compared to pre-packaged ones.
- Keep Berries Dry: Excess moisture can turn crackers soggy quickly. Drying berries thoroughly after washing is a small step with big payoff.
- Use Quality Chocolate: The chocolate is a star player here, so choose bars with real cocoa content and avoid overly processed options.
One lesson I learned the hard way was stacking too many items too close. It not only looked messy but made picking items awkward. Give each grouping some breathing room and it instantly feels more elegant.
Also, multitasking by prepping berries and nuts while the cheese comes to room temp saves time and keeps things moving quickly.
Variations & Adaptations
This dessert board is flexible—feel free to tweak it to suit your tastes or dietary needs:
- Dairy-Free: Swap cheeses for coconut-based or nut-based soft cheeses. Use dairy-free chocolate chips to keep it vegan-friendly.
- Seasonal Flavors: In summer, add stone fruits like peach slices or cherries. For fall, swap berries for figs and add spiced nuts.
- Chocolate Varieties: Try adding chocolate-covered espresso beans or sprinkle cocoa nibs for a bitter crunch.
- Nut-Free: Replace nuts with seeds like pumpkin or sunflower for crunch without allergens.
- Personal Twist: I often add a few chunks of white chocolate raspberry cheesecake bars on the side for an extra layer of indulgence that guests rave about.
Adjusting the board for different occasions is easy; for a brunch, consider pairing with mini pastries or even a crispy brioche French toast on the side.
Serving & Storage Suggestions
Serve the board at room temperature to let flavors shine. I find it looks best when arranged just before guests arrive, but if you must prep earlier, cover loosely with plastic wrap and keep refrigerated.
Leftovers store well for up to 24 hours in the fridge. Keep crackers separate to avoid sogginess. Reheat nuts slightly in a warm oven or toaster oven to freshen their crunch before serving again.
Pair the board with sparkling wine or a light herbal tea to complement the sweet and tangy notes. Over time, some flavors meld beautifully—like honey-infused berries or softened cheeses—so it’s worth a little patience if you want to savor it later.
Nutritional Information & Benefits
This dessert board balances indulgence and nutrition nicely. Berries bring antioxidants and vitamins, while nuts offer healthy fats and protein. Dark chocolate, in moderation, provides antioxidants and a mood lift.
Estimated per serving (based on 4 servings):
| Calories | 350-400 |
|---|---|
| Fat | 22g |
| Carbohydrates | 35g |
| Protein | 6g |
This board can be easily adapted for gluten-free or vegan diets by choosing appropriate crackers and dairy alternatives. Just be mindful of nut allergies when serving to a crowd.
Conclusion
The perfect dessert charcuterie board with chocolate and berries is my little secret weapon for fuss-free entertaining that still feels thoughtful and impressive. It’s customizable, visually stunning, and delicious—qualities I truly appreciate after hectic days when cooking feels like a chore.
Don’t hesitate to make it your own. Swap ingredients, try new chocolates, or add unexpected touches like herbs or spice. That’s the fun of this style of dessert—it’s as flexible as your creativity allows.
Honestly, this board always brings people together around the table, sparking conversation and smiles. If you happen to try it, I’d love to hear what combinations you come up with or how it fit into your gathering. Share your thoughts below, and let’s keep the sweet inspiration flowing!
Frequently Asked Questions
What types of chocolate work best for a dessert charcuterie board?
Dark chocolate bars with 70% cocoa or higher offer rich flavor and balance sweetness well. Adding milk and white chocolate pieces creates variety and appeals to different tastes.
Can I prepare the dessert board ahead of time?
You can prep ingredients separately a few hours in advance but assemble the board shortly before serving to keep crackers crisp and berries fresh.
What are some good alternatives if I have a nut allergy?
Sunflower or pumpkin seeds add crunch without nuts. You can also use crunchy granola clusters or toasted coconut flakes for texture.
How should I store leftovers?
Keep leftovers refrigerated with crackers stored separately. Nuts can be refreshed with a quick toast in the oven before serving again.
Is this dessert board suitable for kids?
Absolutely! The sweet berries and chocolate appeal to kids, and you can adjust the chocolate types or quantities to suit younger palates.
Pin This Recipe!
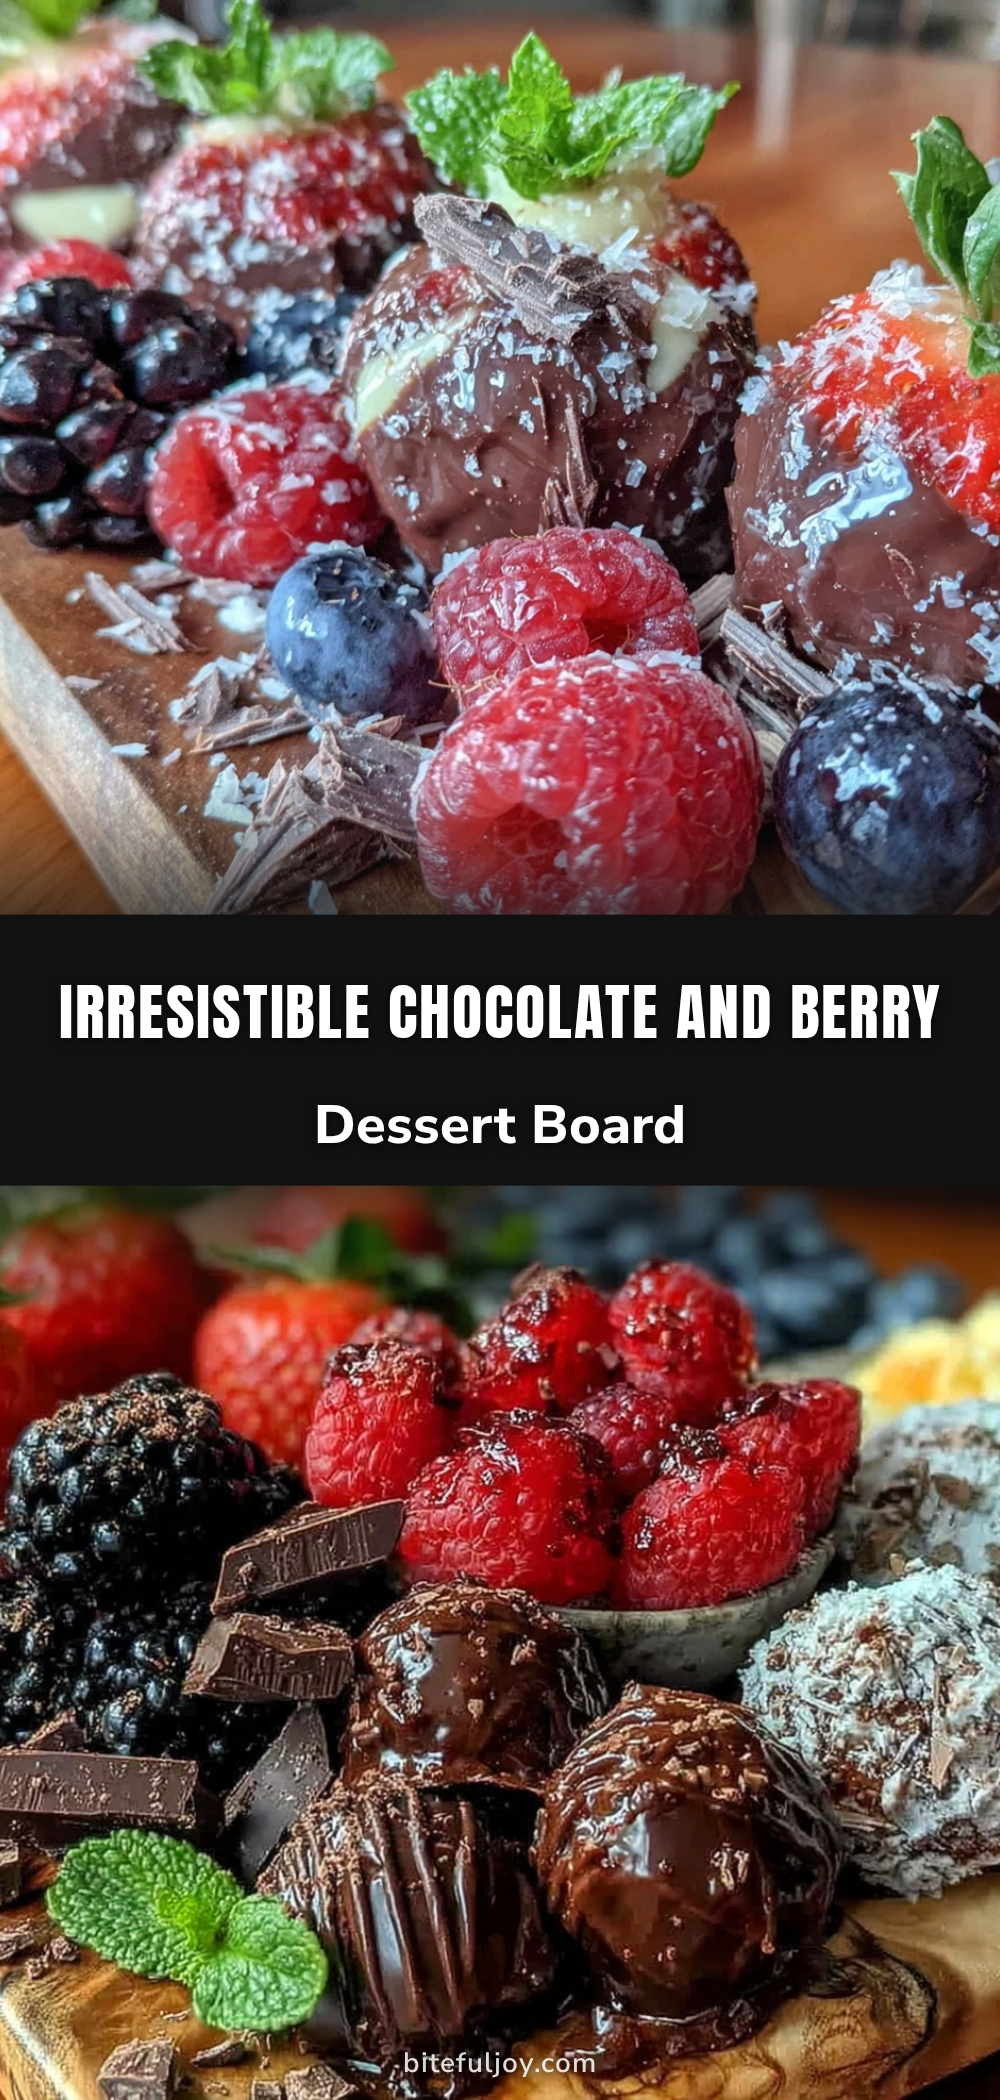
Perfect Dessert Charcuterie Board Ideas with Chocolate and Berries for Easy Entertaining

An easy and elegant dessert charcuterie board featuring a mix of fresh berries, rich chocolates, soft cheeses, nuts, and complementary garnishes. Perfect for quick entertaining and crowd-pleasing indulgence.
- Prep Time: 20 minutes
- Cook Time: 7 minutes
- Total Time: 27 minutes
- Yield: 4 servings
- Category: Dessert
- Cuisine: American
Ingredients
- Fresh berries: strawberries (hulled and halved), blueberries, raspberries, blackberries
- Dark chocolate bars (70% cocoa or higher)
- Milk chocolate chunks
- White chocolate chips
- Soft cheeses: mascarpone or cream cheese, mild goat cheese or brie
- Toasted nuts: almonds, walnuts, or pecans
- Honey or maple syrup for drizzling
- Fresh herbs: rosemary or mint sprigs
- Crackers or biscotti (lightly sweet or neutral)
- Dried fruit: apricots or figs
Instructions
- Rinse all berries gently under cold water and pat dry with paper towels. Hull and halve strawberries, leaving smaller berries whole.
- Cut soft cheeses like brie or goat cheese into bite-sized wedges or rounds. Spoon mascarpone or cream cheese into small serving bowls or spread on crackers before serving.
- Heat a dry skillet over medium heat. Add almonds or walnuts and toast, stirring frequently until fragrant and lightly browned. Let cool before adding to the board.
- Arrange bowls of cheese and honey/maple syrup spaced evenly on a large serving platter or wooden board.
- Add clusters of berries, nuts, dried fruits, and chocolate chunks in groups around the board, leaving space to avoid overcrowding.
- Place crackers or biscotti in small stacks or scattered groups. Tuck fresh rosemary or mint sprigs for garnish.
- Drizzle a bit of honey over some berries or cheese if desired. Sprinkle a pinch of flaky sea salt on dark chocolate chunks to enhance flavor.
- Keep the board chilled until serving but avoid refrigerating too early to prevent sogginess. Assemble no more than 30 minutes ahead.
Notes
Serve cheeses slightly chilled but allow to warm to room temperature 15 minutes before serving for best flavor. Keep berries dry to avoid soggy crackers. Toast nuts fresh for best flavor. Assemble board shortly before serving to maintain freshness and texture. Use quality chocolate bars with real cocoa content. For gluten-free, use almond flour crackers or nut clusters. For dairy-free, use coconut-based or nut-based soft cheeses and dairy-free chocolate chips.
Nutrition
- Serving Size: Approximately 1/4 of
- Calories: 350400
- Fat: 22
- Carbohydrates: 35
- Protein: 6
Keywords: dessert charcuterie board, chocolate and berries, easy entertaining, quick dessert, crowd-pleaser, no bake dessert, berry dessert, chocolate dessert


