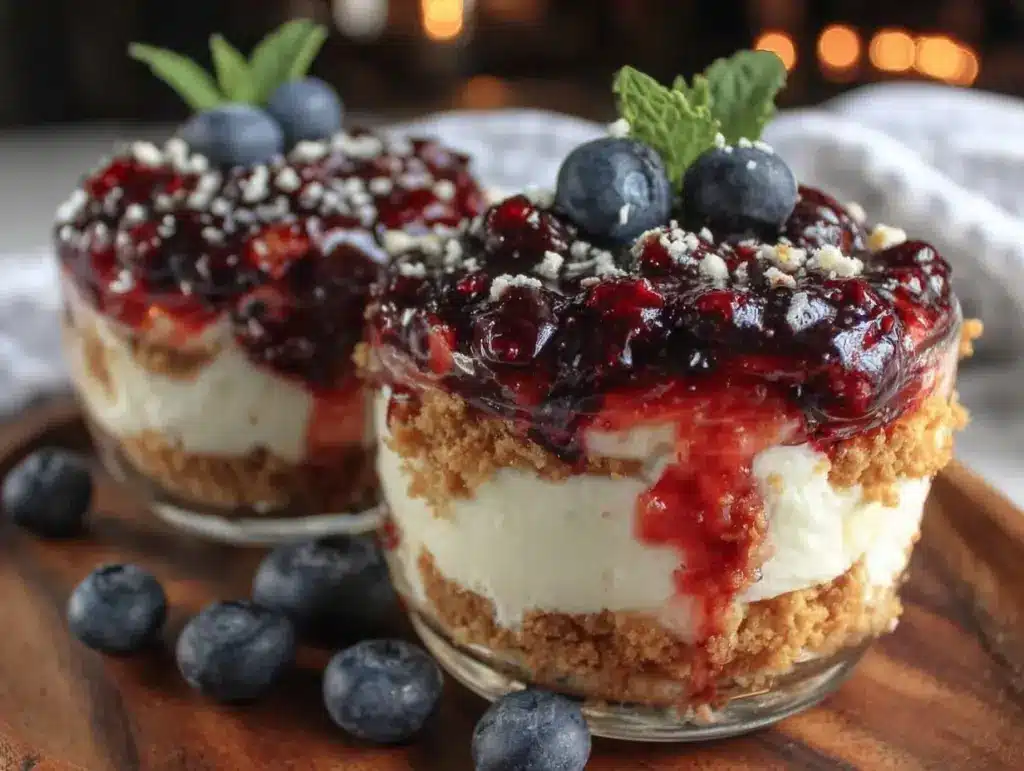
“You have to try this,” my neighbor said, sliding a small cup across the porch railing. It was early July, the kind of day when the sun hangs just right, and everything feels like a promise. Honestly, I was skeptical—no-bake cheesecake? In a cup? With all those patriotic colors? I’m usually more of a classic baker, the type who likes to knead dough or watch a crust turn golden. But one bite of those Fresh Red White and Blue No-Bake Cheesecake Trifle Cups, and my doubts melted away faster than the summer heat on my skin.
That first afternoon, I found myself sitting on my porch, the cup balanced on my knee, the faint scent of fresh berries mingling with the faint smell of summer grass. Each spoonful was cool, creamy, and just the right kind of sweet, with bursts of juicy red strawberries and plump blueberries. The layers were simple but felt special, like a little celebration in dessert form. I couldn’t help but think, “Why haven’t I made something like this before?”
Since then, I’ve made these trifle cups more times than I care to admit (the kids are partial to them, too), tweaking the layers just enough to keep things interesting. It’s the kind of recipe that fits perfectly into a busy day—no oven fuss, no complicated steps—just fresh flavors and that satisfying cheesecake texture. If you’ve been hunting for an easy yet festive dessert that brings a little sparkle to your table, this is definitely the one that stuck with me. It’s simple, fresh, and honestly, kind of magical in its own right.
Why You’ll Love This Recipe
This Fresh Red White and Blue No-Bake Cheesecake Trifle Cup recipe is a real crowd-pleaser, tested over multiple summer weekends and perfect for those moments when you want something pretty without the hassle. Here’s why it’s become a go-to for me and many others:
- Quick & Easy: Ready in under 30 minutes, ideal for last-minute gatherings or when you’re juggling a dozen things.
- Simple Ingredients: Uses pantry staples and fresh berries—nothing fancy or hard to find.
- Perfect for Patriotic Occasions: Whether it’s the Fourth of July, Memorial Day, or just a sunny summer afternoon.
- Crowd-Pleaser: Kids love the layers, and adults appreciate the light creaminess and fresh fruit.
- Unbelievably Delicious: The creamy cheesecake layer blends perfectly with the sweet-tart berries and crunchy graham cracker crumbs.
- A Unique Twist: Unlike traditional cheesecake, this recipe uses whipped cream folded into cream cheese for an airy, refreshing texture that’s not too heavy.
- Emotionally Satisfying: It’s the kind of dessert that feels like a little treat and a little indulgence all at once, making summer memories sweeter.
What really makes this recipe stand out is that no-bake magic—being able to whip it up in a flash without heating up the kitchen, especially on warm days. Plus, the visual layers in red, white, and blue are just plain fun to assemble and show off. Honestly, it’s become my favorite way to impress guests without breaking a sweat.
What Ingredients You Will Need
This recipe relies on simple, wholesome ingredients that come together to deliver bold, fresh flavors and a satisfying texture without any fuss. You probably already have most of these in your kitchen, and the fresh berries bring the perfect seasonal touch.
- Cream Cheese, softened (I prefer Philadelphia for that smooth texture)
- Heavy Whipping Cream, cold (for the fluffy, airy cheesecake layer)
- Granulated Sugar (balances the tanginess)
- Vanilla Extract (adds warm depth)
- Graham Crackers, crushed (for that classic crunchy base; use honey-flavored if you want a subtle sweetness)
- Unsalted Butter, melted (to hold the crust together)
- Fresh Strawberries, sliced (for the red layer, pick the firmest berries for best texture)
- Fresh Blueberries (washed and dried; the blue layer)
- Powdered Sugar (optional, for dusting or extra sweetness)
Substitution tips:
- Dairy-Free Option: Swap cream cheese with a vegan cream cheese and use coconut cream instead of heavy cream.
- Gluten-Free: Use gluten-free graham crackers or crushed gluten-free cookies for the crust.
- Seasonal Variations: You can swap strawberries and blueberries for raspberries and blackberries if you want a slightly different berry profile.
The fresh berries are what truly make this recipe pop. In summer, I like to grab local strawberries and blueberries from the farmers market; their bright flavor is unmatched. The cream cheese mixture is creamy and light, thanks to the whipped cream folded in, so it never feels too rich.
Equipment Needed
- Mixing Bowls (medium and large) – I use glass ones because you can see the layers clearly if you’re mixing and assembling in them
- Electric Hand Mixer or Stand Mixer – helps whip the cream to soft peaks and smooth the cream cheese without lumps
- Measuring Cups and Spoons – for accuracy, especially with sugar and vanilla
- Spatula – flexible for folding the whipped cream gently into the cheese mixture
- Small Dessert Cups or Mason Jars – whatever you have; clear ones show off the pretty layers best
- Food Processor or Plastic Bag and Rolling Pin – to crush graham crackers finely (I sometimes just use my hands if I’m in a hurry)
For budget-friendly options, you can skip the stand mixer if you have a sturdy hand whisk (though it requires more elbow grease). Also, no need for fancy trifle bowls—individual cups or even small bowls work perfectly and make serving a breeze. A key tip: keep the heavy cream well chilled before whipping for the best volume.
Preparation Method
- Crush the Graham Crackers: Measure 1 1/2 cups (150g) of graham crackers and crush them finely using a food processor or by placing them in a sealed plastic bag and pounding gently with a rolling pin. Transfer to a bowl.
- Combine with Butter: Add 5 tablespoons (70g) of melted unsalted butter to the crushed crackers. Stir until the crumbs are evenly coated and resemble wet sand. Set aside.
- Prepare the Cheesecake Layer: In a large bowl, beat 8 ounces (226g) of softened cream cheese with 1/2 cup (100g) granulated sugar and 1 teaspoon vanilla extract until smooth and creamy. This usually takes 3-4 minutes with an electric mixer.
- Whip the Cream: In a separate chilled bowl, whip 1 cup (240ml) heavy whipping cream to soft peaks. This means when you lift the whisk, the cream holds a gentle peak but the tip curls over.
- Fold Whipped Cream Into Cream Cheese: Gently fold the whipped cream into the cream cheese mixture with a spatula, combining carefully to keep the mixture light and airy. This creates the perfect cheesecake texture without baking.
- Prepare the Berries: Slice 1 1/2 cups (about 225g) fresh strawberries and wash 1 cup (150g) fresh blueberries. Pat dry to avoid extra moisture in the layers.
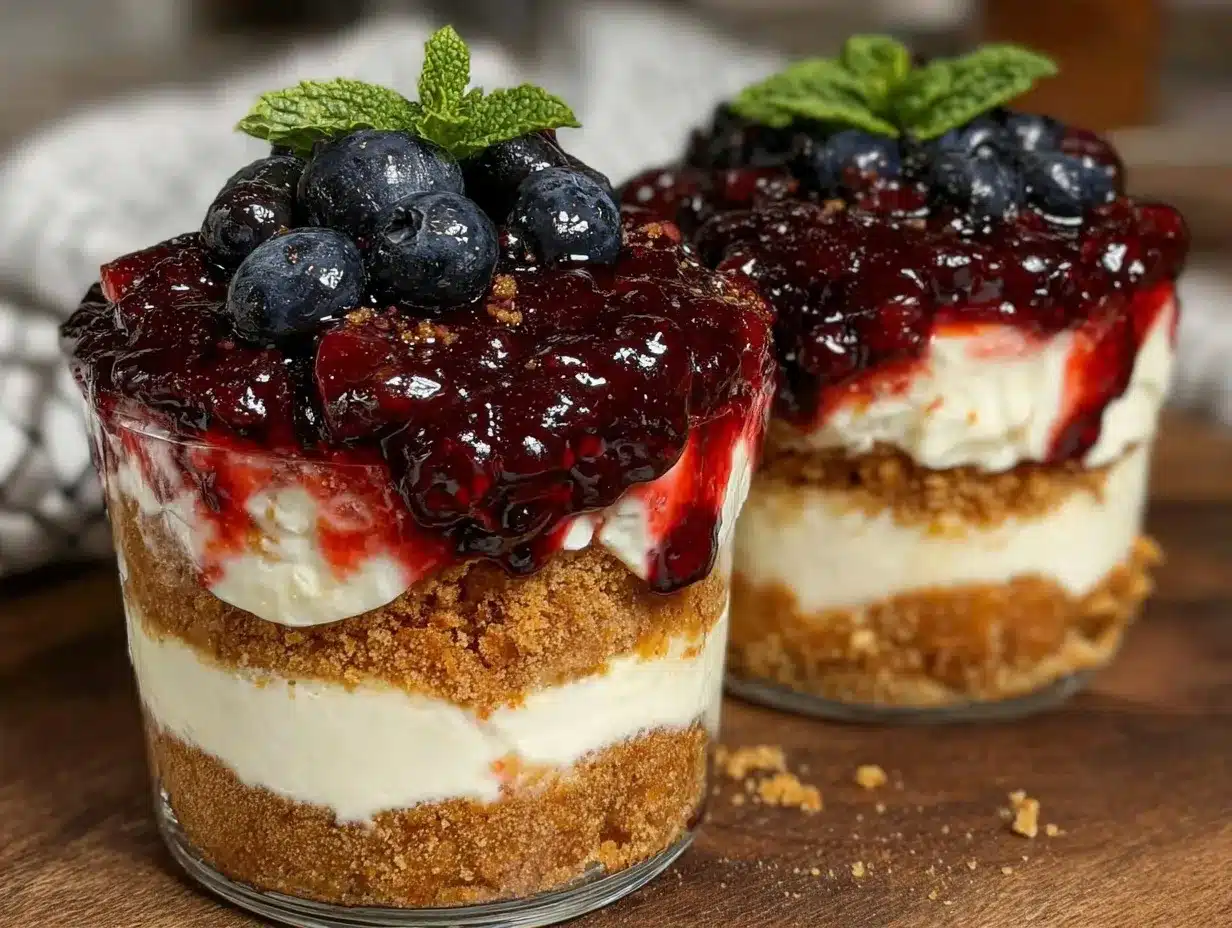
- Assemble the Trifle Cups: Start by spooning a layer of graham cracker crumbs into the bottom of your cups (about 2 tablespoons per cup). Next, add a layer of the cheesecake mixture (about 3 tablespoons). Then add a layer of sliced strawberries, followed by another cheesecake layer, a sprinkle of crumbs, blueberries, and finish with a final dollop of cheesecake mixture.
- Chill: Cover the cups with plastic wrap and refrigerate for at least 1 hour to let the flavors meld and the cheesecake layer firm up slightly.
- Serve: Optionally dust with powdered sugar or garnish with a fresh mint leaf just before serving for a touch of elegance.
Watch out for overmixing the whipped cream into the cream cheese—it can deflate the airiness if you’re too rough. Also, layering quickly helps keep the berries looking fresh and vibrant instead of soggy. You’ll know it’s just right when the cups look like miniature flags, a little celebration in each bite.
Cooking Tips & Techniques
One thing I learned the hard way is that your cream cheese absolutely needs to be softened to room temperature before mixing. Cold cream cheese leads to lumps that are a pain to fix. I usually pop it out 30 minutes ahead or microwave in 10-second bursts if I’m in a rush.
Whipping the cream just right is another key step. If it’s under-whipped, the cheesecake layer will be dense; over-whipped, and it turns grainy and separates. Stop whipping when soft peaks form, and fold gently.
For the graham cracker crumbs, crushing them finely helps them bind well with the melted butter and creates a satisfying crunch without feeling gritty. I sometimes toast the crumbs lightly in a dry pan for extra flavor, but that’s optional.
Timing-wise, assembling the cups right before chilling keeps the berries fresh and the layers distinct. Multitasking tip: whip the cream while the crackers are crushing, then combine the cream cheese mixture. This keeps your prep smooth and efficient.
Lastly, refrigerate the cups uncovered for the first 30 minutes to prevent condensation, then cover loosely. This little trick keeps the crust crunchy and your dessert looking picture-perfect.
Variations & Adaptations
This recipe is super flexible depending on your mood or dietary needs. Here are a few ways I’ve adapted it:
- Flavor Variations: Swap the vanilla extract for almond extract or lemon zest to add a fresh twist to the cheesecake layer.
- Seasonal Fruit: In fall or winter, I swap berries for diced peaches or pomegranate seeds, which add a lovely pop of color and flavor.
- Low-Sugar Option: Use a sugar substitute like erythritol instead of granulated sugar and opt for no-sugar-added berries.
- Gluten-Free Version: Use gluten-free graham cracker crumbs or crushed nuts like almonds or pecans for the crust.
- Alternative Crust: For a nutty twist, replace graham cracker crumbs with crushed pretzels or shortbread cookies.
Personally, I once made these trifle cups as part of a brunch spread alongside my creamy passion fruit mousse cups. The contrast between the tropical mousse and the fresh, patriotic trifle was a hit. It’s a great way to keep things interesting on the dessert table.
Serving & Storage Suggestions
Serve these Fresh Red White and Blue No-Bake Cheesecake Trifle Cups chilled, straight from the refrigerator. They’re perfect for afternoon picnics, backyard barbecues, or as a light finish after a big meal. I like to garnish them with a few extra fresh berries or a sprig of mint for a fresh look.
They pair beautifully with a crisp iced tea or a sparkling lemonade, balancing the creamy richness with a refreshing sip. For a brunch twist, they’re a lovely sweet note after savory dishes like my smoked salmon cucumber tea sandwiches.
Store leftovers covered in the fridge for up to 3 days. The crust will soften a bit over time, but the flavors actually deepen and taste even better the next day. If you want to prepare ahead, assemble the layers but wait to add the berries until serving day for the freshest texture.
Reheat is not recommended since it’s a cold dessert, but if you want it slightly less chilled, just take it out of the fridge 15 minutes before eating.
Nutritional Information & Benefits
Each serving of these trifle cups is approximately 250 calories, with a balanced mix of fat from cream cheese and butter, protein from dairy, and natural sugars from fresh fruit. The berries provide antioxidants and vitamins, especially vitamin C, which adds a healthful boost to this indulgence.
This recipe can be made gluten-free easily, and with sugar substitute swaps, it’s possible to enjoy a lower-carb version. Keep in mind the dairy content, which offers calcium and contributes to bone health, but may not suit everyone’s dietary needs.
From a wellness standpoint, it’s a treat that feels like a little reward without going overboard—the portion control of individual cups helps with mindful eating, a trick I appreciate when balancing indulgence with everyday nutrition.
Conclusion
The Fresh Red White and Blue No-Bake Cheesecake Trifle Cups are more than just a pretty dessert—they’re a little celebration you can whip up anytime, especially when you want something fuss-free but still special. The layers of creamy cheesecake, crunchy crust, and fresh berries come together in a way that’s light, refreshing, and totally satisfying.
I love how flexible this recipe is—you can tweak it to suit your taste or occasion without losing what makes it fun and delicious. Plus, the no-bake method means you get more time enjoying company and less time hovering over a hot oven.
If you try it, I’d love to hear how you made it your own. Whether you keep it classic or add a new twist, these trifle cups are sure to bring a little joy to your table. Go ahead and make some memories with this easy patriotic dessert!
Frequently Asked Questions
Can I make these trifle cups ahead of time?
Yes! Assemble the layers and refrigerate up to 2 days ahead. For best berry freshness, add the fruit right before serving.
What can I use instead of graham crackers for the crust?
Crushed digestive biscuits, gluten-free cookies, or even crushed pretzels work well as alternatives.
Is there a dairy-free version of this recipe?
You can substitute cream cheese with vegan cream cheese and use coconut cream instead of heavy whipping cream.
How do I keep the cheesecake layer smooth and lump-free?
Make sure your cream cheese is fully softened and beat it well before folding in the whipped cream gently.
Can I use frozen berries instead of fresh?
Frozen berries can be used but thaw and drain them well to avoid excess moisture that can make the layers soggy.
Pin This Recipe!
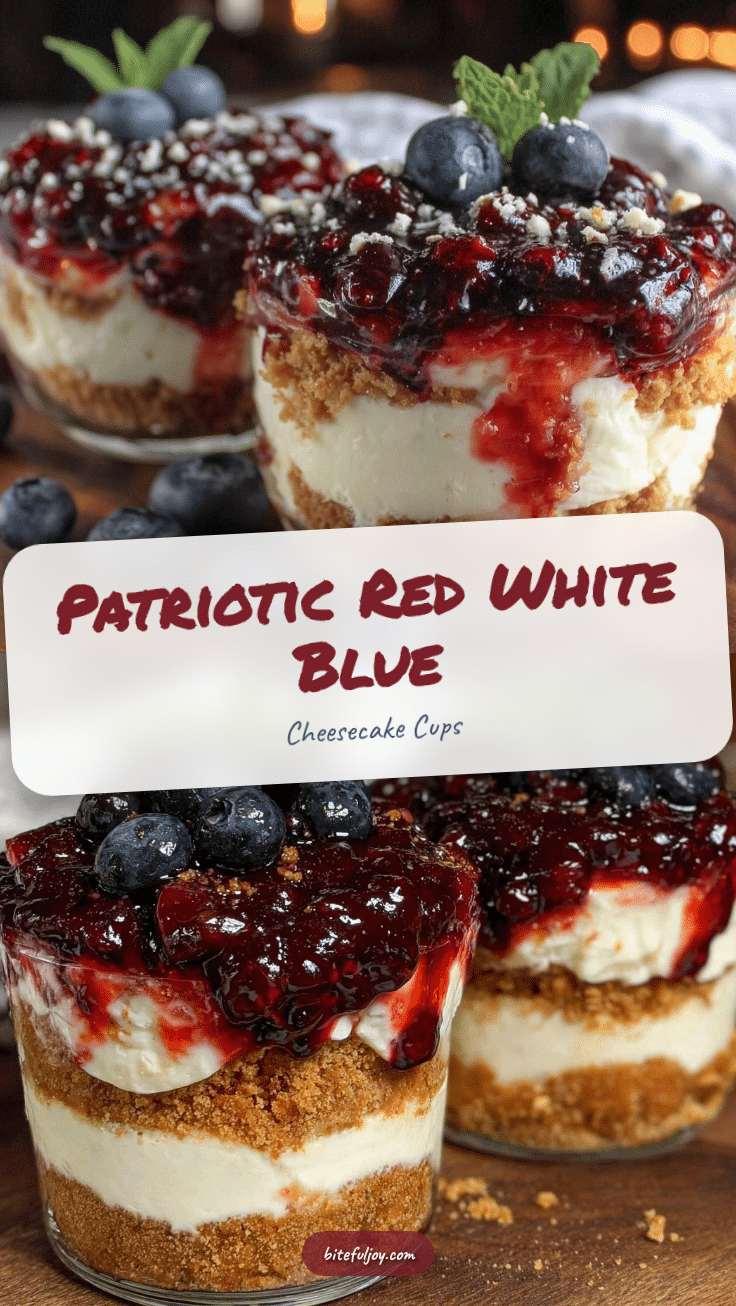
Fresh Red White and Blue No-Bake Cheesecake Trifle Cups

A quick and easy no-bake cheesecake trifle dessert featuring layers of creamy cheesecake, crunchy graham cracker crust, and fresh strawberries and blueberries, perfect for patriotic occasions.
- Prep Time: 15 minutes
- Cook Time: 0 minutes
- Total Time: 1 hour 15 minutes
- Yield: 6 servings 1x
- Category: Dessert
- Cuisine: American
Ingredients
- 8 ounces cream cheese, softened
- 1 cup heavy whipping cream, cold
- 1/2 cup granulated sugar
- 1 teaspoon vanilla extract
- 1 1/2 cups graham crackers, crushed
- 5 tablespoons unsalted butter, melted
- 1 1/2 cups fresh strawberries, sliced
- 1 cup fresh blueberries
- Powdered sugar (optional, for dusting)
Instructions
- Crush 1 1/2 cups (150g) of graham crackers finely using a food processor or by pounding in a sealed plastic bag. Transfer to a bowl.
- Add 5 tablespoons (70g) melted unsalted butter to the crushed crackers and stir until evenly coated. Set aside.
- In a large bowl, beat 8 ounces (226g) softened cream cheese with 1/2 cup (100g) granulated sugar and 1 teaspoon vanilla extract until smooth and creamy.
- In a separate chilled bowl, whip 1 cup (240ml) heavy whipping cream to soft peaks.
- Gently fold the whipped cream into the cream cheese mixture with a spatula to keep it light and airy.
- Slice 1 1/2 cups (about 225g) fresh strawberries and wash and dry 1 cup (150g) fresh blueberries.
- Assemble the trifle cups by layering about 2 tablespoons of graham cracker crumbs at the bottom, followed by 3 tablespoons of cheesecake mixture, a layer of sliced strawberries, another cheesecake layer, a sprinkle of crumbs, blueberries, and finish with a final dollop of cheesecake mixture.
- Cover the cups with plastic wrap and refrigerate for at least 1 hour to let flavors meld and cheesecake layer firm up.
- Optionally dust with powdered sugar or garnish with fresh mint before serving.
Notes
Ensure cream cheese is softened to room temperature to avoid lumps. Whip cream to soft peaks and fold gently to maintain airiness. Crush graham crackers finely for best texture. Assemble cups quickly to keep berries fresh and vibrant. Refrigerate uncovered for 30 minutes before covering to prevent condensation and keep crust crunchy.
Nutrition
- Serving Size: 1 trifle cup
- Calories: 250
- Sugar: 12
- Sodium: 150
- Fat: 18
- Saturated Fat: 10
- Carbohydrates: 18
- Fiber: 2
- Protein: 4
Keywords: no-bake cheesecake, patriotic dessert, trifle cups, red white and blue dessert, easy summer dessert, berry cheesecake


