
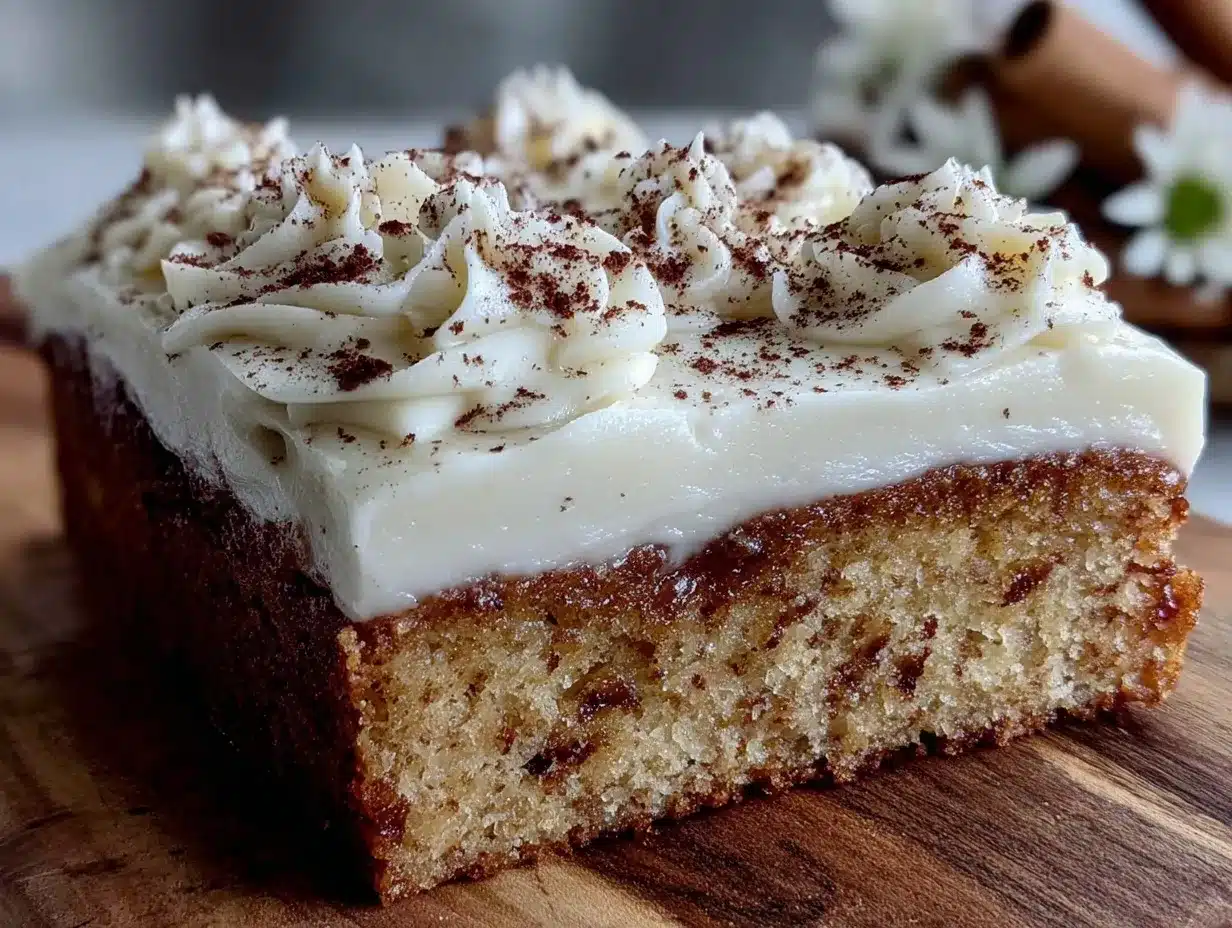
“Hey, did you bring the cake?” That question hit me just as I was juggling a dozen last-minute party details. Honestly, I’d planned to pick something up on the way, but running into unexpected traffic while hauling balloons and decorations had me feeling a bit defeated. So, with barely any time, I threw together this easy celebration sheet cake with a graduation year stencil — and, well, it turned out to be a total win.
The frosting was just the right shade of creamy, the cake itself moist without being fussy, and the stencil made it look like I’d spent hours crafting it. People kept asking who made the cake, and I had to laugh because it was honestly one of my quickest baking moments ever. I never thought I’d pull off something that impressive without stress, but here we are.
What stuck with me is how this simple cake became the centerpiece of the whole party — not flashy, but just right. It reminded me a bit of the Earl Grey Tea Cake I baked last spring, which also had that effortless charm but with a fancy twist. For a celebration that demands something sweet, festive, and completely approachable, this sheet cake is my go-to now. It’s that reliable treat that says “congratulations” in the best way — soft, sweet, and with a personalized touch that feels thoughtful without the hassle.
Why You’ll Love This Easy Celebration Sheet Cake with Graduation Year Stencil
After making this cake a handful of times, I can honestly say it’s one of those recipes that feels like cheating — except you’re rewarded with rave reviews every time. Here’s what makes it stand out:
- Quick & Easy: From mixing to frosting, you’re looking at about 45 minutes total. Perfect when party prep is already maxed out.
- Simple Ingredients: No need for fancy baking aisle hunts — just pantry staples you probably have on hand.
- Perfect for Graduation Parties and More: Whether it’s a graduation, birthday, or any milestone, the stencil adds a personalized, festive touch.
- Crowd-Pleaser: Kids to adults, everyone loves how moist and tender this cake is, especially with the creamy frosting.
- Unbelievably Delicious: The slight tang from the buttermilk balances with the sweetness, and the chocolate or vanilla options let you customize flavor.
What really makes this recipe different is the stencil technique. I’ve tried a few ways to personalize cakes before, but using a simple stencil with powdered sugar or cocoa powder lets you add that graduation year with zero mess or stress. It’s like cake decorating for people who don’t have time for cake decorating.
Honestly, this cake has become my “secret weapon” for celebrations, the one I trust to impress without stealing the whole day. It’s comfort food that also feels special — you know, the kind that makes you pause after the first bite and smile.
What Ingredients You Will Need
This recipe calls for straightforward ingredients that come together to create a tender, flavorful cake with a smooth frosting perfect for showcasing your graduation year stencil. Most of these are pantry staples, so you can whip this up without a special grocery run.
- For the Cake:
- All-purpose flour – 2 ½ cups (312 g), sifted for lightness
- Granulated sugar – 2 cups (400 g), for sweetness
- Baking powder – 2 ½ tsp, to give the cake a nice rise
- Baking soda – ½ tsp, helps with tenderness
- Salt – ½ tsp, balances the flavors
- Unsalted butter – 1 cup (227 g), softened (I prefer Kerrygold for rich flavor)
- Buttermilk – 1 cup (240 ml), room temperature (adds moistness and tang)
- Large eggs – 3, room temperature (helps the cake structure)
- Pure vanilla extract – 2 tsp, for depth of flavor
- For the Frosting:
- Unsalted butter – 1 cup (227 g), softened
- Powdered sugar – 4 cups (480 g), sifted to avoid lumps
- Heavy cream – 2-4 tbsp (30-60 ml), to adjust consistency
- Vanilla extract – 1 tsp
- Pinch of salt, to cut sweetness
- For the Stencil Decoration:
- Graduation year stencil (can be printed on cardstock or bought)
- Cocoa powder or powdered sugar, for dusting
You can swap buttermilk with a mix of milk and lemon juice if needed (just let it sit for 5 minutes). For a dairy-free option, use almond milk and a plant-based butter substitute — just expect a slight texture difference.
Equipment Needed
- 9×13 inch (23×33 cm) sheet pan – this size is perfect for a party-sized cake
- Mixing bowls – medium and large, for batter and frosting
- Electric mixer or stand mixer – makes creaming butter and sugar a breeze
- Rubber spatula – for folding ingredients gently
- Sifter or fine mesh sieve – to sift flour and powdered sugar
- Offset spatula or butter knife – for smooth frosting application
- Stencil for graduation year – you can DIY this with cardstock and a craft knife or buy ready-made stencils online
- Fine mesh sieve or small sieve – to dust cocoa or powdered sugar evenly
If you don’t have a mixer, no worries — whipping this by hand is totally doable, just takes a bit more elbow grease. I’ve found that using an electric mixer speeds things up especially when making frosting, but a sturdy whisk works fine too.
Preparation Method
- Preheat and Prep: Set your oven to 350°F (175°C). Grease the 9×13 inch sheet pan with butter and lightly dust with flour to prevent sticking. This usually takes about 10 minutes.
- Cream Butter and Sugar: In a large bowl, beat 1 cup (227 g) softened unsalted butter with 2 cups (400 g) granulated sugar until light and fluffy—about 3 to 5 minutes. This step is crucial for a tender crumb.
- Add Eggs and Vanilla: Beat in the 3 large eggs, one at a time, mixing well after each addition. Stir in 2 teaspoons vanilla extract. The batter should be smooth and slightly thick.
- Combine Dry Ingredients: In a separate bowl, whisk 2 ½ cups (312 g) all-purpose flour, 2 ½ teaspoons baking powder, ½ teaspoon baking soda, and ½ teaspoon salt to make sure everything is evenly distributed.
- Alternate Adding Dry Ingredients and Buttermilk: Add the dry ingredients to the butter mixture in three parts, alternating with 1 cup (240 ml) room temperature buttermilk — start and end with dry ingredients. Mix gently after each addition just until combined (avoid overmixing!). This should take about 5 minutes total.
- Pour and Smooth: Transfer the batter to your prepared sheet pan, spreading evenly with an offset spatula. Tap the pan lightly on the counter to release any air bubbles.
- Bake: Bake for 35-40 minutes or until a toothpick inserted in the center comes out clean. You’ll notice the edges pulling slightly away from the pan when it’s done.
- Cool Completely: Let the cake cool in the pan on a wire rack for at least 30 minutes before frosting. Trying to frost a warm cake leads to melty frosting — trust me, I learned the hard way.
- Make the Frosting: Beat 1 cup (227 g) softened butter until creamy. Gradually add 4 cups (480 g) sifted powdered sugar. Add 2-4 tablespoons (30-60 ml) heavy cream, 1 teaspoon vanilla extract, and a pinch of salt. Beat until fluffy. Adjust cream to get a spreadable consistency.
- Frost the Cake: Spread an even layer of frosting over the cooled cake using an offset spatula, smoothing the top and edges.
- Stencil the Graduation Year: Place your stencil gently on the frosted cake. Using a fine mesh sieve, dust cocoa powder or powdered sugar over the stencil area. Carefully lift the stencil straight up to reveal a sharp, clean graduation year design. Voilà!
Pro tip: If you want to avoid smudging, chill the cake for 10 minutes before stenciling to firm up the frosting slightly. Also, I keep extra cocoa powder on hand to touch up any spots with a small clean brush.
Cooking Tips & Techniques
Here’s the scoop from my kitchen experiments, so your celebration cake turns out just right every time:
- Room Temperature Ingredients: It really makes a difference. Eggs and butter that are too cold won’t combine well, resulting in a denser cake.
- Don’t Overmix: When combining wet and dry ingredients, stir just until blended. Overworking the batter can make the cake tough — nobody wants that.
- Check Your Oven Temperature: Oven temps vary, so use an oven thermometer if you can. My first attempt burned the edges before the center was done, so I learned to watch closely after 30 minutes.
- Frosting Consistency Matters: If your frosting feels stiff, a splash of cream loosens it up for easier spreading. Too runny? Add more powdered sugar.
- Stencil Placement: Place the stencil carefully and avoid sliding it once down. Lift straight up to keep the edges crisp.
- Multitasking Tip: While the cake cools, prep your stencil and sift the cocoa or powdered sugar — saves time and keeps momentum going.
I remember the first time I tried stenciling, I was nervous it would look amateurish. But after a few tries, it became quick and fun — kind of like making the cake itself!
Variations & Adaptations
Want to switch things up? This recipe handles twists well:
- Flavor Variations: Swap vanilla extract for almond or lemon zest for a fresh take. You can also add ½ cup (45 g) of cocoa powder to the dry ingredients for a chocolate version.
- Frosting Options: Try cream cheese frosting for a tangy contrast or use whipped ganache for a rich, glossy finish.
- Dietary Adjustments: For gluten-free, substitute the flour with a 1:1 gluten-free baking blend. I’ve done this with success for friends who need it.
- Stencil Styles: Instead of the graduation year, you can stencil names, “Congrats,” or any message fitting your occasion.
- Decorative Touch: Add fresh berries or edible flowers around the edges for a pretty presentation, similar to how I garnish the Peach Bellini Panna Cotta.
Serving & Storage Suggestions
This cake is best served at room temperature to appreciate the tender crumb and creamy frosting. For parties, slice right before serving to keep the edges neat.
Pair with a light beverage like iced tea or sparkling lemonade to balance the sweetness. If you’re hosting brunch, it fits nicely alongside savory dishes like the Spinach and Feta Croissant Bake.
Store leftovers covered at room temperature for up to 2 days or in the fridge for 4-5 days. When refrigerated, bring slices to room temperature before serving for best texture.
For longer storage, freeze the unfrosted cake wrapped tightly in plastic wrap and foil for up to 3 months. Thaw overnight in the fridge, then frost and stencil fresh. This way, you can prepare in advance and still wow your guests.
Nutritional Information & Benefits
One generous slice (about 1/12 of the cake) contains approximately:
| Calories | 380 |
|---|---|
| Fat | 18 g |
| Carbohydrates | 52 g |
| Protein | 4 g |
| Sugar | 34 g |
Key ingredients like buttermilk provide calcium and vitamin B12, while eggs add protein. This cake isn’t low-calorie, but it’s a treat worth savoring on special occasions.
If you’re mindful of allergens, note this recipe contains dairy, eggs, and gluten. Substitutions for gluten-free and dairy-free diets are possible with ingredient swaps.
Conclusion
This easy celebration sheet cake with graduation year stencil has become my reliable go-to whenever I want a fuss-free but memorable dessert. It hits that perfect balance between simple ingredients, a fast prep time, and a personalized feel that’s just right for marking milestones.
Whether you stick with classic vanilla or try a cocoa twist, the stencil adds a festive touch that guests always notice. I love how it turns a humble sheet cake into a centerpiece — no fancy decorating skills required.
Give it a try and make it your own by customizing flavors or decorations. And hey, if you’re looking for more easy party treats, you might enjoy the smoked salmon cucumber tea sandwiches for a savory bite or the white chocolate raspberry cheesecake bars for another sweet hit.
Happy celebrating — may your cake be moist, your frosting smooth, and your party memories sweet!
FAQs
Can I make this sheet cake a day ahead?
Absolutely! Bake and frost the cake a day in advance, then store it covered at room temperature or in the fridge. Just bring it to room temp before serving for the best taste.
What if I don’t have a stencil for the graduation year?
You can easily create one by printing the numbers on cardstock and cutting them out with a craft knife. Or, use letter cutters or edible markers for a freehand design.
Can I freeze the frosted cake?
It’s best to freeze the cake unfrosted. Wrap it tightly, freeze, then thaw and frost fresh. Freezing after frosting can affect texture and appearance.
What can I use instead of buttermilk?
If you don’t have buttermilk, mix 1 cup (240 ml) milk with 1 tablespoon lemon juice or vinegar, let it sit for 5 minutes, then use as a substitute.
How do I avoid the stencil smudging on the frosting?
Chill the frosted cake for 10-15 minutes before stenciling to firm up the frosting. Use a light dusting with a fine sieve, and lift the stencil straight up slowly and carefully.
Pin This Recipe!
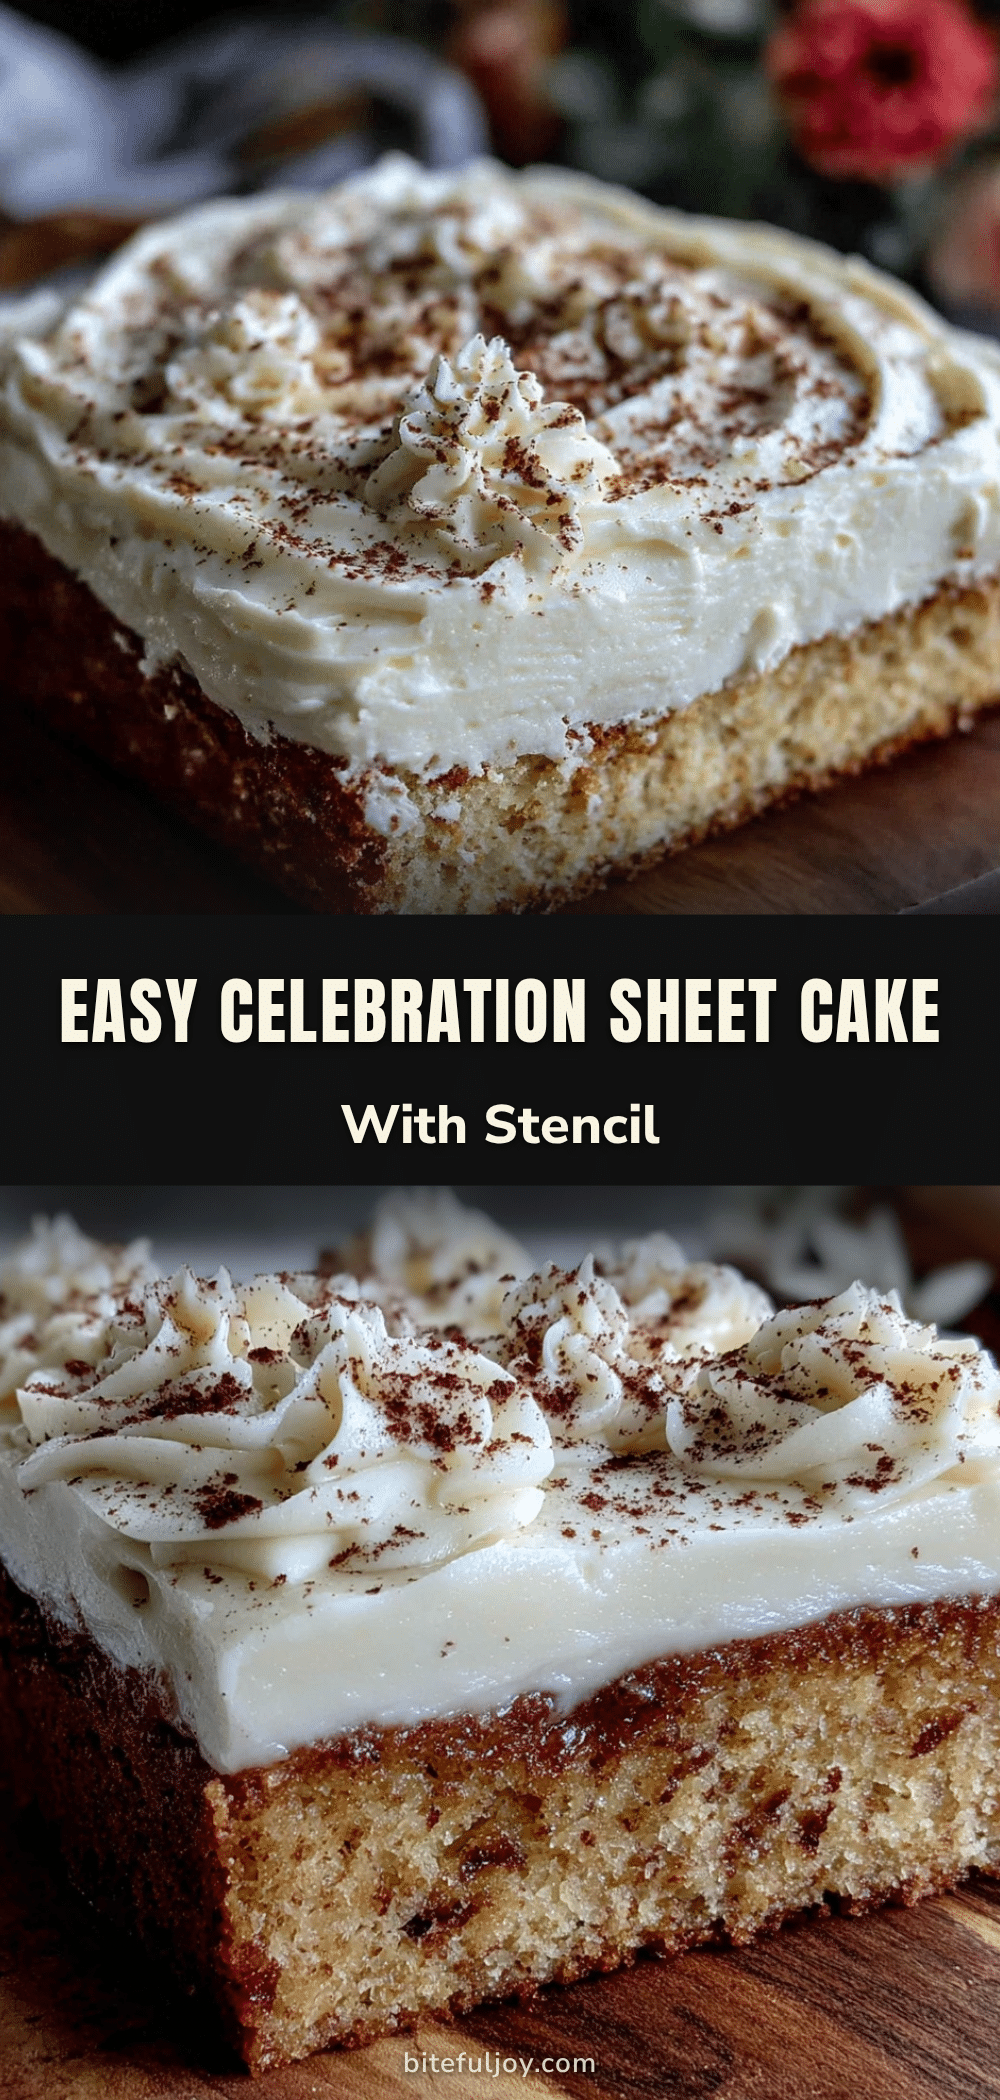
Easy Celebration Sheet Cake Recipe with Graduation Year Stencil Perfect for Parties
A quick and easy sheet cake recipe perfect for celebrations, featuring a moist cake with creamy frosting and a personalized graduation year stencil decoration.
- Prep Time: 15 minutes
- Cook Time: 40 minutes
- Total Time: 55 minutes
- Yield: 12 servings 1x
- Category: Dessert
- Cuisine: American
Ingredients
- 2 ½ cups (312 g) all-purpose flour, sifted
- 2 cups (400 g) granulated sugar
- 2 ½ tsp baking powder
- ½ tsp baking soda
- ½ tsp salt
- 1 cup (227 g) unsalted butter, softened
- 1 cup (240 ml) buttermilk, room temperature
- 3 large eggs, room temperature
- 2 tsp pure vanilla extract
- 1 cup (227 g) unsalted butter, softened (for frosting)
- 4 cups (480 g) powdered sugar, sifted
- 2–4 tbsp (30–60 ml) heavy cream
- 1 tsp vanilla extract (for frosting)
- Pinch of salt (for frosting)
- Graduation year stencil (printed on cardstock or bought)
- Cocoa powder or powdered sugar for dusting
Instructions
- Preheat oven to 350°F (175°C). Grease a 9×13 inch sheet pan with butter and lightly dust with flour.
- In a large bowl, beat 1 cup softened unsalted butter with 2 cups granulated sugar until light and fluffy, about 3 to 5 minutes.
- Beat in the 3 large eggs one at a time, mixing well after each addition. Stir in 2 teaspoons vanilla extract.
- In a separate bowl, whisk together 2 ½ cups all-purpose flour, 2 ½ teaspoons baking powder, ½ teaspoon baking soda, and ½ teaspoon salt.
- Add the dry ingredients to the butter mixture in three parts, alternating with 1 cup room temperature buttermilk, starting and ending with dry ingredients. Mix gently after each addition just until combined.
- Pour the batter into the prepared sheet pan and spread evenly with an offset spatula. Tap the pan lightly to release air bubbles.
- Bake for 35-40 minutes or until a toothpick inserted in the center comes out clean.
- Cool the cake in the pan on a wire rack for at least 30 minutes before frosting.
- To make the frosting, beat 1 cup softened butter until creamy. Gradually add 4 cups sifted powdered sugar. Add 2-4 tablespoons heavy cream, 1 teaspoon vanilla extract, and a pinch of salt. Beat until fluffy and adjust cream for spreadable consistency.
- Spread an even layer of frosting over the cooled cake using an offset spatula.
- Place the graduation year stencil gently on the frosted cake. Using a fine mesh sieve, dust cocoa powder or powdered sugar over the stencil area. Carefully lift the stencil straight up to reveal the design.
Notes
Use room temperature ingredients for best results. Avoid overmixing batter to keep cake tender. Chill cake for 10-15 minutes before stenciling to prevent smudging. You can substitute buttermilk with milk and lemon juice. For dairy-free, use almond milk and plant-based butter. For gluten-free, use a 1:1 gluten-free baking blend. Customize stencil with names or messages. Store leftovers covered at room temperature for 2 days or refrigerated for 4-5 days. Freeze unfrosted cake up to 3 months.
Nutrition
- Serving Size: 1 slice (1/12 of cak
- Calories: 380
- Sugar: 34
- Fat: 18
- Carbohydrates: 52
- Protein: 4
Keywords: sheet cake, celebration cake, graduation cake, easy cake recipe, party dessert, stencil cake, moist cake, creamy frosting


