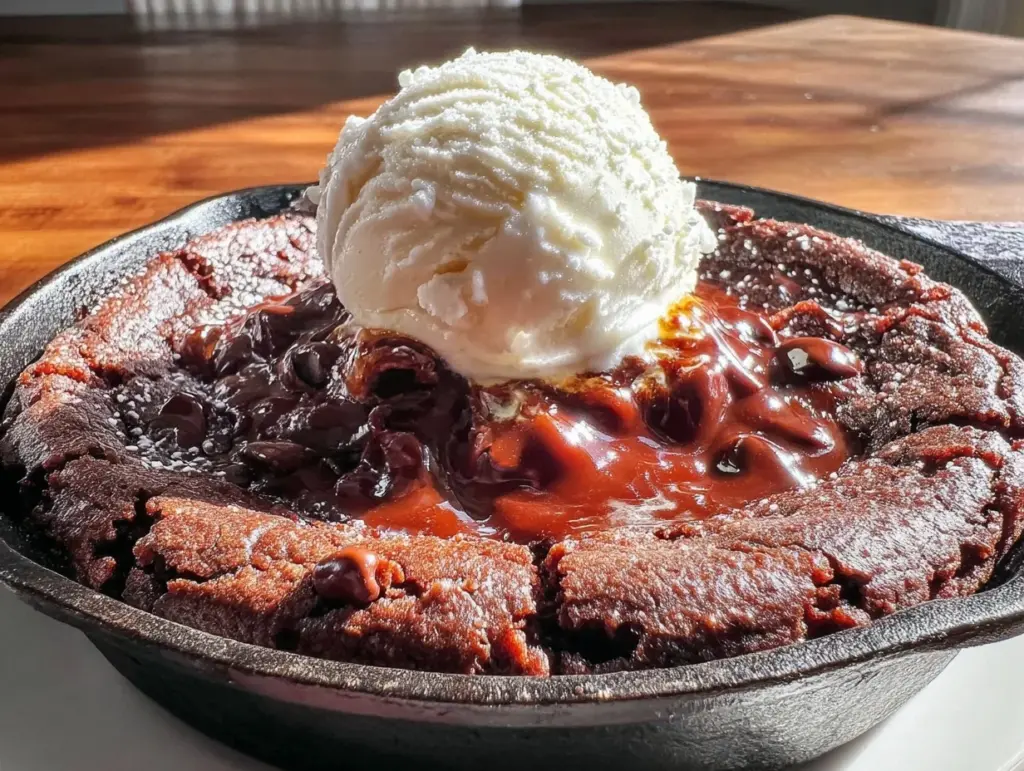
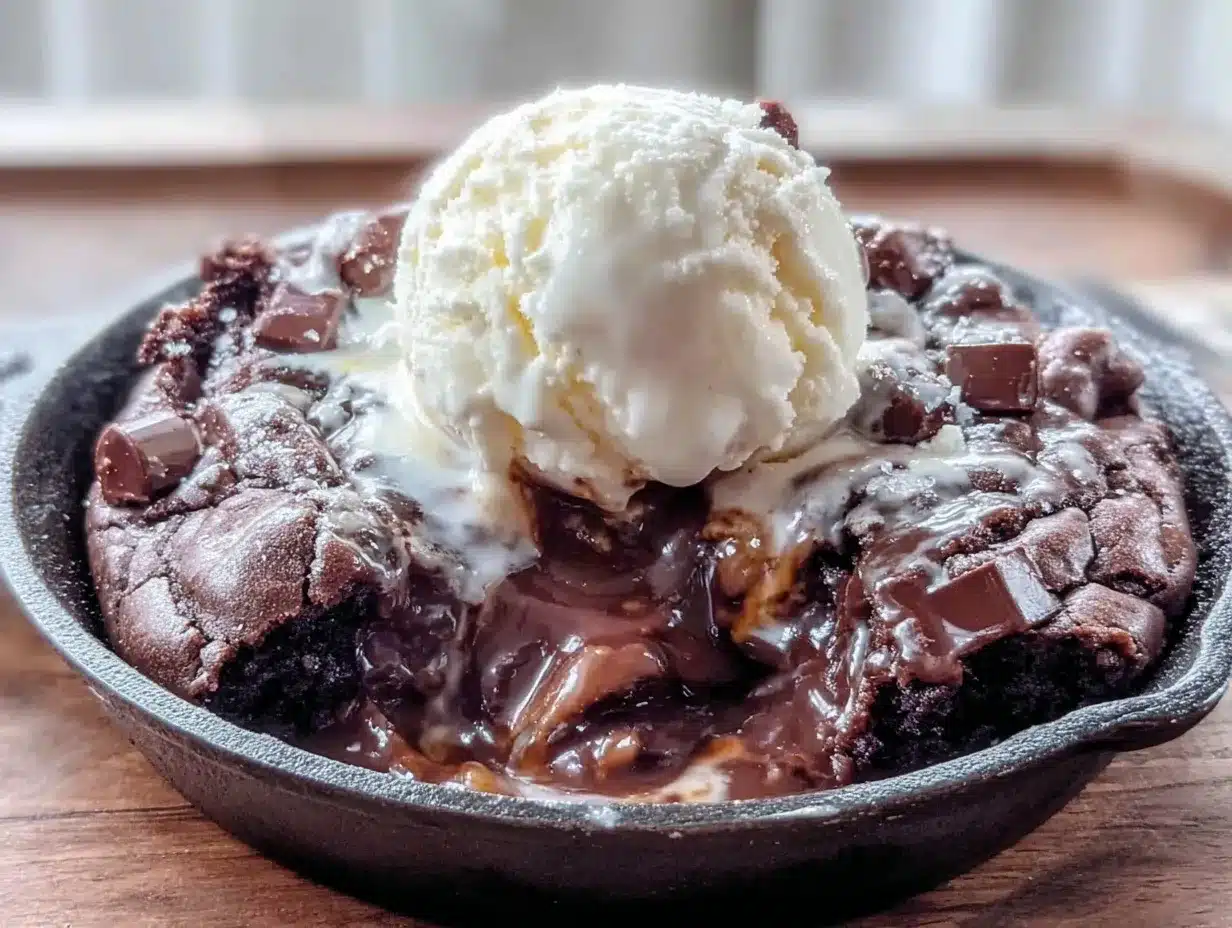
“Hey, you have to try this!” My roommate called out from the kitchen, holding what looked like a giant chocolate cookie baked in a skillet with molten lava oozing from the middle. Honestly, I was skeptical—chocolate lava cakes had always seemed fussy to me, with their delicate timing and complicated steps. But this was different. The aroma was intoxicating, a warm mix of toasted cookie edges and rich dark chocolate that filled the whole apartment. One bite, and I was hooked. This Delicious Volcano Chocolate Lava Cookie Skillet with Ice Cream wasn’t just a dessert; it was a cozy, comforting experience that felt like a hug after a long day.
What stuck with me most was how effortless it was to make. No fancy equipment, no hard-to-find ingredients, just a skillet and a few pantry staples. It quickly became my go-to for those evenings when I needed something indulgent but without the stress. The molten center, perfectly gooey and warm, paired with cold, creamy ice cream was an absolute game-changer. And honestly, no matter how many times I’ve whipped this up—sometimes even twice in one week—it never gets old. It’s that kind of recipe that makes you pause and smile, reminding you that simple joys are often the best.
That night, as the last spoonful disappeared, I realized this recipe wasn’t just a dessert; it was a small celebration in a skillet. One I’d happily share with friends or keep all to myself on quiet nights. It’s comfort food with a bit of drama, and that’s exactly why it’s lingered in my kitchen and my heart.
Why You’ll Love This Recipe
This Delicious Volcano Chocolate Lava Cookie Skillet recipe has been tested and tweaked until it hits that perfect balance between crispy edges and a molten, gooey center. Here’s why it’s earned a permanent spot in my dessert rotation:
- Quick & Easy: Ready in about 25 minutes from start to finish—ideal for spontaneous dessert cravings or last-minute guests.
- Simple Ingredients: Uses everyday pantry staples like butter, brown sugar, cocoa powder, and chocolate chips. No need to run to specialty stores.
- Perfect for Sharing: The skillet presentation is as impressive as it is delicious, making it great for cozy nights in or casual dinner parties.
- Crowd-Pleaser: Kids and adults alike rave about the warm, melty chocolate center paired with cold ice cream. It’s a guaranteed winner.
- Unbelievably Delicious: The cookie part has just the right chewiness and crunch, while the molten chocolate pools in the center like a mini volcano erupting with flavor.
What sets this apart from other lava cookie recipes? It’s the straightforward skillet method that gives you crispy edges all around while keeping the middle decadently molten. Plus, I use a mix of semi-sweet and dark chocolate chips which adds depth without overpowering the cookie’s sweetness. It’s not just a dessert; it’s the kind of treat that makes you close your eyes and sigh happily after every bite.
Whether you’re impressing friends or just treating yourself after a hectic day, this recipe delivers big flavor without the fuss. It’s like the warm, gooey answer to every chocolate craving, and honestly, that’s why it’s stuck around in my kitchen for good.
What Ingredients You Will Need
This recipe calls for simple, reliable ingredients that come together to create that perfect balance of cookie and molten chocolate. Most of these are pantry staples, so you probably have everything on hand already.
- Unsalted butter, melted (adds richness and helps create that tender, chewy texture)
- Brown sugar, packed (for moistness and a hint of caramel flavor)
- Granulated sugar (balances sweetness and helps with crisp edges)
- Large egg, room temperature (binds everything beautifully)
- Vanilla extract (pure vanilla really brings out the chocolate notes—don’t skip it!)
- All-purpose flour (the base of the cookie, gives structure)
- Cocoa powder, unsweetened (for that deep chocolate flavor without extra sweetness)
- Baking powder (helps the cookie rise slightly, creating a soft center)
- Salt (just a pinch to balance the sweetness and enhance flavor)
- Chocolate chips, a mix of semi-sweet and dark (I love Ghirardelli or Lindt for best melt and flavor)
- Vanilla ice cream, for serving (cold creaminess contrasts perfectly with the warm cookie)
If you prefer a gluten-free option, swapping the all-purpose flour with a 1-to-1 gluten-free baking flour blend works nicely. For dairy-free, use coconut oil instead of butter and a vegan ice cream alternative, and you’re all set. I’ve made this with those swaps several times, and the results are just as satisfying.
Equipment Needed
- Oven-safe skillet (a 10-inch cast iron skillet is perfect; it distributes heat evenly and crisps the edges beautifully)
- Mixing bowls (for combining wet and dry ingredients separately)
- Whisk or spoon (to mix the batter)
- Measuring cups and spoons (precision matters for this recipe to get the balance right)
- Spatula (for folding in the chocolate chips gently)
If you don’t have a cast iron skillet, a heavy oven-safe non-stick skillet or even a pie dish can work, though I find the cast iron gives the best texture contrast. Just be cautious when removing the skillet from the oven—it gets hot! I always recommend using thick oven mitts or pot holders. For those on a budget, smaller skillets or even individual ramekins can be used to make mini lava cookie servings.
Preparation Method
- Preheat your oven to 350°F (175°C). This step ensures the skillet is ready to create that perfect crisp edge.
- Melt the butter in the skillet or in a microwave-safe bowl. Let it cool slightly but don’t let it solidify again.
- In a mixing bowl, combine the brown sugar and granulated sugar with the melted butter. Stir until smooth and glossy, about 1-2 minutes.
- Whisk in the egg and vanilla extract until fully incorporated. This will yield a silky, thick batter.
- In a separate bowl, sift together the flour, cocoa powder, baking powder, and salt. Sifting prevents lumps and ensures even distribution.
- Gradually fold the dry ingredients into the wet mixture. Be gentle—overmixing can toughen the cookie. The batter should be thick but spreadable.
- Stir in the chocolate chips, reserving a handful to scatter on top for that extra melty finish.
- Spread the batter evenly in the skillet, smoothing the top with a spatula. Sprinkle the reserved chocolate chips across the surface.
- Bake for 18-22 minutes. Keep an eye on the edges—they should be set and slightly crisp while the center remains soft. The skillet might jiggle a little when you shake it gently; that’s exactly what you want.
- Remove from oven and let cool for about 5 minutes. This short rest lets the lava center thicken just enough without losing that ooey-gooey goodness.
- Serve warm directly from the skillet with scoops of vanilla ice cream on top or on the side. The ice cream melting into the warm cookie is pure magic.
Pro tip: If your center isn’t molten enough, reduce the baking time slightly next time. Oven temperatures vary, so it might take a couple tries to get your perfect lava flow. Also, don’t skip letting it rest after baking; it helps set the edges while keeping that luscious center.
Cooking Tips & Techniques
One thing I learned quickly is the importance of balance in this recipe. Too much baking and the lava dries up; too little, and the cookie ends up undercooked. Here’s what helped me nail it:
- Use room temperature eggs: They blend more evenly into the batter, giving you smoother dough and better rise.
- Don’t overmix your batter: Mixing just until combined keeps the cookie tender and chewy.
- Choose quality chocolate chips: They melt better and give that rich molten center. I’ve found a combo of semi-sweet and bittersweet chips works best.
- Watch your oven carefully: Every oven is a little different—check the cookie a couple minutes before the minimum time to avoid overbaking.
- Rest the cookie before serving: This helps the lava thicken just enough to hold its shape without losing the molten effect.
- Skillet temperature matters: If you melt your butter directly in the skillet, make sure it’s cool enough before adding dry ingredients or your batter might start cooking early and become uneven.
Once, I tried rushing and served it right out of the oven—it was too hot and the lava ran everywhere. Lesson learned: patience pays off with this recipe, honestly.
Variations & Adaptations
This recipe is pretty flexible, so feel free to tweak it to your taste or dietary needs.
- Peanut Butter Lava: Add dollops of peanut butter in the center before baking. It melts into a creamy surprise that pairs beautifully with chocolate.
- Berry Explosion: Toss in fresh or frozen raspberries or chopped strawberries for a tart contrast that cuts through the richness.
- Gluten-Free Option: Substitute all-purpose flour with a gluten-free blend. I’ve used Bob’s Red Mill 1-to-1 with great results.
- Vegan Version: Use coconut oil instead of butter, a flax egg (1 tbsp ground flax + 3 tbsp water), and dairy-free chocolate chips and ice cream.
- Spiced Chocolate: Add a pinch of cinnamon or cayenne pepper to the dry ingredients for a subtle warmth that surprises your palate.
One variation I adore is the peanut butter swirl—just place a teaspoon in the middle of the batter before baking. It creates a molten peanut butter center that’s dangerously good. It’s a fun twist that guests always ask about.
Serving & Storage Suggestions
This skillet dessert is best served warm, straight from the oven with a generous scoop of cold vanilla ice cream melting over the top. The contrast between warm and cold is what makes it irresistible.
For an extra touch, sprinkle flaky sea salt over the ice cream or drizzle a little caramel sauce. It’s also lovely with a side of fresh berries or a dollop of whipped cream for a festive feel.
If you have leftovers (rare, but it happens!), cover the skillet with plastic wrap and store it in the refrigerator for up to 2 days. To reheat, pop it in a 350°F (175°C) oven for 8-10 minutes until warmed through but still gooey in the center.
The flavors actually deepen after a day, so reheated servings can be surprisingly delicious if you don’t eat it all at once. Just avoid microwaving, which can make the cookie tough and dry.
Pair your lava cookie skillet with a cozy cup of coffee or a rich dessert wine to complete the indulgent experience. If you enjoy warm, comforting brunch treats, you might also appreciate the crispy brioche French toast with caramelized bananas for a sweet morning option.
Nutritional Information & Benefits
This decadent dessert is indulgent but includes some redeeming qualities thanks to its ingredients:
| Serving Size | 1/6 of skillet |
|---|---|
| Calories | Approx. 380 kcal |
| Fat | 18g (mostly from butter and chocolate) |
| Carbohydrates | 50g (from sugar and flour) |
| Protein | 5g (from egg and chocolate) |
The cocoa powder brings antioxidants, and the dark chocolate chips contain flavonoids that can support heart health when enjoyed in moderation. Using real butter adds richness and fat-soluble vitamins, while the ice cream offers calcium and protein. If you’re watching sugar intake, you can reduce the sugar slightly or use a sugar substitute designed for baking.
For those with gluten sensitivities, the gluten-free flour swap keeps this dessert accessible. Just be mindful of ice cream ingredients if you have dairy allergies.
Conclusion
This Delicious Volcano Chocolate Lava Cookie Skillet with Ice Cream is the kind of recipe that turns any ordinary evening into a mini celebration. It’s simple yet impressive, comforting yet exciting, and always satisfying.
Don’t be afraid to tweak it to your taste—whether that’s adding a swirl of peanut butter, a pinch of spice, or trying different chocolate blends. It’s a recipe that welcomes your creativity while delivering that guaranteed molten chocolate surprise.
For me, this skillet cookie is a reminder that some of the best desserts come from the simplest ideas executed well. It’s a warm, gooey hug in dessert form, perfect to share or savor solo.
If you give this recipe a try, I’d love to hear how you customize it or what moments it made sweeter for you. Drop a comment below or share your thoughts—it’s always a joy to connect over good food and great chocolate.
Frequently Asked Questions
Can I make this lava cookie skillet ahead of time?
It’s best served fresh and warm. However, you can prepare the batter in advance and refrigerate it for up to 24 hours. When ready, bake as directed, adding a few extra minutes if baking from cold.
What’s the best type of chocolate to use?
Semi-sweet and dark chocolate chips work best for a rich flavor and smooth melt. Avoid chocolate with stabilizers or coatings that don’t melt well.
Can I use a regular baking dish instead of a skillet?
Yes, an oven-safe baking dish or pie plate works too, but the crisp edges may not be as pronounced as with a cast iron skillet.
How do I know when the lava center is ready?
The edges should be set and slightly crisp, while the center jiggles slightly when you gently shake the skillet. If it’s too firm, try reducing the baking time next time.
Can I make this recipe dairy-free?
Absolutely! Substitute butter with coconut oil, use dairy-free chocolate chips, and serve with your favorite dairy-free ice cream.
Pin This Recipe!
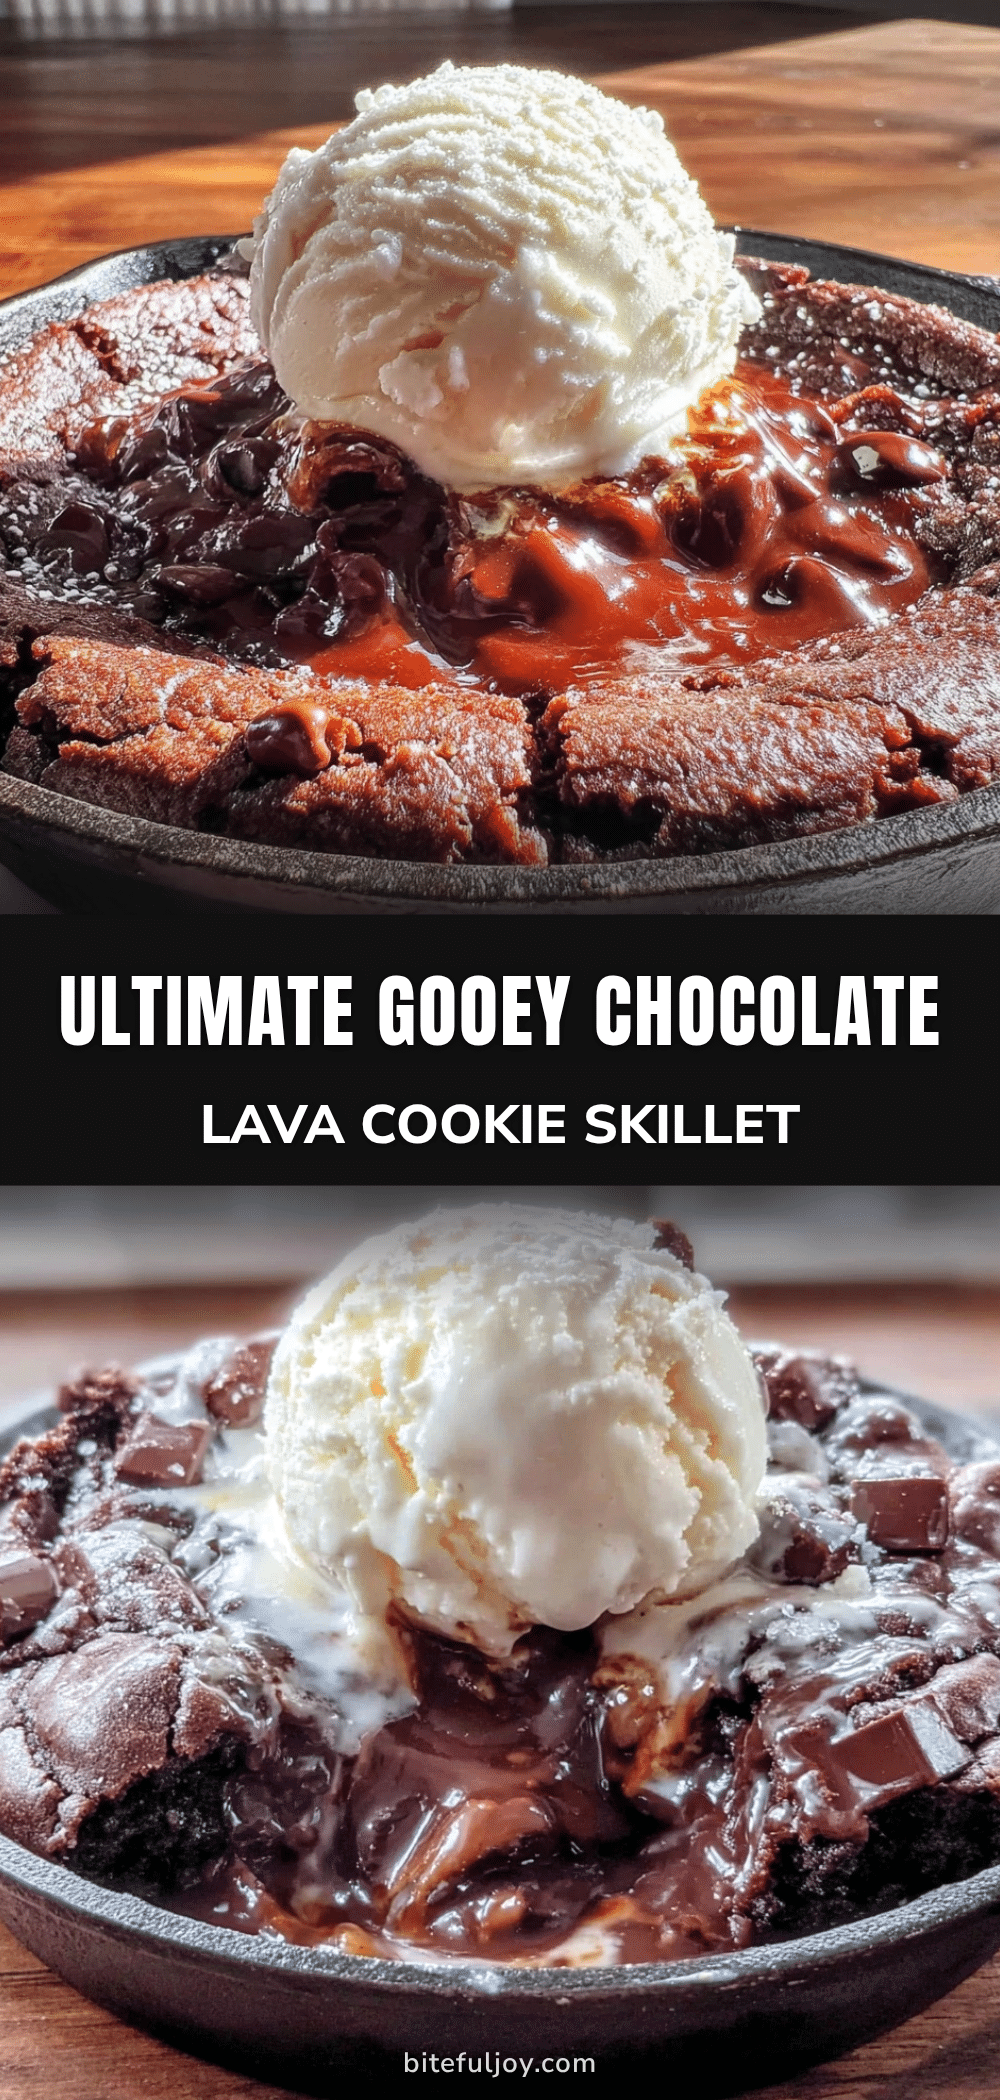
Delicious Volcano Chocolate Lava Cookie Skillet Recipe Easy and Perfect with Ice Cream

A warm, gooey chocolate lava cookie baked in a skillet with a molten center, crispy edges, and served with cold vanilla ice cream for the perfect cozy dessert.
- Prep Time: 10 minutes
- Cook Time: 20 minutes
- Total Time: 30 minutes
- Yield: 6 servings 1x
- Category: Dessert
- Cuisine: American
Ingredients
- 1/2 cup unsalted butter, melted
- 1/2 cup packed brown sugar
- 1/4 cup granulated sugar
- 1 large egg, room temperature
- 1 teaspoon vanilla extract
- 3/4 cup all-purpose flour
- 1/4 cup unsweetened cocoa powder
- 1/2 teaspoon baking powder
- Pinch of salt
- 3/4 cup chocolate chips (mix of semi-sweet and dark)
- Vanilla ice cream, for serving
Instructions
- Preheat your oven to 350°F (175°C).
- Melt the butter in the skillet or microwave-safe bowl and let it cool slightly.
- In a mixing bowl, combine the brown sugar and granulated sugar with the melted butter. Stir until smooth and glossy, about 1-2 minutes.
- Whisk in the egg and vanilla extract until fully incorporated.
- In a separate bowl, sift together the flour, cocoa powder, baking powder, and salt.
- Gradually fold the dry ingredients into the wet mixture gently until thick but spreadable.
- Stir in the chocolate chips, reserving a handful to scatter on top.
- Spread the batter evenly in the skillet and sprinkle the reserved chocolate chips on top.
- Bake for 18-22 minutes until edges are set and slightly crisp but the center jiggles slightly.
- Remove from oven and let cool for about 5 minutes to thicken the lava center.
- Serve warm directly from the skillet with scoops of vanilla ice cream.
Notes
Use room temperature eggs for better batter consistency. Do not overmix the batter to keep the cookie tender and chewy. Watch the oven carefully to avoid overbaking. Let the cookie rest after baking to thicken the molten center. For gluten-free, substitute all-purpose flour with a 1-to-1 gluten-free baking flour blend. For dairy-free, use coconut oil instead of butter and dairy-free chocolate chips and ice cream.
Nutrition
- Serving Size: 1/6 of skillet
- Calories: 380
- Fat: 18
- Carbohydrates: 50
- Protein: 5
Keywords: chocolate lava cookie, skillet dessert, molten chocolate, easy chocolate dessert, chocolate cookie, lava cookie skillet, dessert with ice cream


