“You’ve got flour all over your hands again,” my partner teased as I stood over the kitchen counter, eyes fixed on my dough. Honestly, kneading sourdough bread wasn’t supposed to be this messy—or this calming. I remember the first time I tried making sourdough bread at home; the whole process felt intimidating, like some secret ritual only bakers with years of experience could pull off. But then, during one particularly chaotic week, I found myself craving something that wasn’t just food but therapy in disguise.
That’s when the idea of easy therapeutic sourdough bread kneading came to life. It wasn’t about perfect technique or fancy equipment. It was about slowing down, feeling the dough’s texture, and letting the rhythmic folding and pressing wash away the day’s noise. This recipe was born out of trial and error (and plenty of flour on the floor), and now, it’s my go-to for grounding myself while creating something delicious from scratch. It’s funny how kneading dough turned out to be one of the simplest ways to practice mindfulness, especially when you’re just starting out and eager to learn.
What stuck with me, more than the crusty loaf that came out of the oven, was the quiet comfort of those moments. This easy therapeutic sourdough bread kneading method invites you to slow down, feel the dough, and find a little peace in the process. It’s a gentle welcome into the world of sourdough that doesn’t demand perfection. And honestly, that’s why I keep coming back to it.
Why You’ll Love This Recipe
After countless attempts and tweaks, this easy therapeutic sourdough bread kneading method has become a favorite for so many reasons. Here’s what makes it stand out:
- Quick & Easy: The kneading process takes just about 10 minutes, making it perfect for anyone who wants to enjoy homemade sourdough without hours of fuss.
- Simple Ingredients: No need for exotic flours or additives—just basic pantry staples like flour, water, salt, and your trusty sourdough starter.
- Perfect for Beginners: The step-by-step approach gently guides you through kneading without overwhelming your senses or your kitchen.
- Therapeutic Experience: Kneading becomes a mindful activity, helping to relieve stress and connect you with your food in a tangible way.
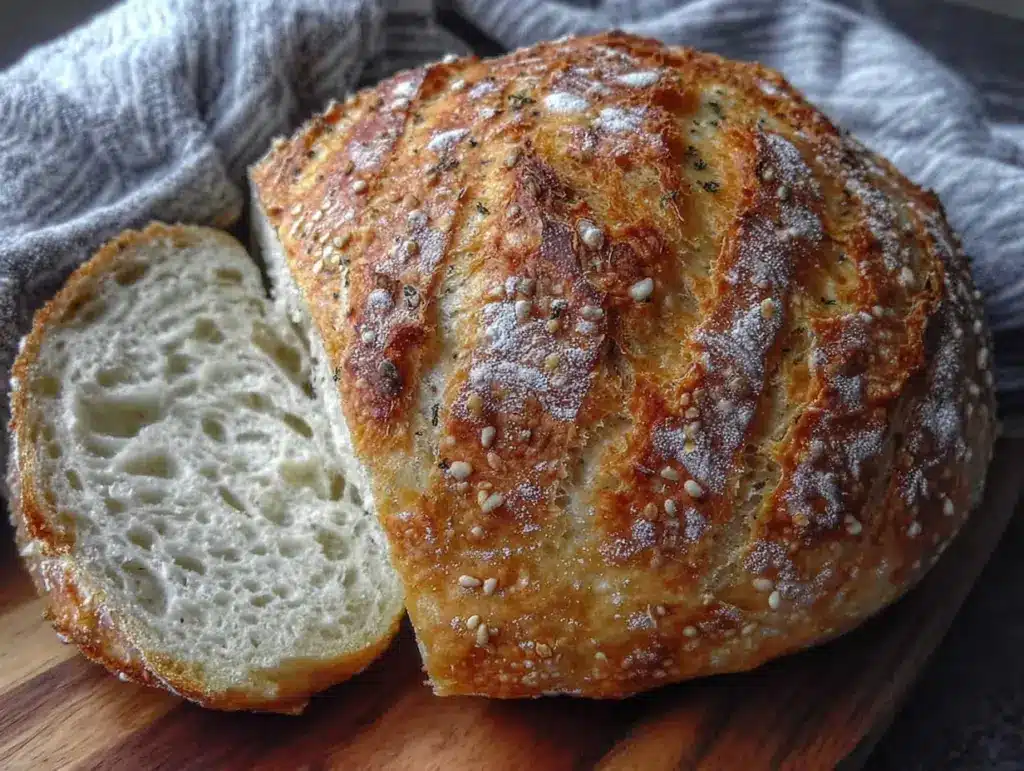
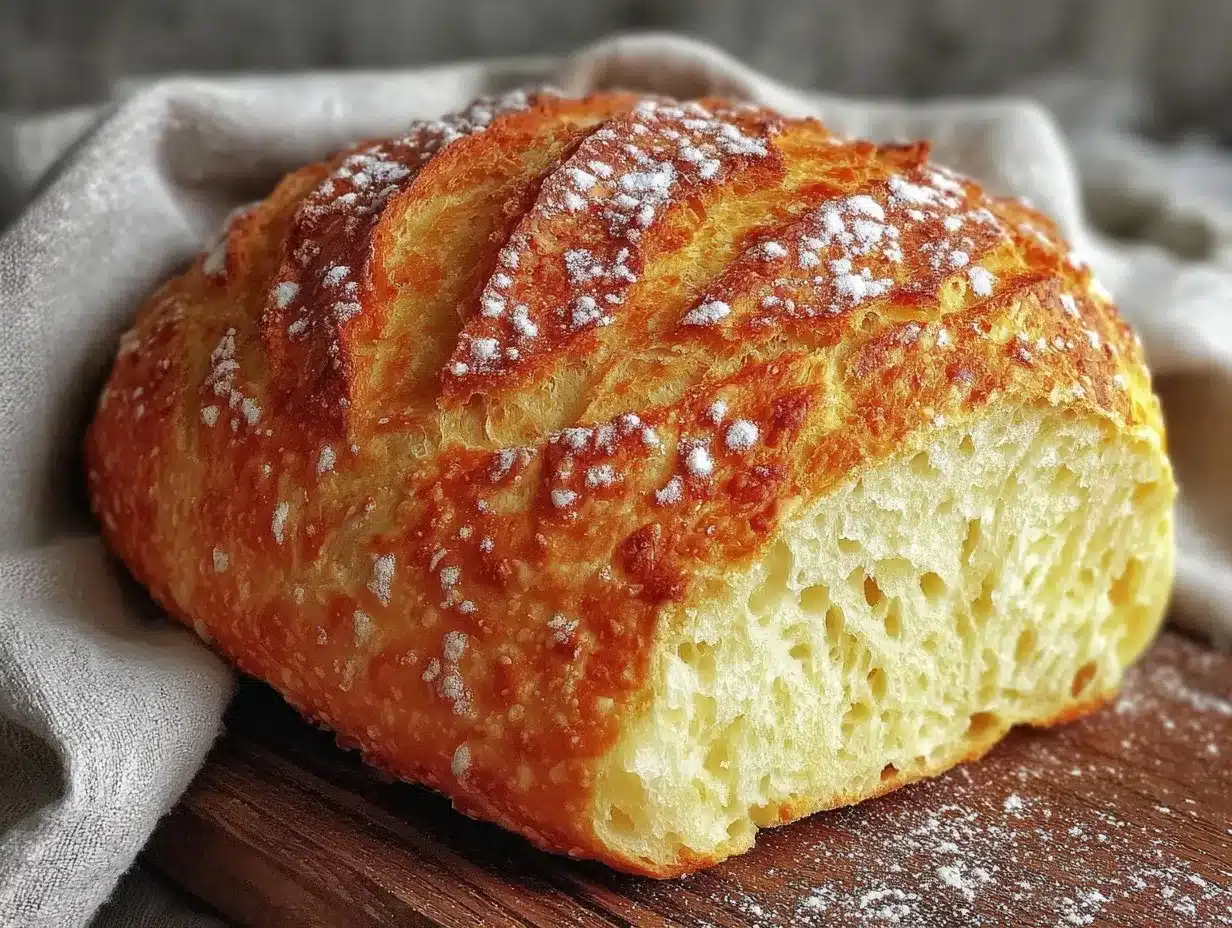
- Crowd-Pleaser: The resulting bread has a crusty exterior with a chewy, flavorful crumb that impresses family and friends alike.
What sets this apart isn’t just the loaf you bake but the process itself. Unlike other recipes that rush you through complicated steps or expect perfect results from the start, this method embraces the learning curve. The gentle folds and presses allow the dough to develop strength and character slowly, so even if you’re new to sourdough, you’ll feel like you’re on the right track. Plus, the technique is forgiving—no need to stress about over-kneading or under-proofing.
Honestly, it’s a recipe that makes you want to close your eyes after the first bite, savoring that sour tang and chewy crumb. If you’ve ever wished for a calming kitchen ritual that ends with fresh, warm bread, this is it. And if you love recipes that turn simple ingredients into something memorable, you might also enjoy the creamy passion fruit mousse cups or the crispy brioche French toast with caramelized bananas for your next kitchen adventure.
What Ingredients You Will Need
This easy therapeutic sourdough bread kneading recipe uses just a handful of simple, wholesome ingredients to create a loaf that’s full of flavor and texture. Each ingredient plays an important role, from feeding the yeast in your starter to creating that perfect chewy crumb.
- Active Sourdough Starter (100g / 3.5 oz): Your live culture that brings the dough to life. Make sure it’s bubbly and fed within the last 6-8 hours.
- All-Purpose Flour (400g / 14 oz): The main structure-builder. I like King Arthur flour for consistent results, but any good-quality brand works.
- Water (280g / 9.8 fl oz), lukewarm: Hydrates the flour and activates the starter. Using filtered water makes a noticeable difference in taste.
- Salt (8g / 1.5 tsp): Essential for flavor and to control fermentation. Fine sea salt works best here.
These ingredients are pantry staples, so no need for special trips to the store. If you want to experiment, you can swap all-purpose flour with bread flour for a chewier texture or add a small amount of whole wheat flour for a nuttier flavor—but keep the ratios close. For a gluten-free option, try a mix of gluten-free flours and adjust water accordingly, though kneading techniques will differ slightly.
Seasonal twists? Sometimes I add a teaspoon of dried herbs like rosemary or thyme right before kneading for an aromatic touch. It’s subtle but adds a fresh note that complements the sour tang. Remember, this recipe is about simplicity, so don’t overcomplicate it on your first try.
Equipment Needed
Good news: this recipe doesn’t demand fancy gadgets. Here’s what you’ll want on hand:
- Mixing Bowl: A large, sturdy bowl for combining ingredients. Glass or stainless steel works fine.
- Bread Proofing Basket (Optional): Also called a banneton. It helps shape the dough and create beautiful patterns, but a well-floured bowl can substitute.
- Dough Scraper: A plastic or metal tool to help fold and handle sticky dough without losing patience.
- Kitchen Scale: For precise measurements. I can’t stress enough how much easier it is to weigh ingredients instead of guessing.
- Oven-safe Dutch Oven or Heavy Pot: For baking the bread to get that crispy crust. No worries if you don’t have one; a baking stone or sheet works too, but the crust might be different.
If you’re on a budget, a simple mixing bowl and sturdy spatula will carry you through. I’ve tried kneading on bare countertops, but a wooden or silicone mat makes cleanup easier. Keeping your dough scraper sharp and clean also helps avoid sticking and frustration.
Preparation Method
- Activate Your Starter (10 minutes): Feed your sourdough starter about 6-8 hours before you plan to bake. It should be bubbly and smell tangy but pleasant. If it’s sluggish, give it a day or two to regain strength.
- Mix the Dough (5 minutes): In your mixing bowl, combine 400g (14 oz) all-purpose flour with 280g (9.8 fl oz) lukewarm water. Stir gently until just mixed; it’ll look shaggy and rough. Cover the bowl and let it rest for 30 minutes—this autolyse step hydrates the flour, making kneading easier.
- Add Starter and Salt (5 minutes): Sprinkle in 8g (1.5 tsp) salt and add 100g (3.5 oz) of your active starter. Use your hands or a dough scraper to fold and mix everything until it comes together smoothly. The dough will be sticky but elastic.
- Knead the Dough (10 minutes): Here’s the therapeutic part! Use the stretch-and-fold technique: gently pull one side of the dough, fold it over the center, then rotate the bowl and repeat. Do this every 5 minutes over the next 30-40 minutes (about 6-8 folds). The dough should feel more elastic and less sticky each time. If it tears easily, give it more folds.
- Bulk Fermentation (3-4 hours): Cover the dough and let it rise at room temperature until it roughly doubles in size. This slow fermentation develops flavor and texture. If your kitchen is cool, it might take longer—be patient!
- Shape and Proof (1-2 hours): Turn the dough onto a floured surface, shape it into a round loaf, and place it in a floured proofing basket or bowl. Cover and let it rise until it springs back slowly when poked.
- Bake (45 minutes): Heat your Dutch oven in the oven at 450°F (230°C) for 30 minutes. Carefully transfer the dough into the hot pot, score the top with a sharp knife, cover, and bake for 20 minutes. Remove the lid and bake another 20-25 minutes until golden brown and crispy.
- Cool Down: Let the bread cool completely on a rack before slicing. This helps the crumb set properly.
Pro tip: If the dough feels too sticky during kneading, wet your hands instead of adding more flour. It keeps the loaf light and airy. When scoring, a quick, confident slash makes a better oven spring than hesitant cuts. And don’t rush cooling—the bread’s flavor deepens as it rests.
Cooking Tips & Techniques
Mastering sourdough kneading is as much about patience as it is about technique. Here are some tips I picked up the hard way:
- Start with a Strong Starter: Your sourdough starter is the heart of this recipe. If it’s weak or dormant, the dough won’t rise well. Feed it regularly and use it at peak activity.
- Resist Over-Flouring: It’s tempting to add flour when dough sticks, but a sticky dough is good! Use wet hands or a dough scraper instead. Over-flouring leads to dense bread.
- Stretch and Fold Over Traditional Kneading: This gentler method helps build gluten slowly, making the bread lighter and easier to work with—perfect for beginners.
- Watch Fermentation Times: Temperature greatly affects rising. If your kitchen is cold, expect longer fermentation. I keep my dough near a warm spot (not hot) to speed things up.
- Use a Dutch Oven for Crust: Baking in a covered pot traps steam, creating that coveted crisp crust. If you don’t have one, try placing a pan of water in the oven for steam.
I once rushed the bulk fermentation and ended up with a flat loaf that tasted bland. Lesson learned: patience is non-negotiable. Also, scoring the dough properly makes a huge difference in how your bread expands in the oven. I recommend practicing with a serrated knife if a bread lame feels intimidating.
Variations & Adaptations
This easy therapeutic sourdough bread kneading recipe is flexible and welcomes your personal touch. Here are some variations I’ve tried or recommend:
- Herb and Garlic Sourdough: Add finely minced garlic and fresh herbs like rosemary or thyme during the mixing stage for an aromatic loaf that pairs beautifully with savory dishes.
- Whole Wheat Sourdough: Replace up to 50% of the all-purpose flour with whole wheat flour. Expect a denser crumb but richer flavor and extra nutrients.
- Seeded Sourdough: Mix in a handful of sunflower seeds, flaxseeds, or sesame seeds during the last folds of kneading for texture and a nutty twist.
- Overnight Cold Fermentation: After shaping, place the dough in the fridge overnight. This slow rise enhances flavor complexity and fits better into busy schedules.
- Gluten-Free Option: Use a gluten-free sourdough starter and substitute flours like rice, buckwheat, or sorghum. Be prepared for different kneading and baking approaches.
One of my favorite tweaks is the overnight cold ferment—makes mornings less rushed and the bread taste richer. If you want a sweeter companion to your loaf, pairing it with a lightly sweetened spread or honey butter works wonders. If you’re curious, you might enjoy pairing your bread with the flavors from smoked salmon cucumber tea sandwiches for a fancy brunch touch.
Serving & Storage Suggestions
Serving your freshly baked sourdough bread warm is honestly one of life’s small pleasures. Slice it thick and enjoy with good butter or your favorite jam. The crust is crisp, and the crumb chewy, making it perfect for toast or sandwiches.
For a cozy meal, try it alongside a hearty soup or a fresh salad. And if you want to transform it into breakfast, the bread is excellent toasted with avocado or eggs. If you love brunch, serving it with dishes like spinach and feta croissant bake can make for a delightful spread.
To store, wrap your loaf loosely in a clean kitchen towel and keep it at room temperature for up to 3 days. Avoid plastic wrap, which traps moisture and softens the crust. For longer storage, slice and freeze the bread in airtight bags. Toast slices directly from the freezer for best texture.
Reheating in a hot oven (about 350°F / 175°C for 5-10 minutes) helps revive the crust’s crunch. Over time, the sourdough’s flavor deepens, so don’t hesitate to enjoy it a day or two after baking.
Nutritional Information & Benefits
This sourdough bread recipe provides a wholesome, satisfying option compared to many commercial breads. Here’s a rough estimate per slice (about 60g / 2 oz):
| Nutrient | Amount |
|---|---|
| Calories | 160 |
| Carbohydrates | 30g |
| Protein | 5g |
| Fat | 0.5g |
| Fiber | 2g |
Sourdough fermentation breaks down gluten and phytic acid, potentially improving digestibility and nutrient absorption. The natural fermentation process also contributes beneficial probiotics, although many don’t survive baking. This loaf is naturally free from preservatives and artificial additives, making it a cleaner choice.
For those mindful of allergens, this recipe contains gluten and yeast. Adjustments can be made for gluten sensitivity using alternative flours, but yeast-free baking requires different techniques. From a wellness perspective, baking your own bread gives you control over ingredients and connects you with your food in a meaningful way.
Conclusion
There’s something quietly satisfying about making sourdough bread with your own hands—especially when the kneading process doubles as a little act of therapy. This easy therapeutic sourdough bread kneading recipe offers beginners a chance to enjoy that tactile joy without feeling overwhelmed.
From the simple ingredients to the mindful stretches and folds, it encourages you to slow down, breathe, and connect with your kitchen. Whether you keep it classic or personalize with herbs or seeds, this recipe is a solid foundation for your sourdough journey.
I love how this loaf brings people together around the table, whether it’s a casual family dinner or a brunch spread featuring earl grey tea cake. I hope it becomes your comforting ritual too.
Feel free to share your baking stories or tips below—I’m always excited to hear how others make this recipe their own. Remember, every loaf is a step closer to sourdough mastery, and every knead counts.
FAQs About Easy Therapeutic Sourdough Bread Kneading for Beginners
- Q: How do I know if my sourdough starter is ready?
A: It should be bubbly, smell pleasantly tangy, and double in size within 6-8 hours after feeding. - Q: Can I knead sourdough bread without a dough scraper?
A: Yes, you can use your hands or a spatula, but a dough scraper makes handling sticky dough easier. - Q: What if my dough feels too sticky to knead?
A: Wet your hands or the dough scraper instead of adding more flour to keep the bread light and airy. - Q: How long should I let the dough rise during bulk fermentation?
A: Typically 3-4 hours at room temperature until the dough roughly doubles in size, but timing varies with temperature. - Q: Can I bake sourdough bread without a Dutch oven?
A: Yes, bake on a baking stone or sheet, and place a pan of water in the oven to create steam for a crisp crust.
Pin This Recipe!
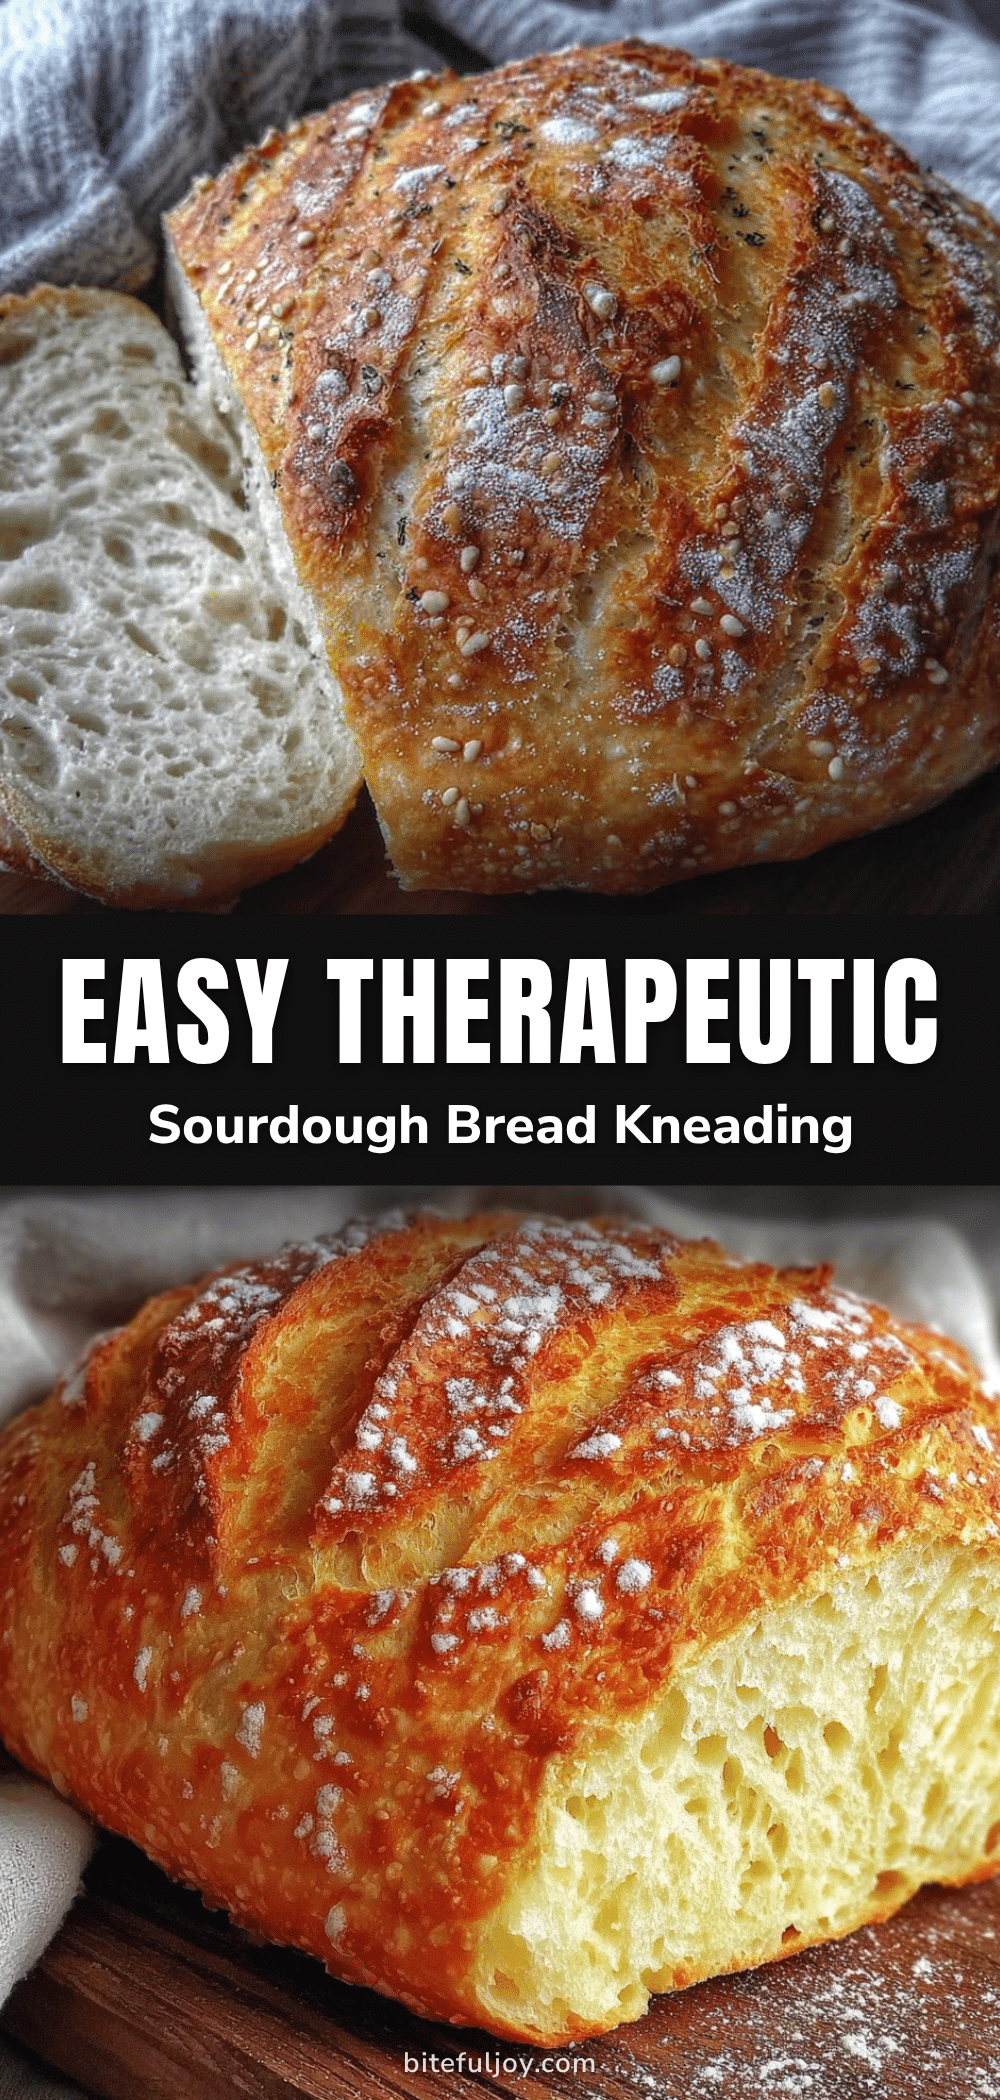
Easy Therapeutic Sourdough Bread Kneading Guide for Beginners 5 Simple Steps

This easy therapeutic sourdough bread kneading method is perfect for beginners, offering a calming, mindful baking experience with simple ingredients and straightforward steps to create a crusty, chewy loaf.
- Prep Time: 15 minutes
- Cook Time: 45 minutes
- Total Time: 4 hours 45 minutes to 5 hours 45 minutes
- Yield: 1 loaf (about 8-10 slices) 1x
- Category: Bread
- Cuisine: American
Ingredients
- 100g (3.5 oz) active sourdough starter
- 400g (14 oz) all-purpose flour
- 280g (9.8 fl oz) lukewarm water
- 8g (1.5 tsp) fine sea salt
Instructions
- Activate your starter about 6-8 hours before baking until bubbly and tangy (10 minutes prep).
- Mix 400g (14 oz) all-purpose flour with 280g (9.8 fl oz) lukewarm water in a mixing bowl until just combined. Cover and rest for 30 minutes (autolyse).
- Add 8g (1.5 tsp) salt and 100g (3.5 oz) active starter to the dough. Fold and mix until smooth and elastic (5 minutes).
- Knead the dough using the stretch-and-fold technique every 5 minutes over 30-40 minutes (about 6-8 folds) until elastic and less sticky (10 minutes kneading time).
- Cover and bulk ferment at room temperature for 3-4 hours until dough doubles in size.
- Shape the dough into a round loaf and place in a floured proofing basket or bowl. Proof for 1-2 hours until it springs back slowly when poked.
- Preheat oven to 450°F (230°C) with a Dutch oven inside for 30 minutes. Transfer dough to hot Dutch oven, score the top, cover and bake for 20 minutes.
- Remove lid and bake for an additional 20-25 minutes until golden brown and crusty.
- Cool bread completely on a rack before slicing.
Notes
Use wet hands instead of adding flour if dough is too sticky to keep bread light and airy. Scoring with a quick, confident slash improves oven spring. Let bread cool completely before slicing to set crumb. For steam crust without Dutch oven, place a pan of water in the oven. Bulk fermentation time varies with room temperature; be patient.
Nutrition
- Serving Size: 1 slice (about 60g /
- Calories: 160
- Fat: 0.5
- Carbohydrates: 30
- Fiber: 2
- Protein: 5
Keywords: sourdough bread, therapeutic kneading, beginner sourdough, easy sourdough recipe, homemade bread, mindful baking, crusty bread, chewy crumb


