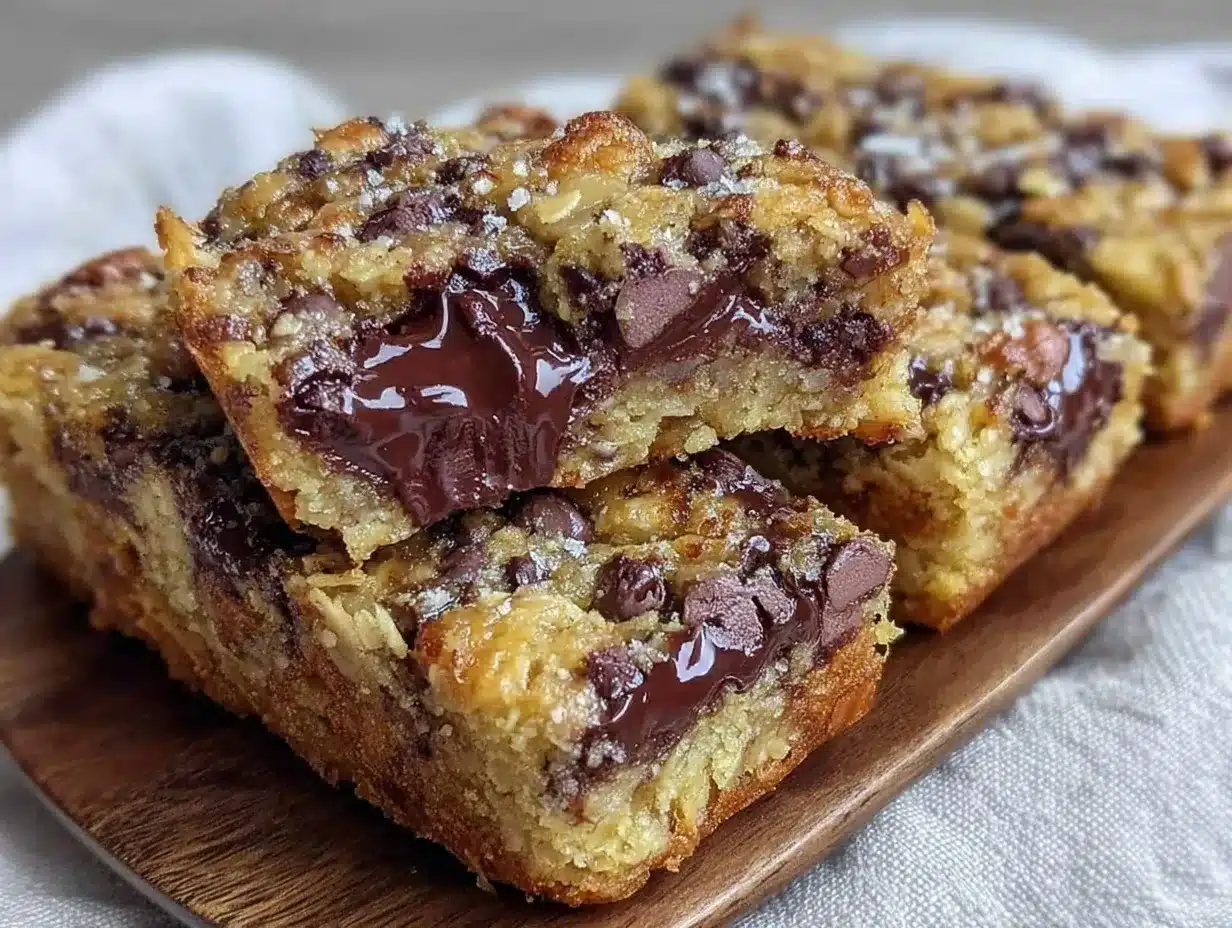
That sticky, chewy pull when you bite into a homemade chocolate chip granola bar — and that’s the whole point. The way the oats cling together in a tender, almost gummy embrace, studded with melty pockets of chocolate, is exactly why I made this recipe. Everything else, like the flavor or aroma, feels secondary at first. It’s all about that tactile experience, the give and slight resistance beneath your teeth, the way crumbs stick to your fingertips as you savor each bite.
I remember the moment I realized the texture was the real star. It was late afternoon, the kind of sluggish slump when you desperately need a snack that feels substantial but isn’t a sugar crash in disguise. I’d tried countless granola bars before, but they were always too dry or crumbly, more like brittle cookies than something you want to pick up and gnaw on. This recipe came from a stubborn obsession to get that perfect chew — not too soft, not too hard, just the right amount of pull and resilience.
Honestly, the chocolate chips melting into the chewy matrix add a little surprise every time you bite down. It’s that contrast — the smooth chocolate against the dense oat mixture — that kept me tweaking the balance until it felt just right. And while the flavor is comforting, almost nostalgic, it’s the texture that makes these granola bars stick in your mind and your snack rotation.
Over time, this recipe became my go-to for healthy snacks that satisfy without guilt. It’s not just about grabbing a quick bite; it’s about experiencing something real with your hands and your mouth, something the prepackaged bars just can’t match. If you want a snack that feels homemade and honest — chewy, chocolate-studded, and full of wholesome goodness — this recipe is for you. That’s the quiet promise these granola bars hold every time you unwrap one.
Why You’ll Love This Recipe
Having spent hours experimenting in the kitchen, I’ve landed on a recipe for chewy homemade chocolate chip granola bars that’s truly a keeper. It’s one of those rare snacks that balances health, flavor, and texture without any fuss. Here’s why I think you’ll appreciate making these bars as much as I do:
- Quick & Easy: This recipe comes together in under 30 minutes, making it perfect for busy mornings or afternoon pick-me-ups.
- Simple Ingredients: No need for specialty shops — pantry staples like rolled oats, honey, and chocolate chips are all you need.
- Perfect for On-the-Go: These bars are sturdy enough to toss in your bag for work, school, or a hike without turning into crumbly messes.
- Crowd-Pleaser: Kids and adults alike love the chewy texture and chocolatey bursts — they rarely last more than a day in my house.
- Unbelievably Delicious: The chewy, almost fudgy texture combined with sweet chocolate chips makes this snack feel like an indulgence without the guilt.
- Distinctive Texture: Unlike other granola bars that can be dry or crunchy, these have a soft chew that feels satisfying and comforting.
- Customizable: You can easily swap in nuts, dried fruits, or even try dark chocolate chips to fit your taste or dietary needs.
This isn’t just another granola bar recipe floating around. It’s the one I reach for when I want that perfect chew and a little chocolate treat rolled into one. It’s the kind of snack that makes you pause, close your eyes after the first bite, and quietly appreciate the little things in homemade food.
What Ingredients You Will Need
This recipe uses simple, wholesome ingredients to deliver bold flavor and satisfying texture without the fuss. You likely have most of these in your kitchen already, which makes it a no-brainer for quick snack prep.
- Rolled oats (old-fashioned, 2 cups / 180g) – The chewy backbone of the bars; avoid instant oats for best texture.
- Honey (⅓ cup / 113g) – Natural binder and sweetener that adds chewiness and moisture.
- Natural peanut butter (½ cup / 125g) – Choose creamy for smooth texture; adds richness and helps hold everything together.
- Brown sugar (¼ cup / 50g) – Adds depth to sweetness and supports that chewy consistency.
- Vanilla extract (1 tsp) – For warm, aromatic notes that round out the flavors.
- Baking soda (¼ tsp) – Helps the bars stay soft and light.
- Salt (¼ tsp) – Enhances the overall flavor, balancing the sweetness.
- Mini chocolate chips (½ cup / 90g) – Melts into the bars for gooey, chocolaty pockets.
- Optional add-ins: Chopped almonds or walnuts (⅓ cup / 40g), dried cranberries or raisins (¼ cup / 40g).
Pro tip: I prefer Bob’s Red Mill rolled oats for their consistent chewiness and texture. For peanut butter, natural unsweetened varieties work best to keep the bars from becoming overly sweet. If you want a nut-free version, swap peanut butter with sunflower seed butter — it works surprisingly well!
In summer, I sometimes toss in fresh blueberries for a juicy twist, but dried fruits are ideal for maintaining that chewy bar structure.
Equipment Needed
- Mixing bowl: A large bowl to combine your ingredients comfortably.
- Measuring cups and spoons: For precise ingredient amounts, which really matter for the texture here.
- Wooden spoon or spatula: To stir the sticky batter without scraping your hands raw.
- 8×8-inch (20×20 cm) baking pan: Lined with parchment paper for easy removal.
- Microwave-safe bowl or small saucepan: For gently warming honey and peanut butter (if needed).
- Sharp knife: For cleanly slicing the bars after they’ve set.
If you don’t have an 8×8 pan, a 9×9-inch pan works fine but expect slightly thinner bars. Avoid using metal pans without parchment as the bars can stick and break.
Personally, I like using silicone spatulas—they’re flexible and help scrape every bit of the sticky batter. And trust me, you’ll want every last bit of that delicious mixture!
Preparation Method
- Line your baking pan: Prepare an 8×8-inch pan by lining it with parchment paper, letting some paper hang over the edges for easy removal later.
- Toast the oats (optional but recommended): Preheat your oven to 350°F (175°C). Spread the rolled oats evenly on a baking sheet and toast for about 8-10 minutes, stirring halfway through. You’ll notice a warm, nutty aroma and slightly golden edges — that’s your cue. Toasting deepens the flavor and improves the final chew.
- Warm honey and peanut butter: In a microwave-safe bowl or small saucepan, gently heat the honey and peanut butter together until smooth and easily combined, about 30 seconds to 1 minute. Stir well to blend.
- Mix wet ingredients: In a large mixing bowl, combine the warm honey-peanut butter mixture with brown sugar, vanilla extract, baking soda, and salt. Stir until the sugar dissolves and the mixture looks glossy.
- Add oats and mix: Pour the toasted oats into the wet mixture. Stir thoroughly to coat every oat flake with the sticky syrup, ensuring an even distribution.
- Fold in chocolate chips and optional nuts/dried fruit: Add mini chocolate chips and any other add-ins you like. Be gentle, so the chips don’t melt prematurely.
- Press into pan: Transfer the mixture into the lined baking pan. Press firmly and evenly with a spatula or clean hands (lightly wet them to prevent sticking). The compact pressing is key to achieving that chewy texture without crumbling.
- Chill and set: Place the pan in the refrigerator for at least 2 hours or until completely firm.
- Slice and serve: Use the parchment overhang to lift the set granola block out of the pan. Transfer to a cutting board and slice into 12 bars with a sharp knife. Store leftovers in an airtight container.
Note: If your bars feel too soft after chilling, pop them in the freezer for 15-20 minutes before slicing. This makes cutting cleaner and prevents crumbling.
When pressing the mixture, I like to use the bottom of a measuring cup to really compact the bars evenly. It’s a small trick that makes a big difference in texture.
Cooking Tips & Techniques
Let me be real: I’ve had my share of granola bar fails. Too dry, too crumbly, overly sweet—you name it. Here’s what I learned to get these chewy bars right every time:
- Don’t skip toasting the oats. It may seem like an extra step, but it adds flavor and helps keep the bars from tasting flat or raw.
- Warm the honey and peanut butter. This ensures they blend smoothly without lumps, which helps bind everything evenly.
- Press firmly. This is your secret weapon for chewiness. If you don’t pack the mixture tight, the bars will fall apart.
- Use mini chocolate chips. Larger chips can create uneven melting and make the bars messy.
- Chill fully before slicing. Patience is key here; cutting too soon leads to crumbles and frustration.
- Customize carefully. Adding too many nuts or dried fruits can affect binding, so adjust the wet ingredients if you increase add-ins.
One time, I tried to rush the chilling and ended up with a sticky mess that stuck to the knife. Since then, I reserve at least 2 hours in the fridge and sometimes cool them overnight. The texture improves overnight, honestly.
Also, multitasking helps. While the oats toast, I prepare the wet ingredients — saves time and keeps the process smooth.
Variations & Adaptations
One of the best things about this chewy homemade chocolate chip granola bars recipe is how easy it is to customize:
- Nut-Free: Swap peanut butter for sunflower seed butter or tahini to avoid nuts but keep the creamy binder.
- Gluten-Free: Use certified gluten-free rolled oats to keep the recipe safe for gluten-sensitive folks.
- Flavor Twists: Add a teaspoon of cinnamon or a splash of almond extract for a subtle flavor boost.
- Seasonal Fruits: Dried cherries or apricots work great for a summer vibe; switch out the chocolate chips for white chocolate for a sweeter touch.
- Vegan Version: Replace honey with maple syrup and ensure your chocolate chips are dairy-free.
I personally once made a batch with chopped pecans and dried cranberries, which added a delightful crunch and tartness — a nice change when you want a little more texture contrast. If you want to try a softer, chewier bar, reduce the toasting time by a couple of minutes.
Serving & Storage Suggestions
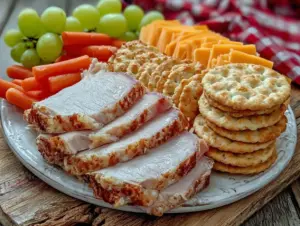
These chewy chocolate chip granola bars are best enjoyed chilled or at room temperature. They hold their shape well, so they’re perfect for lunchboxes, hiking trips, or just a snack at your desk.
Serve them alongside a cup of coffee or tea — they pair beautifully with an Earl Grey, much like the one in this Earl Grey tea cake recipe I love making for spring mornings.
Storage tips: Store the bars in an airtight container at room temperature for up to 5 days. For longer storage, keep them in the fridge for up to two weeks or freeze for up to 3 months. When freezing, separate layers with parchment paper to prevent sticking.
To reheat, let frozen bars thaw at room temperature or microwave for 10-15 seconds for a soft, fresh-from-the-oven feel. The flavors mellow and meld beautifully after a day or two, so if you can, make them a day ahead for maximum tastiness.
Nutritional Information & Benefits
Per bar (based on 12 bars): approximately 180 calories, 6g fat, 25g carbohydrates, 3g protein, and 3g fiber.
These bars pack a wholesome punch with rolled oats providing fiber and slow-release energy, while natural peanut butter contributes protein and healthy fats. Honey offers a natural sweetness with antioxidants, and the mini chocolate chips add just enough indulgence without overwhelming sugar content.
This recipe fits well within balanced diets, is gluten-free when using certified oats, and can be modified for vegan or nut-free needs. It’s a snack that nourishes and satisfies — perfect for those who want quick energy without empty calories.
Conclusion
Chewy homemade chocolate chip granola bars are one of those rare recipes that combine satisfying texture with wholesome ingredients and ease of preparation. They’ve earned a permanent spot in my kitchen because they strike just the right balance between chewy and sweet, simple and special.
Feel free to tweak the nuts, fruits, or chocolate to your liking — that’s half the fun. And whenever I need a snack that feels like a small reward but isn’t loaded with mystery ingredients, these bars deliver every time.
Give them a try and share your own twists — I’d love to hear how you make this recipe your own. There’s something so comforting about homemade snacks that you can trust, and these bars are exactly that kind of comfort.
Here’s to chewy, chocolate-studded moments that make snacking a little more joyful.
FAQs About Chewy Homemade Chocolate Chip Granola Bars
How do I keep my granola bars chewy and not hard?
Press the mixture firmly into the pan and chill the bars thoroughly before slicing. Toasting oats lightly and using the right binder proportions (honey and peanut butter) also help maintain chewiness.
Can I use crunchy peanut butter instead of creamy?
You can, but it may affect the texture. Crunchy peanut butter adds extra bits that might make the bars a bit less uniform but can add pleasant crunch.
How long do these granola bars last?
Stored in an airtight container at room temperature, they last about 5 days. Refrigerate to extend freshness up to two weeks or freeze for up to 3 months.
Can I make these bars nut-free?
Yes! Substitute peanut butter with sunflower seed butter or tahini to keep the binding effect without nuts.
Is it necessary to toast the oats?
While optional, toasting oats adds nuttiness and improves the texture. If you skip this step, the bars may taste a bit flat, but they’ll still work.
Pin This Recipe!
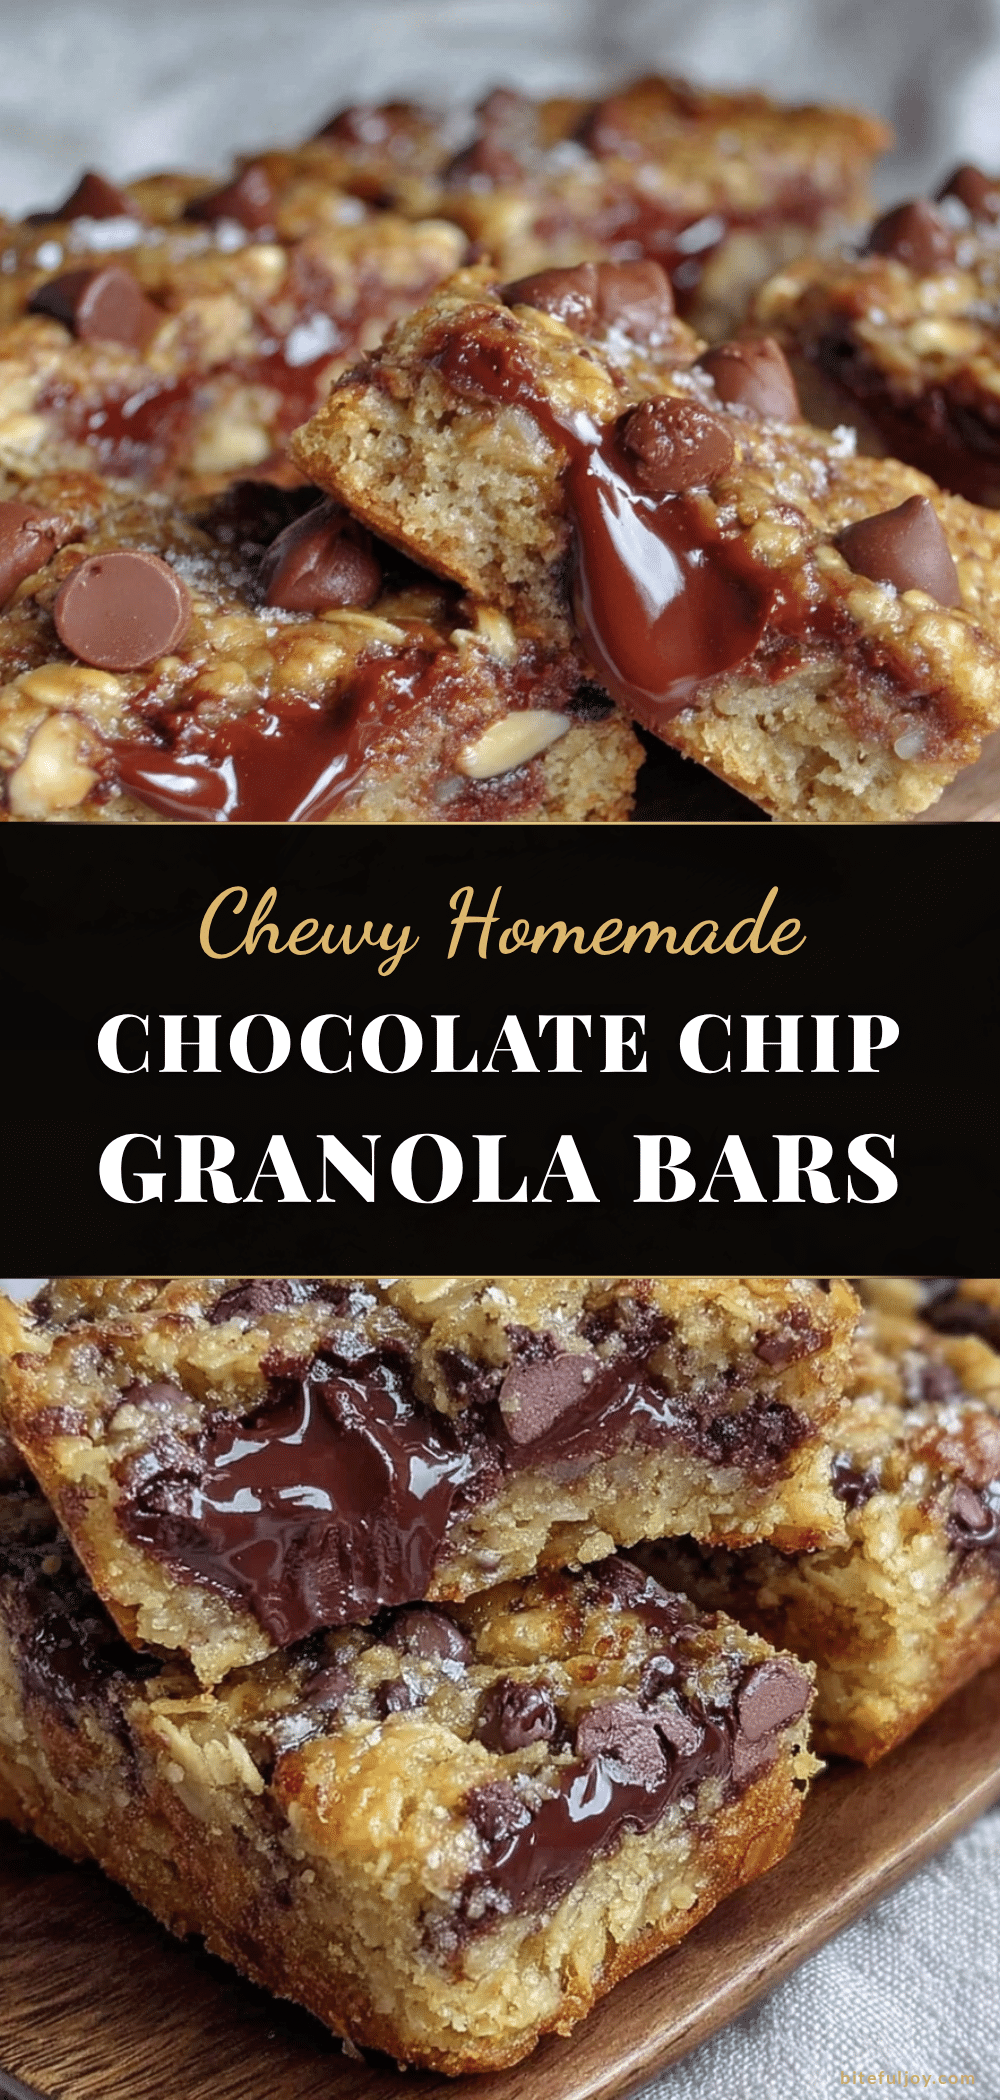
Chewy Homemade Chocolate Chip Granola Bars

These chewy homemade chocolate chip granola bars offer a perfect balance of texture and flavor, combining wholesome oats with melty chocolate chips for a healthy, satisfying snack.
- Prep Time: 10 minutes
- Cook Time: 10 minutes (toasting oats, optional)
- Total Time: 2 hours 20 minutes
- Yield: 12 bars 1x
- Category: Snack
- Cuisine: American
Ingredients
- 2 cups (180g) rolled oats (old-fashioned)
- 1/3 cup (113g) honey
- 1/2 cup (125g) natural peanut butter (creamy)
- 1/4 cup (50g) brown sugar
- 1 tsp vanilla extract
- 1/4 tsp baking soda
- 1/4 tsp salt
- 1/2 cup (90g) mini chocolate chips
- Optional add-ins: 1/3 cup (40g) chopped almonds or walnuts, 1/4 cup (40g) dried cranberries or raisins
Instructions
- Line an 8×8-inch baking pan with parchment paper, leaving some overhang for easy removal.
- Optional: Preheat oven to 350°F (175°C). Spread rolled oats on a baking sheet and toast for 8-10 minutes, stirring halfway through until golden and aromatic.
- Warm honey and peanut butter together in a microwave-safe bowl or small saucepan until smooth, about 30 seconds to 1 minute. Stir to combine.
- In a large mixing bowl, combine the warm honey-peanut butter mixture with brown sugar, vanilla extract, baking soda, and salt. Stir until sugar dissolves and mixture is glossy.
- Add toasted oats to the wet mixture and stir thoroughly to coat all oats evenly.
- Fold in mini chocolate chips and any optional nuts or dried fruits gently to avoid melting the chips.
- Transfer the mixture to the lined baking pan and press firmly and evenly with a spatula or wet hands to compact the bars.
- Chill in the refrigerator for at least 2 hours or until completely firm.
- Use the parchment overhang to lift the granola block from the pan and slice into 12 bars with a sharp knife.
- Store leftovers in an airtight container.
Notes
[‘Toasting oats is optional but recommended for deeper flavor and better chewiness.’, ‘Press the mixture firmly into the pan to prevent crumbling.’, ‘Use mini chocolate chips to avoid uneven melting.’, ‘Chill bars thoroughly before slicing; if too soft, freeze for 15-20 minutes before cutting.’, ‘For nut-free version, substitute peanut butter with sunflower seed butter or tahini.’, ‘For vegan version, replace honey with maple syrup and use dairy-free chocolate chips.’, ‘Store bars in an airtight container at room temperature for up to 5 days, refrigerate up to 2 weeks, or freeze up to 3 months.’]
Nutrition
- Serving Size: 1 bar
- Calories: 180
- Fat: 6
- Carbohydrates: 25
- Fiber: 3
- Protein: 3
Keywords: granola bars, chocolate chip, chewy granola bars, healthy snacks, homemade granola bars, peanut butter granola bars