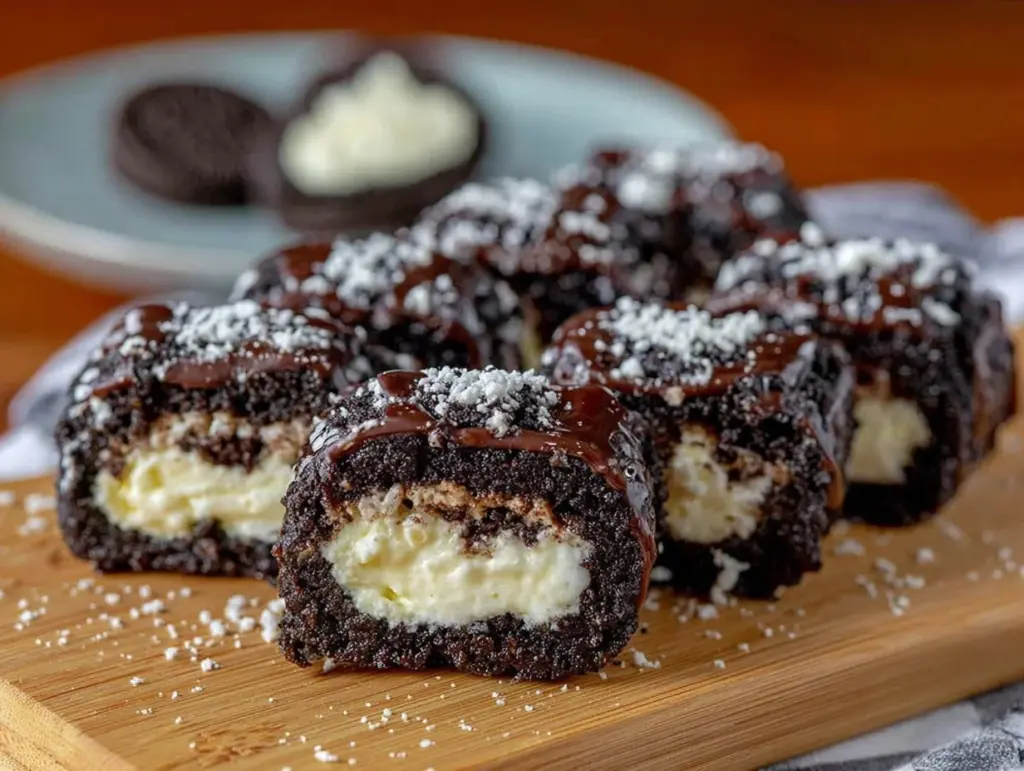
Picture this: the perfect combination of crunchy Oreos, sweet cream filling, and a playful twist that makes dessert feel like an adventure. That’s exactly what Oreo Sushi Rolls deliver. I’ll never forget the moment I first made these—my kitchen smelled like chocolate heaven, and the giggles from my kids as we rolled them up were pure joy. It’s one of those recipes that feels like a party by itself! Honestly, these dessert sushi rolls are so fun, it’s impossible not to smile while making (or eating) them. Whether you’re hosting a birthday bash or just want to brighten up snack time, these Oreo Sushi Rolls are a must-try.
The first time we brought them out at a family gathering, they were gone faster than you can say “pass the plate!” Everyone loved the playful presentation and the familiar Oreo flavor, but with a creative twist. The best part? They’re surprisingly easy to make, even if you’ve never rolled sushi before. Trust me, this recipe is about to become your new party trick. Perfect for Pinterest boards, potlucks, or just a sweet treat for yourself, Oreo Sushi Rolls are dangerously easy and absolutely irresistible.
Why You’ll Love This Recipe
- Quick & Easy: These Oreo Sushi Rolls come together in under 30 minutes, making them the ideal last-minute dessert.
- No Baking Required: Forget preheating the oven—this is a no-fuss recipe that’s perfect for hot summer days or when you just don’t feel like baking.
- Fun & Playful: The sushi roll concept adds a whimsical touch to your dessert table. Kids and adults alike can’t resist them!
- Simple Ingredients: With just Oreos, milk, and your favorite filling (like cream cheese or whipped cream), you likely have everything you need already.
- Crowd-Pleaser: Oreo Sushi Rolls are always a hit at parties, birthdays, or holiday gatherings.
- Customizable: You can easily swap out fillings or toppings to suit your taste or dietary needs.
This recipe isn’t just another Oreo dessert—it’s a creative spin that feels special. The texture combination of crunchy cookies and creamy filling is pure indulgence, and the sushi roll presentation is guaranteed to impress. Plus, it’s a dessert you can make together with family or friends—it’s part recipe, part activity, and all fun!
What Ingredients You Will Need
This recipe uses simple, everyday ingredients to create something magical. Here’s what you’ll need:
- Oreos: About 20 cookies; you’ll crush them to form the “sushi rice.”
- Milk: Just 2 tablespoons to help bind the crushed Oreos together.
- Cream Cheese: Softened or whipped for the filling (you can also use whipped cream or frosting).
- Optional Toppings: Sprinkles, chocolate drizzle, or chopped nuts for extra flair.
- Plastic Wrap: Essential for rolling the sushi tightly.
That’s it! These are pantry staples (and fridge staples) you likely already have on hand. Feel free to substitute the cream cheese with a dairy-free alternative or use a flavored frosting for a unique twist.
Equipment Needed
You don’t need fancy sushi tools for this recipe! Here’s what you’ll need:
- Food Processor: To crush the Oreos into a fine crumb. A sturdy zip-top bag and rolling pin work too!
- Mixing Bowl: For combining the crumbs and milk.
- Plastic Wrap: This helps shape and roll the sushi tightly. Parchment paper is a good alternative.
- Knife: A sharp knife for slicing the rolls neatly.
If you don’t have a food processor, don’t worry—a rolling pin or even a sturdy mug can crush Oreos just as well. I’ve done it both ways, and they turn out perfect every time!
Preparation Method

- Crush the Oreos: Place the Oreos in a food processor and pulse until they’re a fine crumb. If using a zip-top bag, seal the bag and crush the cookies with a rolling pin until no large pieces remain.
- Mix the Dough: Transfer the Oreo crumbs into a mixing bowl. Add 2 tablespoons of milk and stir until the mixture forms a moldable dough. If it’s too dry, add a tiny splash more milk, but don’t overdo it!
- Roll the Dough: Lay a sheet of plastic wrap on your counter. Place the Oreo dough onto the wrap and press it into a thin rectangle (about 1/4 inch thick). Use a rolling pin or your hands for even thickness.
- Add the Filling: Spread softened cream cheese or your chosen filling evenly over the flattened Oreo dough.
- Roll It Up: Using the plastic wrap, carefully roll the dough into a tight sushi roll. Wrap the roll in plastic wrap and refrigerate for 10-15 minutes to firm up.
- Slice & Serve: Unwrap the roll and use a sharp knife to slice it into bite-sized pieces. Top with sprinkles, chocolate drizzle, or your favorite garnish!
Voila! Your Oreo Sushi Rolls are ready to serve. Don’t worry if your rolls aren’t perfect—imperfections make them all the more charming.
Cooking Tips & Techniques
- Crush with Care: Make sure the Oreo crumbs are fine enough to form a smooth dough. Large chunks can make rolling tricky.
- Chill for Stability: Refrigerating the rolled dough helps it firm up and makes slicing easier.
- Use a Sharp Knife: A dull blade can crush the rolls instead of cutting cleanly.
- Don’t Overfill: Too much filling can make rolling and slicing messy. A thin, even layer works best.
- Get Creative: Experiment with different fillings like Nutella, peanut butter, or fruit jam for a unique twist.
Trust me, I’ve learned these tips the hard way—like using a butter knife for slicing (don’t!). Follow these tricks, and you’ll have picture-perfect Oreo Sushi Rolls every time.
Variations & Adaptations
Here are some fun ways to mix things up:
- Seasonal Twist: Add a layer of pumpkin spice cream cheese in fall or crushed candy canes during the holidays.
- Dietary Options: Use gluten-free Oreos for a celiac-friendly version or dairy-free cream cheese for vegan rolls.
- Flavor Fun: Swap cream cheese for Nutella, peanut butter, or marshmallow fluff to suit your taste.
I once added a dollop of raspberry jam to the cream cheese layer, and it was a game-changer! Feel free to experiment—this recipe is endlessly adaptable.
Serving & Storage Suggestions
Oreo Sushi Rolls are best served chilled for a firm texture. Arrange them on a platter for a party or serve on sushi plates for a playful touch. Pair with a glass of milk or hot cocoa for the ultimate treat.
To store leftovers, keep them in an airtight container in the refrigerator for up to 3 days. If you need to freeze them, wrap them tightly in plastic wrap and store in a freezer-safe container for up to 1 month. Thaw in the fridge before serving—they’re just as delicious the second time around!
Nutritional Information & Benefits
While Oreo Sushi Rolls are definitely a dessert treat, here’s a quick rundown of the approximate nutrition per serving (2 rolls):
- Calories: 150
- Fat: 6g
- Sugar: 12g
- Protein: 2g
Oreos may not be a health food, but they sure bring a lot of joy. If you’re looking for a slightly lighter option, try using reduced-fat cream cheese or gluten-free cookies.
Conclusion
If you’re looking for a dessert that’s fun, easy, and guaranteed to impress, Oreo Sushi Rolls are the answer. They’re perfect for parties, family gatherings, or even just a sweet pick-me-up. I love that you can customize them endlessly and that they always spark smiles. Give them a try—you’ll see exactly why this recipe is a keeper. And don’t forget to share your creations in the comments below—I’d love to see your delicious twists on Oreo Sushi Rolls!
FAQs
What’s the best filling for Oreo Sushi Rolls?
Cream cheese is my favorite, but whipped cream, Nutella, or peanut butter work wonderfully too.
Can I make Oreo Sushi Rolls ahead of time?
Absolutely! They can be refrigerated for up to 3 days or frozen for up to a month.
Do I need special tools to make these?
Nope! Just a food processor (or zip-top bag and rolling pin), plastic wrap, and a sharp knife.
Can I make this recipe gluten-free?
Yes, just use gluten-free Oreos and check your filling ingredients to ensure they’re gluten-free.
How do I keep the rolls from falling apart?
Chill them after rolling and use a sharp knife for clean slices—those two steps make all the difference!
Pin This Recipe!
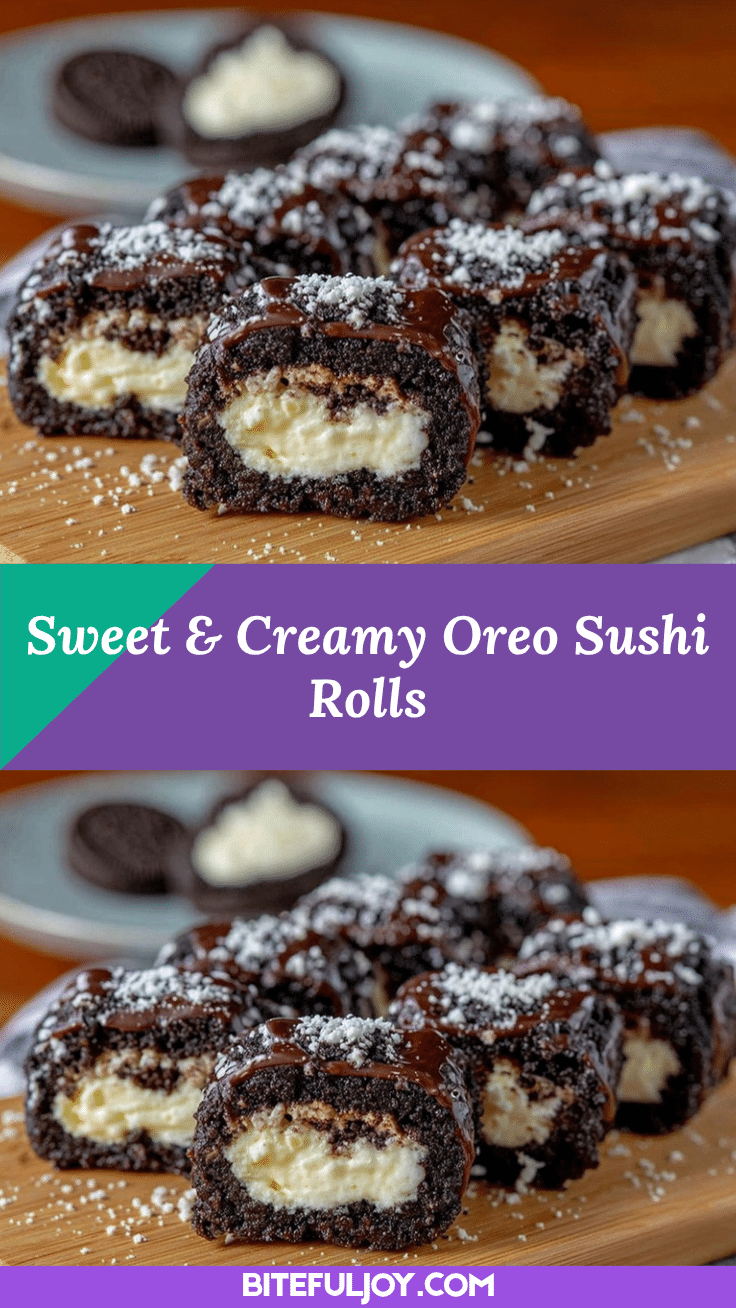
Oreo Sushi Rolls Recipe – Easy Fun Dessert for Parties

A playful and creative dessert combining crushed Oreos, creamy filling, and a sushi roll presentation that’s perfect for parties or snack time.
- Prep Time: 15 minutes
- Cook Time: 0 minutes
- Total Time: 30 minutes
- Yield: 10 servings 1x
- Category: Dessert
- Cuisine: American
Ingredients
- 20 Oreos
- 2 tablespoons milk
- 4 ounces cream cheese (softened or whipped)
- Optional toppings: sprinkles, chocolate drizzle, chopped nuts
Instructions
- Place the Oreos in a food processor and pulse until they’re a fine crumb. Alternatively, seal the Oreos in a zip-top bag and crush them with a rolling pin until no large pieces remain.
- Transfer the Oreo crumbs into a mixing bowl. Add 2 tablespoons of milk and stir until the mixture forms a moldable dough. If it’s too dry, add a tiny splash more milk.
- Lay a sheet of plastic wrap on your counter. Place the Oreo dough onto the wrap and press it into a thin rectangle (about 1/4 inch thick). Use a rolling pin or your hands for even thickness.
- Spread softened cream cheese or your chosen filling evenly over the flattened Oreo dough.
- Using the plastic wrap, carefully roll the dough into a tight sushi roll. Wrap the roll in plastic wrap and refrigerate for 10-15 minutes to firm up.
- Unwrap the roll and use a sharp knife to slice it into bite-sized pieces. Top with sprinkles, chocolate drizzle, or your favorite garnish.
Notes
[‘Make sure the Oreo crumbs are fine enough to form a smooth dough.’, ‘Refrigerating the rolled dough helps it firm up and makes slicing easier.’, ‘Use a sharp knife for clean slices.’, ‘Experiment with different fillings like Nutella, peanut butter, or fruit jam for a unique twist.’]
Nutrition
- Serving Size: 2 rolls
- Calories: 150
- Sugar: 12
- Fat: 6
- Protein: 2
Keywords: Oreo dessert, sushi rolls, party dessert, no-bake dessert, easy dessert, fun dessert, kid-friendly dessert