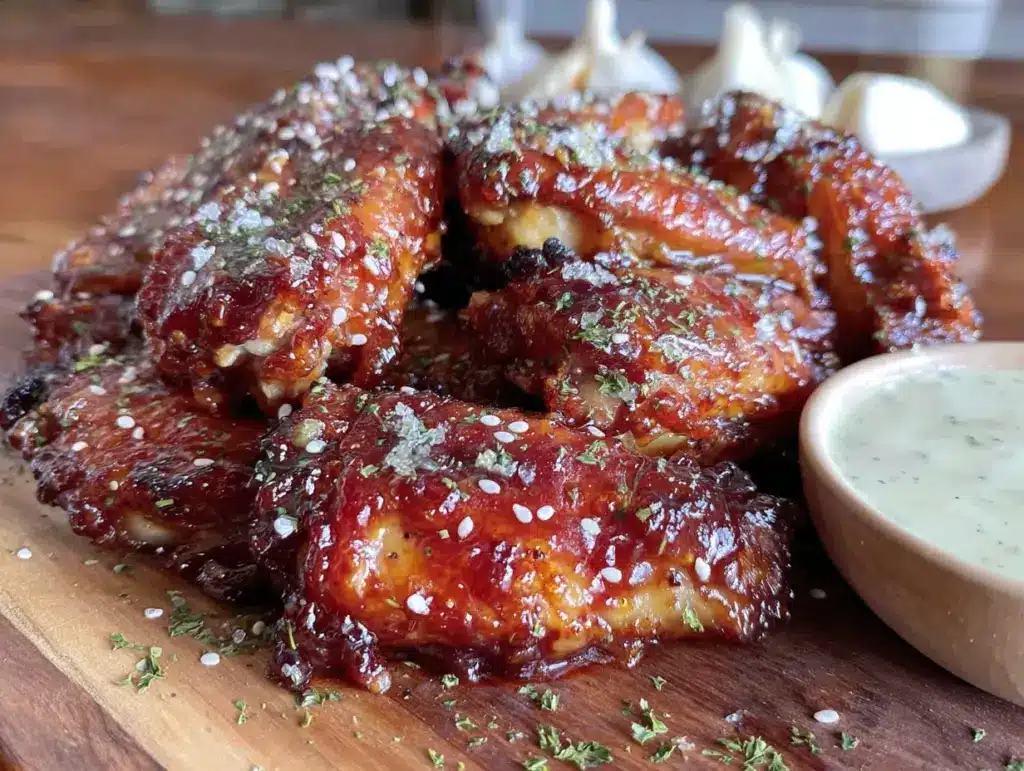
“These wings are better than the restaurant ones, I swear.” My brother-in-law said this through a mouthful of chicken, reaching for a third piece before anyone else had finished their first. I remember just staring at him, half-expecting him to choke on his own boldness. But he didn’t. He just kept eating, and so did everyone else.
That was the first time I made these crispy baked honey garlic chicken wings, and honestly? I didn’t believe him at first either. I had spent years trying to get that perfect crunch without a deep fryer—something that felt impossible for a while. Every batch before this one came out either too chewy or somehow both burnt and undercooked at the same time. You know the struggle if you’ve ever tried to bake wings that actually taste fried.
But this recipe? It changed things. The honey garlic glaze does this thing where it caramelizes just enough on the outside while the inside stays ridiculously juicy. And the baking method I landed on after way too many experiments gives you that crackly skin without any oil bath required. It’s the kind of recipe that makes you question why you ever bothered with takeout.
These wings have become my go-to for game nights, lazy Sundays, and those days when you just need something sticky and satisfying. They show up at every gathering now, and nobody complains. Not once.
Why You’ll Love This Recipe
Let me tell you why these crispy baked honey garlic chicken wings have earned a permanent spot in my rotation. I tested this recipe at least seven times before I got it right—my husband can confirm the leftovers situation got a little out of hand. But every failure taught me something, and this version is the result of all that trial and error.
- Oven-Baked, Not Fried: You get that addictive crunch without the mess or guilt of deep frying. The baking powder trick is a game-changer, and I’ll explain exactly how it works.
- Perfectly Sticky Glaze: The honey garlic sauce coats every wing without making the skin soggy. That’s the secret—getting the balance right so the glaze clings but doesn’t ruin the texture.
- Simple Pantry Ingredients: You probably already have everything you need. Honey, garlic, soy sauce, and a few basics. No fancy trips to specialty stores.
- Crowd-Pleaser Status: I’ve brought these to parties, potlucks, and casual dinners. They disappear fast. Like, embarrassingly fast.
- Foolproof Method: Even if you’re not confident in the kitchen, the step-by-step process here makes it hard to mess up. I’ve included all the little tricks I learned the hard way.
What makes this recipe different from the hundreds of other wing recipes out there? It’s the technique. Most baked wings end up steamed in their own juices because people crowd the pan or skip the drying step. I figured out that patting the wings dry, letting them rest uncovered in the fridge, and using the right amount of baking powder creates that shatteringly crisp skin. Then the honey garlic glaze gets brushed on at the perfect moment so it sets without turning into a sticky mess. It’s not just another version—it’s the one I’d serve to anyone who says baked wings can’t compete with fried.
What Ingredients You Will Need
This recipe uses straightforward ingredients, but each one plays a specific role in building flavor and texture. Here’s what you’ll need and why each ingredient matters.
For the Wings
- Chicken wings (3 pounds / 1.4 kg): I recommend buying whole wings and separating them yourself. You get the drumettes and flats, plus you can save the wing tips for stock. Look for wings that are plump and evenly sized so they cook at the same rate.
- Baking powder (2 teaspoons): This is the secret to crispy skin. Not baking soda—baking powder. It raises the pH of the skin and helps it brown and crisp up in the oven. Make sure it’s aluminum-free to avoid any metallic aftertaste.
- Cornstarch (1 tablespoon): Adds an extra layer of crunch. Some recipes skip this, but I find it makes a noticeable difference in the final texture.
- Salt (1 teaspoon): Use fine sea salt or kosher salt. It draws out moisture from the skin, which helps it crisp up better.
- Garlic powder (1 teaspoon): Adds a subtle savory note that complements the glaze without overwhelming it.
- Black pepper (½ teaspoon): Freshly ground is always better here.
For the Honey Garlic Glaze
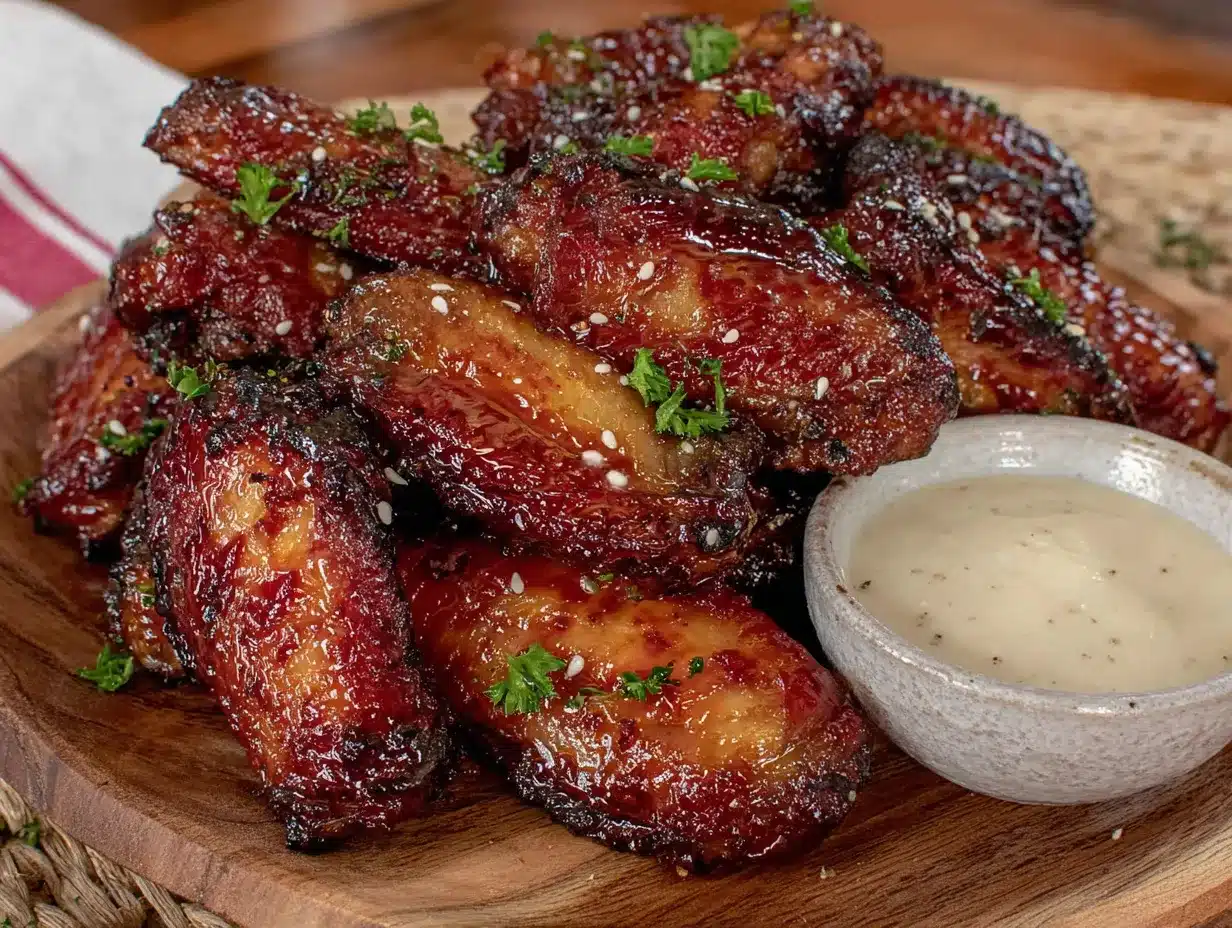
- Honey (⅓ cup / 113 grams): Use a good-quality honey. The flavor really comes through, so don’t use the cheap stuff that tastes like sugar syrup. Local honey adds a nice floral note.
- Soy sauce (3 tablespoons): I prefer low-sodium soy sauce so I can control the salt level. It adds umami and balances the sweetness of the honey.
- Garlic (4 cloves, minced): Fresh garlic is non-negotiable here. The jarred stuff won’t give you the same punchy flavor.
- Rice vinegar (1 tablespoon): Adds a touch of acidity that cuts through the richness. Apple cider vinegar works in a pinch.
- Sesame oil (1 teaspoon): Just a little for that nutty, aromatic finish. It rounds out the glaze beautifully.
- Cornstarch slurry (1 teaspoon cornstarch mixed with 1 tablespoon water): This thickens the glaze so it clings to the wings instead of sliding off.
For Garnish
- Sesame seeds (1 tablespoon): Toasted for extra flavor.
- Green onions (2, sliced): Adds freshness and color.
- Red pepper flakes (optional): For a touch of heat if you like things spicy.
I’ve tried this recipe with different honey varieties, and wildflower honey gives the most balanced flavor. If you’re out of rice vinegar, a squeeze of fresh lemon juice works just as well. And for the garlic—please use fresh cloves. It makes a bigger difference than you’d think.
Equipment Needed
You don’t need a professional kitchen to make these wings, but having the right tools makes the process smoother. Here’s what I use:
- Baking sheet (half-sheet pan): A rimmed baking sheet is essential. The rim catches any drips and prevents a mess in your oven.
- Wire rack: This is crucial for crispy wings. Placing the wings on a wire rack set inside the baking sheet allows air to circulate underneath, so the bottoms get crispy too. No soggy undersides.
- Parchment paper or aluminum foil: Line the baking sheet for easy cleanup. The glaze gets sticky, and trust me, you don’t want to scrub that off.
- Mixing bowls: One large bowl for tossing the wings with the dry ingredients, and a smaller one for the glaze.
- Whisk: For mixing the glaze ingredients together smoothly.
- Pastry brush: For applying the glaze evenly. A silicone brush works best and doesn’t shed bristles.
- Tongs: For flipping the wings halfway through baking. Metal tongs give you better control.
- Small saucepan: For simmering the glaze until it thickens.
If you don’t have a wire rack, you can use a broiler pan or even flip the wings halfway through and drain any accumulated fat. But honestly, the wire rack is worth the investment—I found mine for under ten dollars, and it makes a huge difference in how evenly the wings crisp up.
Preparation Method
This method might look like a lot of steps, but I promise each one serves a purpose. Follow them in order, and you’ll get wings that rival anything from a restaurant.
- Prep the wings: Rinse the chicken wings under cold water and pat them extremely dry with paper towels. This step is more important than you think—excess moisture is the enemy of crispy skin. If you have time, let them sit uncovered in the fridge for an hour or even overnight. This dries out the skin even more and guarantees better crunch.
- Separate the wings: If you bought whole wings, cut them at the joints. You’ll get drumettes, flats, and wing tips. Save the tips in a freezer bag for making stock later. Pat the pieces dry again because they release moisture as you handle them.
- Season the wings: In a large bowl, combine the baking powder, cornstarch, salt, garlic powder, and black pepper. Toss the wings in this mixture until every piece is evenly coated. Don’t skip the cornstarch—it adds that extra layer of crunch that makes these wings special.
- Rest the wings: Arrange the seasoned wings on the wire rack in a single layer. Let them rest at room temperature for 15-20 minutes. This allows the baking powder to start working its magic on the skin. I know it’s tempting to skip this, but don’t.
- Preheat the oven: Set your oven to 425°F (220°C). Make sure the rack is in the middle position. A hot oven is essential for getting that initial sear on the skin.
- Bake the wings: Place the baking sheet in the oven and bake for 25 minutes. After 25 minutes, flip each wing using tongs. They should be golden brown on the bottom. Bake for another 20-25 minutes, until the skin is deeply golden and crispy. The total baking time is about 45-50 minutes.
- Make the glaze: While the wings bake, combine the honey, soy sauce, minced garlic, rice vinegar, and sesame oil in a small saucepan. Bring it to a gentle simmer over medium heat, then reduce the heat to low. Let it cook for 3-4 minutes, stirring occasionally. In a small bowl, mix the cornstarch with water to make a slurry, then whisk it into the glaze. Continue simmering for another 2 minutes until the glaze thickens enough to coat the back of a spoon. Remove from heat and set aside.
- Glaze the wings: When the wings come out of the oven, transfer them to a clean bowl. Pour about half the glaze over the wings and toss gently until every piece is coated. Don’t drown them—you want a thin, even layer that sets properly. Reserve the remaining glaze for serving or dipping.
- Broil for extra caramelization (optional): If you want that restaurant-style sticky finish, place the glazed wings back on the wire rack and broil on high for 2-3 minutes. Watch them closely—the sugar in the honey can burn quickly. You’re looking for bubbly, caramelized spots on the glaze.
- Garnish and serve: Transfer the wings to a serving platter. Sprinkle with toasted sesame seeds, sliced green onions, and a pinch of red pepper flakes if you like heat. Serve immediately while they’re still hot and crispy.
A few things I learned the hard way: If your wings are steaming instead of crisping, your oven might be running cool. Invest in an oven thermometer—they’re cheap and they save you from disappointing results. Also, don’t overcrowd the pan. The wings need space for air to circulate, or they’ll end up soggy. I usually do two batches if I’m making a larger quantity, and it’s always worth the extra time.
Cooking Tips & Techniques
After making these wings more times than I can count, I’ve picked up some tricks that make the process smoother and the results more consistent. Here are the ones that matter most:
The drying technique is everything. I cannot stress this enough. The first time I made these, I skipped the drying step because I was in a hurry. The skin came out rubbery and sad. Now I pat the wings dry with paper towels, then let them rest on the wire rack in the fridge for at least an hour. If you’re short on time, even 30 minutes helps. The drier the skin, the crispier the result.
Don’t skip the baking powder. I once ran out of baking powder and thought I could get away with just cornstarch. Big mistake. The wings lacked that deep golden color and the skin wasn’t nearly as crunchy. Baking powder is what creates those bubbly, crispy bits on the surface. Just make sure it’s aluminum-free—regular baking powder can leave a weird taste.
Flip with confidence. When you flip the wings at the 25-minute mark, use metal tongs and do it quickly. The less time the oven door stays open, the more consistent the temperature stays. I’ve learned to work fast and close the door immediately.
Watch the glaze carefully. Honey burns faster than you’d expect. When you’re simmering the glaze or broiling the wings at the end, keep a close eye on things. The difference between perfectly caramelized and burnt is about 30 seconds. I learned this the hard way when I got distracted by my phone and ended up with a sticky, smoky mess.
Double the glaze if you like extra. The recipe makes enough for a light coating that’s just right for most people. But if you’re like me and you love extra sauce for dipping, make a separate batch of glaze and keep it on the side. Don’t drown the wings in it or they’ll lose their crunch.
Variations & Adaptations
One of the best things about this recipe is how easily it adapts to different tastes and dietary needs. Here are some variations I’ve tried and loved:
Spicy Honey Garlic Wings: Add 1-2 teaspoons of sriracha or gochujang to the glaze while it simmers. The heat balances beautifully with the sweetness of the honey. I made this version for a Super Bowl party and it was the first thing to disappear.
Gluten-Free Option: This recipe is naturally gluten-free if you use tamari or coconut aminos instead of soy sauce. Everything else is already gluten-free, so it’s an easy swap. I’ve served this to friends with celiac disease and they couldn’t tell the difference.
Air Fryer Method: If you have an air fryer, you can use it instead of the oven. Cook the seasoned wings at 400°F (200°C) for 12 minutes, shake the basket, then cook for another 10-12 minutes until crispy. Toss with the glaze and air fry for another 2 minutes. The results are just as good and the cooking time is shorter. If you enjoy experimenting with different cooking methods, you might also love how our grilled beer can chicken turns out with its herb rub for juicy flavor.
Lemon Pepper Variation: Skip the honey garlic glaze and toss the baked wings with melted butter, lemon zest, cracked black pepper, and a pinch of salt. It’s a completely different flavor profile but just as addictive. This version pairs wonderfully with a watermelon feta mint salad for a refreshing summer meal.
Keto-Friendly Version: Replace the honey with a sugar-free honey substitute or use a monk fruit sweetener. The glaze won’t caramelize exactly the same way, but it still tastes great. You can also skip the cornstarch and use extra baking powder instead.
If you’re planning a game day spread, these wings go perfectly alongside some crispy bacon wrapped jalapeño poppers for an unforgettable appetizer lineup. And for a complete party menu, savory pulled pork sliders with creamy coleslaw make an excellent companion dish.
Serving & Storage Suggestions
These wings are best served hot and fresh, right after the glaze goes on. The contrast between the crispy skin and the sticky-sweet glaze is at its peak within the first 15 minutes. Arrange them on a platter with some extra glaze on the side for dipping, and garnish with sesame seeds and green onions for a pop of color.
For a complete meal, I like to serve these wings with crunchy vegetable sticks like celery and carrot batons, plus a side of ranch or blue cheese dressing. The cool, creamy dip balances the sticky sweetness of the glaze perfectly. If you’re serving them as part of a larger spread, they pair beautifully with a fresh creamy loaded potato salad with bacon and chives or some grilled corn on the cob with chili lime butter.
Storage: If you have leftovers (which rarely happens in my house), store them in an airtight container in the refrigerator for up to 3 days. Keep in mind that the wings will lose their crispiness as they sit in the glaze, so they won’t be as crunchy the next day.
Reheating: The best way to reheat these wings is in the oven or air fryer. Preheat your oven to 375°F (190°C) and spread the wings on a wire rack over a baking sheet. Bake for 8-10 minutes until heated through and the skin crisps up again. The microwave will make them soggy, so avoid it if you can. For the air fryer, reheat at 350°F (175°C) for 4-5 minutes.
Freezing: You can freeze the baked but unglazed wings for up to 3 months. Let them cool completely, then arrange them in a single layer on a baking sheet and freeze until solid. Transfer to a freezer-safe bag or container. When you’re ready to serve, thaw them in the refrigerator overnight, then reheat in the oven and glaze them fresh. This is a great make-ahead strategy for parties.
Nutritional Information & Benefits
Here’s the approximate nutritional breakdown for a serving of 4-5 wings (about ⅙ of the recipe):
| Nutrient | Amount per Serving |
|---|---|
| Calories | 320 |
| Protein | 24g |
| Fat | 18g |
| Saturated Fat | 5g |
| Carbohydrates | 18g |
| Fiber | 0g |
| Sugar | 15g |
| Sodium | 680mg |
Chicken wings are a good source of protein, which helps keep you full and supports muscle health. The honey in the glaze provides quick energy and contains antioxidants, though it’s still sugar so moderation is key. Garlic is known for its anti-inflammatory properties and can support immune health. If you’re watching your sodium intake, use low-sodium soy sauce and reduce the added salt in the seasoning mix.
This recipe is naturally gluten-free (with tamari) and can be made keto-friendly with a sugar substitute. It’s not suitable for vegan or dairy-free diets, but the basic wing preparation without the glaze can be adapted. If you have allergies, note that soy and sesame are common allergens in this recipe.
Conclusion
These crispy baked honey garlic chicken wings have become a staple in my kitchen for good reason. They deliver everything you want from a wing—crunchy skin, juicy meat, and a sticky-sweet glaze that’s impossible to resist—without the hassle of deep frying. The method is straightforward once you know the tricks, and the results are consistently impressive.
I love that this recipe is forgiving enough for beginners but impressive enough for company. Whether you’re making them for game day, a casual dinner, or just because you’re craving something satisfying, these wings never disappoint. And honestly? They might even convert a few people who thought baked wings couldn’t compete with fried.
I’d love to hear how yours turn out. Did you try any of the variations? Did you discover your own twist? Drop a comment below and let me know—I read every single one and I’m always looking for new ideas to try. If you share your wings on social media, tag me so I can see your creations. Happy cooking, and don’t forget to save some glaze for dipping!
Frequently Asked Questions
Can I make these wings ahead of time for a party?
Absolutely! You can bake the wings completely, let them cool, and store them in the refrigerator for up to 2 days without the glaze. When you’re ready to serve, reheat them in a 375°F oven for 8-10 minutes, then toss with the glaze. This actually works great because the wings crisp up again during reheating.
Why are my baked wings not getting crispy?
This usually happens for one of three reasons: the wings weren’t dried thoroughly before seasoning, the baking sheet was overcrowded, or the oven temperature wasn’t hot enough. Make sure to pat the wings completely dry with paper towels, leave space between each piece on the wire rack, and use an oven thermometer to verify your oven is actually reaching 425°F.
Can I use chicken drumsticks or thighs instead of wings?
Yes, you can! The same method works for drumsticks and thighs, but you’ll need to adjust the cooking time. Drumsticks typically need 35-40 minutes before flipping, then another 25-30 minutes. Thighs need about 25 minutes per side. Always check that the internal temperature reaches 165°F (74°C) before serving.
Is baking powder the same as baking soda?
No, they’re different. Baking powder is a combination of baking soda, cream of tartar, and sometimes cornstarch. For this recipe, you need baking powder specifically. Baking soda will give the wings a metallic, bitter taste and won’t create the same crispy texture. Double-check your container before using it.
How do I prevent the glaze from burning under the broiler?
The sugar in honey caramelizes quickly and can burn in seconds. Keep the oven door slightly ajar so you can watch the wings constantly while they broil. Set a timer for 2 minutes and check them. If they need more time, do it in 30-second increments. It’s better to under-broil than to end up with burnt wings.
Pin This Recipe!
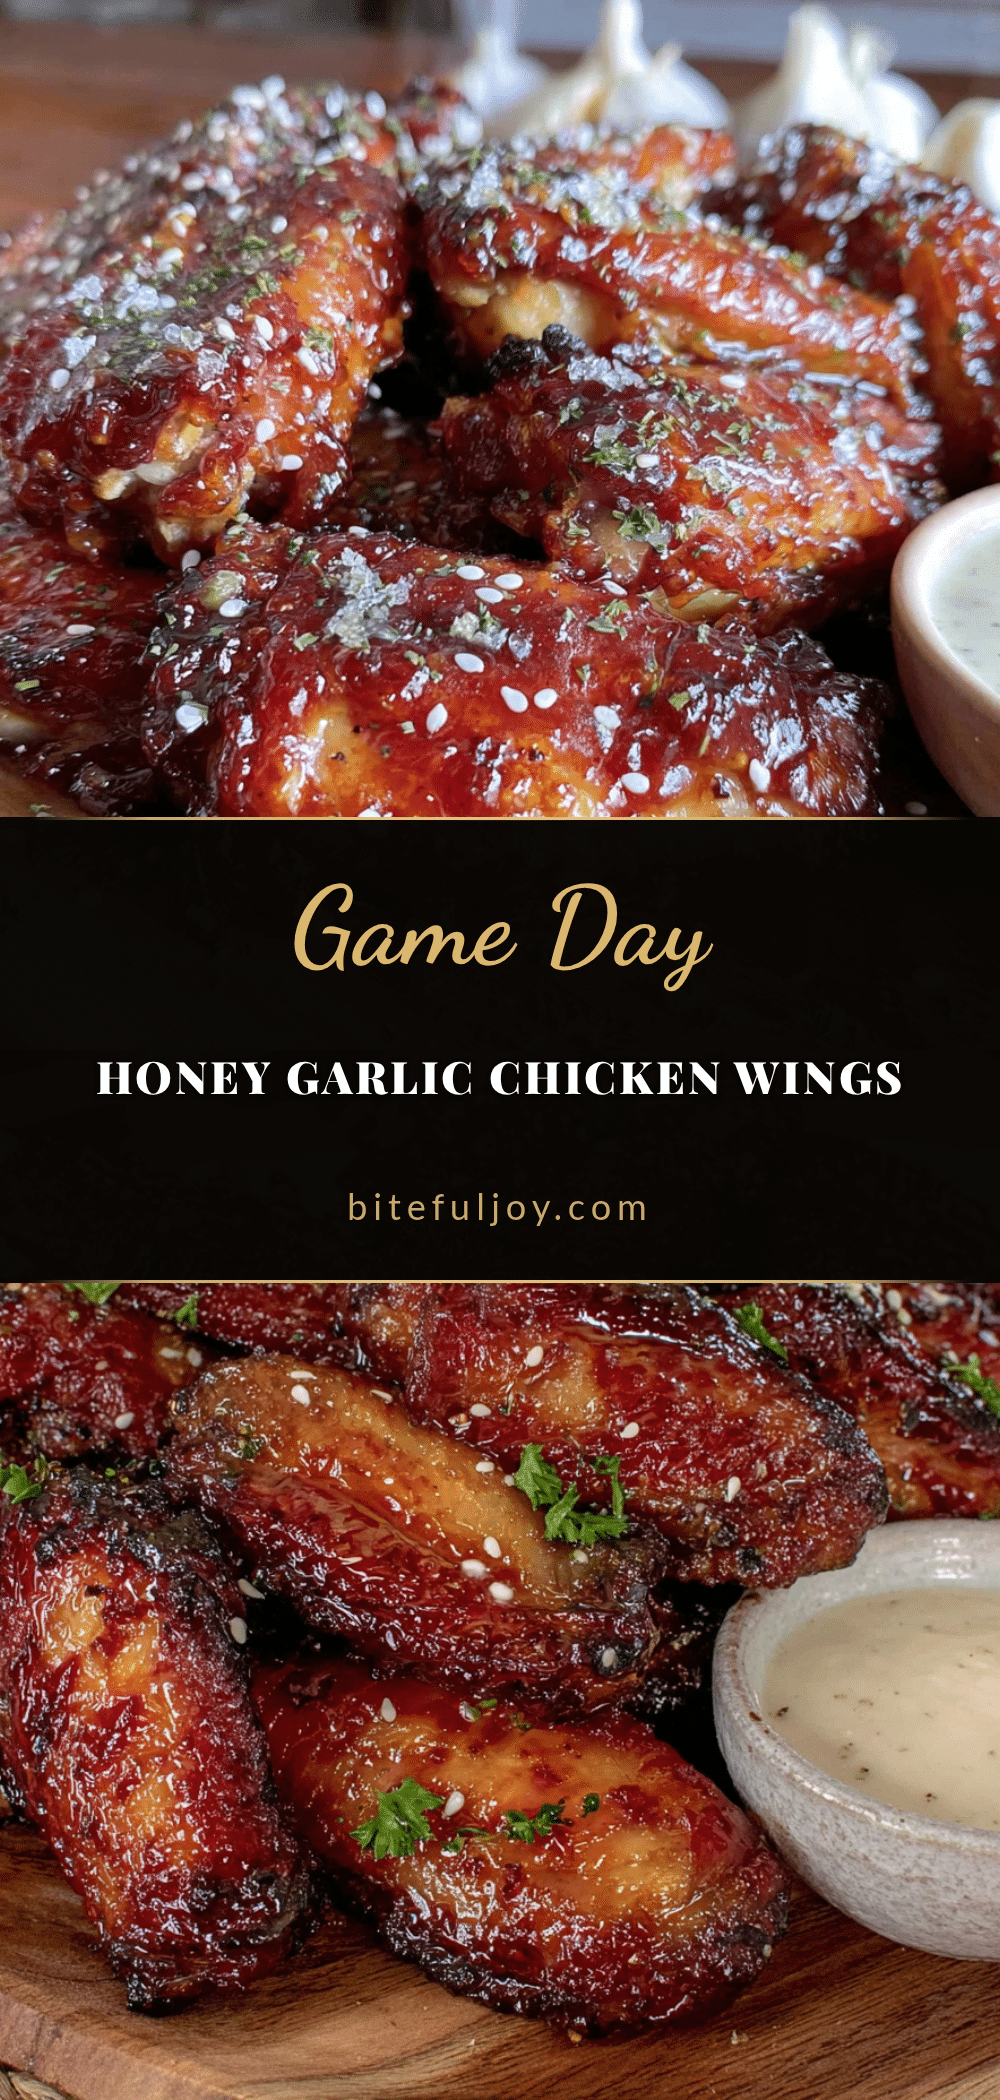
Crispy Baked Honey Garlic Chicken Wings

These oven-baked chicken wings achieve a shatteringly crispy skin without deep frying, thanks to a clever baking powder trick. They’re coated in a sticky-sweet honey garlic glaze that caramelizes perfectly, making them a crowd-pleasing favorite for game nights and gatherings.
- Prep Time: 20 minutes
- Cook Time: 50 minutes
- Total Time: 1 hour 10 minutes
- Yield: 6 servings 1x
- Category: Appetizer
- Cuisine: American
Ingredients
- 3 pounds (1.4 kg) chicken wings
- 2 teaspoons baking powder (aluminum-free)
- 1 tablespoon cornstarch
- 1 teaspoon fine sea salt or kosher salt
- 1 teaspoon garlic powder
- ½ teaspoon freshly ground black pepper
- ⅓ cup (113 g) honey
- 3 tablespoons low-sodium soy sauce
- 4 cloves garlic, minced
- 1 tablespoon rice vinegar
- 1 teaspoon sesame oil
- 1 teaspoon cornstarch mixed with 1 tablespoon water (for slurry)
- 1 tablespoon toasted sesame seeds (for garnish)
- 2 green onions, sliced (for garnish)
- Red pepper flakes (optional, for garnish)
Instructions
- Prep the wings: Rinse the chicken wings under cold water and pat them extremely dry with paper towels. For best results, let them sit uncovered in the fridge for an hour or overnight to dry out the skin further.
- Separate the wings: If using whole wings, cut them at the joints into drumettes, flats, and wing tips. Save the tips for stock. Pat the pieces dry again.
- Season the wings: In a large bowl, combine baking powder, cornstarch, salt, garlic powder, and black pepper. Toss the wings in the mixture until evenly coated.
- Rest the wings: Arrange the seasoned wings in a single layer on a wire rack set inside a rimmed baking sheet. Let them rest at room temperature for 15-20 minutes.
- Preheat the oven to 425°F (220°C) with the rack in the middle position.
- Bake the wings: Place the baking sheet in the oven and bake for 25 minutes. Flip each wing using tongs, then bake for another 20-25 minutes until deeply golden and crispy (total 45-50 minutes).
- Make the glaze: While the wings bake, combine honey, soy sauce, minced garlic, rice vinegar, and sesame oil in a small saucepan. Bring to a gentle simmer over medium heat, then reduce to low. Cook for 3-4 minutes, stirring occasionally. Whisk in the cornstarch slurry and simmer for another 2 minutes until thickened. Remove from heat.
- Glaze the wings: Transfer the baked wings to a clean bowl. Pour about half the glaze over the wings and toss gently to coat. Reserve the remaining glaze for serving.
- Broil for extra caramelization (optional): Place the glazed wings back on the wire rack and broil on high for 2-3 minutes, watching closely to prevent burning, until bubbly and caramelized.
- Garnish and serve: Transfer to a platter, sprinkle with toasted sesame seeds, sliced green onions, and red pepper flakes if desired. Serve immediately.
Notes
Pat the wings extremely dry for maximum crispiness. Use aluminum-free baking powder to avoid a metallic taste. Don’t overcrowd the pan; leave space between wings for air circulation. Watch the glaze carefully under the broiler as honey burns quickly. For extra crunch, let the seasoned wings rest uncovered in the fridge for up to 24 hours.
Nutrition
- Serving Size: 4-5 wings
- Calories: 320
- Sugar: 15
- Sodium: 680
- Fat: 18
- Saturated Fat: 5
- Carbohydrates: 18
- Protein: 24
Keywords: crispy baked chicken wings, honey garlic wings, oven baked wings, game day appetizer, sticky wings, easy chicken wings recipe