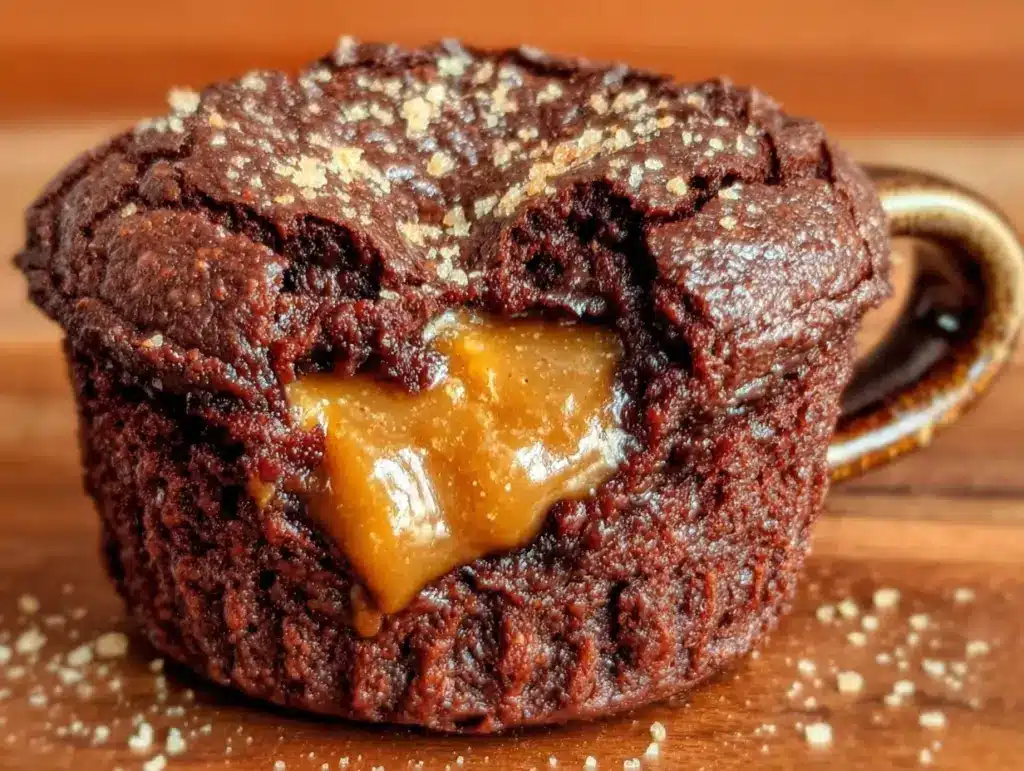
The microwave beeped again, pulling me out of my usual late-night scroll through half-forgotten recipes and snack ideas. Honestly, I wasn’t looking for anything fancy—just a quick little something to satisfy that stubborn chocolate craving that hits right before bed. That’s how this easy solo mug brownie with a gooey peanut butter center came into my life. I remember being skeptical at first. I mean, could a brownie cooked in a mug in under five minutes really hit the spot? But the moment I broke into that warm, fudgy center oozing with peanut butter, I knew I’d stumbled onto something special.
It wasn’t just about convenience—though, let’s face it, the fact that I didn’t have to dirty a bowl or preheat an oven was a game changer. The rich chocolate paired with that salty-sweet peanut butter middle created this perfect marriage of flavors I never expected from a microwave mug recipe. Since then, I’ve found myself making this treat multiple times a week, especially after busy days when the kitchen feels too overwhelming to tackle, yet my sweet tooth demands attention. The simplicity is almost meditative—whisk, add peanut butter, zap, and enjoy.
What makes this mug brownie stick around in my rotation is how effortlessly it turns a solo craving into a moment of comfort. It’s like having a cozy dessert that’s all yours, ready in minutes, without the usual fuss. Plus, it’s the kind of recipe that invites a little experimentation—sometimes swapping peanut butter for Nutella, or stirring in a handful of chocolate chips for extra melty goodness. If you’ve ever felt the late-night snack struggle, you might find this mug brownie unexpectedly comforting, too.
It’s quietly satisfying, and honestly, it feels like a small win when the day’s chaos fades away with that first warm bite.
Why You’ll Love This Recipe
This easy solo mug brownie with gooey peanut butter center isn’t just a quick fix—it’s a thoughtfully tested recipe that brings a little joy to solo snacking moments. Having made this recipe countless times, I’ve nailed the balance between fudgy chocolate and that irresistibly gooey peanut butter core. Here’s what makes this recipe stand out:
- Quick & Easy: Ready in under 5 minutes, it fits perfectly into hectic evenings or spontaneous cravings.
- Simple Ingredients: Uses pantry staples you probably already have—no last-minute grocery runs required.
- Perfect for Solo Treats: Designed as a single serving, so no leftover guilt or complicated portioning.
- Crowd-Pleaser: While it’s made for one, it’s easy to multiply for friends or family—and everyone loves that peanut butter surprise.
- Unbelievably Delicious: The texture is just right: soft, fudgy brownie exterior with a molten peanut butter heart.
This recipe isn’t just another mug brownie; it’s got that little twist that makes it unforgettable. The peanut butter center melts just enough to stay gooey without turning oily or overpowering the chocolate. I’ve tried versions with different nut butters, but peanut butter keeps the flavor classic and comforting. Plus, the method is foolproof—even if you’re “not really a baker” type like me.
Honestly, this brownie feels like it was made for those quiet evenings when you want something indulgent but fuss-free. It’s the kind of treat that makes you pause and savor, closing your eyes after that first bite because it’s just… right.
What Ingredients You Will Need
This recipe uses simple, wholesome ingredients to deliver bold flavor and satisfying texture without the fuss. The pantry-friendly list means you can whip it up anytime, whether it’s a last-minute craving or a planned solo dessert. Here’s what you’ll need:
- All-purpose flour – about 4 tablespoons (30 g), the base for your brownie batter
- Granulated sugar – 3 tablespoons (38 g), adds sweetness and helps with the fudgy texture
- Unsweetened cocoa powder – 2 tablespoons (10 g), for that rich chocolate flavor; I prefer Ghirardelli for its smoothness
- Salt – a pinch, to balance and bring out the chocolate notes
- Baking powder – 1/8 teaspoon, just enough to give a slight lift without making it cakey
- Milk – 3 tablespoons (45 ml), whole milk works best, but any milk or dairy-free alternative will do
- Vegetable oil – 2 tablespoons (30 ml), adds moisture and richness; you can swap for melted coconut oil for a subtle twist
- Vanilla extract – 1/4 teaspoon, for that warm, comforting aroma
- Peanut butter – about 1 tablespoon (16 g), creamy or chunky depending on your preference; make sure it’s room temperature for easy melting
If you want to switch it up, almond or cashew butter works well, but peanut butter keeps that classic flavor everyone loves. For a dairy-free version, swap milk with almond or oat milk and use coconut oil instead of vegetable oil.
Equipment Needed
Since this is a solo mug brownie recipe, the equipment list is delightfully short:
- Microwave-safe mug: Ideally around 12 to 16 ounces (350-475 ml) so the batter doesn’t overflow during cooking.
- Measuring spoons and cups: Accuracy matters here for balance—especially with cocoa powder and baking powder.
- Small whisk or fork: For mixing the batter smoothly in the mug without lumps.
- Microwave: Any standard microwave with medium-high power will do. If yours is super powerful, you might want to reduce cooking time slightly.
For a budget-friendly option, any sturdy ceramic mug works, but avoid thin glass mugs—they can get too hot quickly. I like using a mug with a wide opening so I can easily swirl the batter and see the peanut butter center in all its glory. Also, if you’re curious, I tried this in a silicone mug once—it worked but didn’t get the same fudgy texture.
Preparation Method
- Mix the dry ingredients: In your microwave-safe mug, whisk together 4 tablespoons (30 g) all-purpose flour, 3 tablespoons (38 g) granulated sugar, 2 tablespoons (10 g) unsweetened cocoa powder, a pinch of salt, and 1/8 teaspoon baking powder. The batter should look evenly combined and dark chocolatey with no lumps of cocoa powder—this usually takes about 30 seconds of mixing.
- Add the wet ingredients: Pour in 3 tablespoons (45 ml) milk, 2 tablespoons (30 ml) vegetable oil, and 1/4 teaspoon vanilla extract. Stir gently until smooth. The batter should be thick but pourable, coating the back of your spoon.
- Drop in the peanut butter center: Spoon about 1 tablespoon (16 g) of room temperature peanut butter right into the middle of the batter. Don’t stir it in; just let it sit nestled in the batter like a little surprise.
- Microwave on high: Place the mug in your microwave and cook for 45 to 60 seconds. Timing depends on your microwave wattage—start checking at 45 seconds. The edges should be set, but the center might still look slightly wet (that’s good!). Avoid overcooking, or the brownie will dry out.
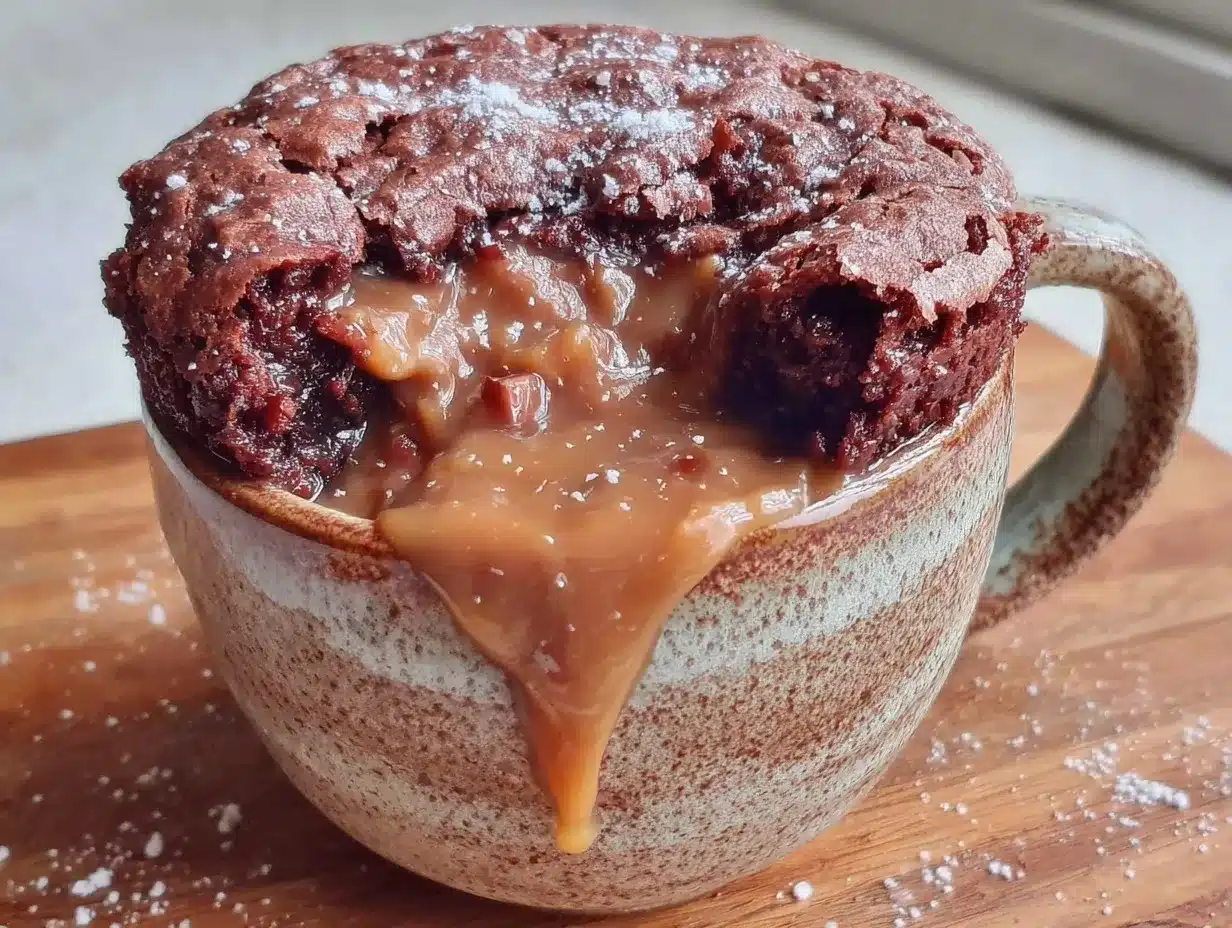
- Check and rest: Let the mug brownie sit for a minute. The residual heat will finish cooking the middle without turning the peanut butter into an oily mess. You’ll want to see a fudgy top with that gooey peanut butter center just waiting to be revealed.
- Enjoy straight from the mug: Grab a spoon and dig in! The contrast between the slightly crisp edges and molten peanut butter middle is pure comfort food bliss. If you want to add an extra touch, a small scoop of vanilla ice cream or a dusting of powdered sugar works beautifully.
Pro tip: If your microwave tends to cook unevenly, rotate the mug halfway through cooking. And if you find the peanut butter sinking too much, try chilling it slightly before adding. This little trick keeps the center nice and gooey without melting away.
Cooking Tips & Techniques
Making a mug brownie might sound simple, but a few tricks can make a big difference in texture and flavor. From my experiments, here’s what I’ve learned:
- Measure carefully: Too much flour or cocoa powder can dry out the brownie, while too little sugar can make it taste flat. A kitchen scale helps, especially for the cocoa powder.
- Don’t overmix: Stir just enough to combine ingredients. Overmixing can make the brownie tough because of gluten development.
- Microwave in short bursts: Microwaves vary wildly. Start with 45 seconds, then add 10-second increments if needed. Overcooked mug brownies turn rubbery, and nobody wants that.
- Use creamy peanut butter: Chunky can work, but creamy blends more smoothly into that gooey center. If you love texture, sprinkle chopped peanuts on top before microwaving.
- Let it rest: After microwaving, don’t rush to eat. The brownie firms up slightly while the peanut butter stays molten but not runny.
- Experiment with add-ins: A few chocolate chips or a pinch of cinnamon can add complexity without extra effort.
One memorable mishap was when I tried to microwave it for a full two minutes—result? A dry, cracked brownie that even peanut butter couldn’t save. So, patience and short cooking bursts are key. Also, stirring the peanut butter into the batter before microwaving turns the center into a peanut-flavored blob instead of a gooey surprise. Keeping it separate makes all the difference.
Variations & Adaptations
This mug brownie recipe is a great base for customization, whether you’re watching calories, avoiding allergens, or just in the mood for a twist:
- Nut-free option: Swap peanut butter for sunflower seed butter or cookie butter to avoid nuts but keep that luscious center.
- Vegan adaptation: Use plant-based milk (almond or oat), replace sugar with coconut sugar if preferred, and swap vegetable oil with coconut oil. Try a flax egg (1 tablespoon flaxseed meal + 3 tablespoons water) if you want a slightly more cake-like texture.
- Flavor twist: Add a pinch of instant espresso powder to deepen the chocolate flavor or swirl in a spoonful of Nutella instead of peanut butter for a hazelnut surprise.
- Seasonal spin: Top with fresh raspberries or a drizzle of salted caramel sauce to suit the mood or occasion.
- Gluten-free: Use a gluten-free all-purpose flour blend; just make sure it includes xanthan gum for structure.
Personally, I once tried adding a pinch of cayenne pepper to the batter—it gave the brownie a subtle kick that complemented the peanut butter beautifully. It’s a fun way to shake things up if you’re feeling adventurous. If you enjoy easy no-bake desserts, this mug brownie fits right into your quick-treat toolkit.
Serving & Storage Suggestions
This mug brownie is best enjoyed warm, straight from the mug, so the gooey peanut butter center is still molten and irresistible. If you want to make it feel a little more special, try topping it with a small scoop of vanilla ice cream or a dollop of whipped cream—the contrast is heavenly. A sprinkle of flaky sea salt or chopped peanuts on top just before serving adds a nice crunch and burst of flavor.
Because it’s a solo serving, leftovers aren’t really a thing here, but if you do want to prepare several in advance, you can mix the dry and wet ingredients (without peanut butter) and store the batter in an airtight container in the fridge for up to 2 days. Add the peanut butter right before microwaving.
If you happen to have extra cooked mug brownies, they keep well covered in the fridge for up to 2 days. Reheat in the microwave for 15-20 seconds to revive that gooey texture. Be cautious with reheating too long or the peanut butter center might separate. Flavors meld with time, so the next day the chocolate taste can deepen nicely, though the texture changes slightly.
Pair this brownie with a cup of coffee or tea—and if you love tea cakes, you might enjoy the delicate flavors in this Earl Grey tea cake recipe as a lighter alternative for daytime treats. For a brunch-style dessert, the gooey peanut butter center complements the richness of a creamy quiche, like the classic quiche Lorraine with fresh herbs.
Nutritional Information & Benefits
This easy solo mug brownie contains roughly 350-400 calories per serving, depending on the exact ingredients used. It provides a decent amount of protein and healthy fats from the peanut butter, along with fiber from the cocoa powder. The recipe is moderate in sugar but can be adjusted by reducing the sugar or swapping for natural sweeteners like maple syrup, though that might change the texture slightly.
Key health benefits come from the peanut butter, which offers heart-healthy monounsaturated fats and some protein, helping to curb hunger after eating. Cocoa powder adds antioxidants, which can contribute to overall wellness when enjoyed in moderation.
For those with dietary restrictions, this recipe is easily adaptable to gluten-free, vegan, and nut-free diets with simple substitutions, making it a versatile treat for many.
Conclusion
This easy solo mug brownie with gooey peanut butter center is the kind of recipe that feels like a small but meaningful indulgence, perfect for solo moments when you want something warm, comforting, and mess-free. Its quick prep and simple ingredients make it a reliable go-to for any time that chocolate craving strikes, especially when you don’t want to commit to a whole pan of brownies. I love how it turns a simple snack into a little celebration of flavor and texture, with that molten peanut butter surprise tucked inside.
Feel free to tailor it to your taste—add a pinch of spice, swap nut butters, or serve with a scoop of ice cream. And if you try it out, I’d love to hear how you make it your own. Sharing recipes and twists is part of what makes cooking fun, after all. Enjoy your sweet moment.
FAQs About Easy Solo Mug Brownie with Gooey Peanut Butter Center
Can I use natural peanut butter for this mug brownie?
Yes, but natural peanut butter tends to be more oily and may separate when heated. For the best gooey center, creamy, processed peanut butter works better. If you want to use natural, try chilling it slightly before adding.
What if I don’t have a microwave? Can I bake this in an oven?
You can bake it in a small ramekin at 350°F (175°C) for about 12-15 minutes. Watch closely so it doesn’t dry out, and add peanut butter halfway through baking for a molten center.
How do I prevent the mug brownie from overflowing in the microwave?
Use a larger mug (12-16 oz) and avoid filling it more than halfway with batter. Also, microwave in short bursts and keep an eye on it to stop before it bubbles over.
Is there a way to make this recipe lower in sugar?
You can reduce sugar to 2 tablespoons (25 g) or swap with natural sweeteners like maple syrup or honey, though keep in mind this may affect texture and cooking time slightly.
Can I prepare this ahead of time for guests?
Absolutely! Mix the dry and wet ingredients (without peanut butter) and store the batter in the fridge. Add peanut butter and microwave just before serving for a fresh, gooey treat.
Pin This Recipe!
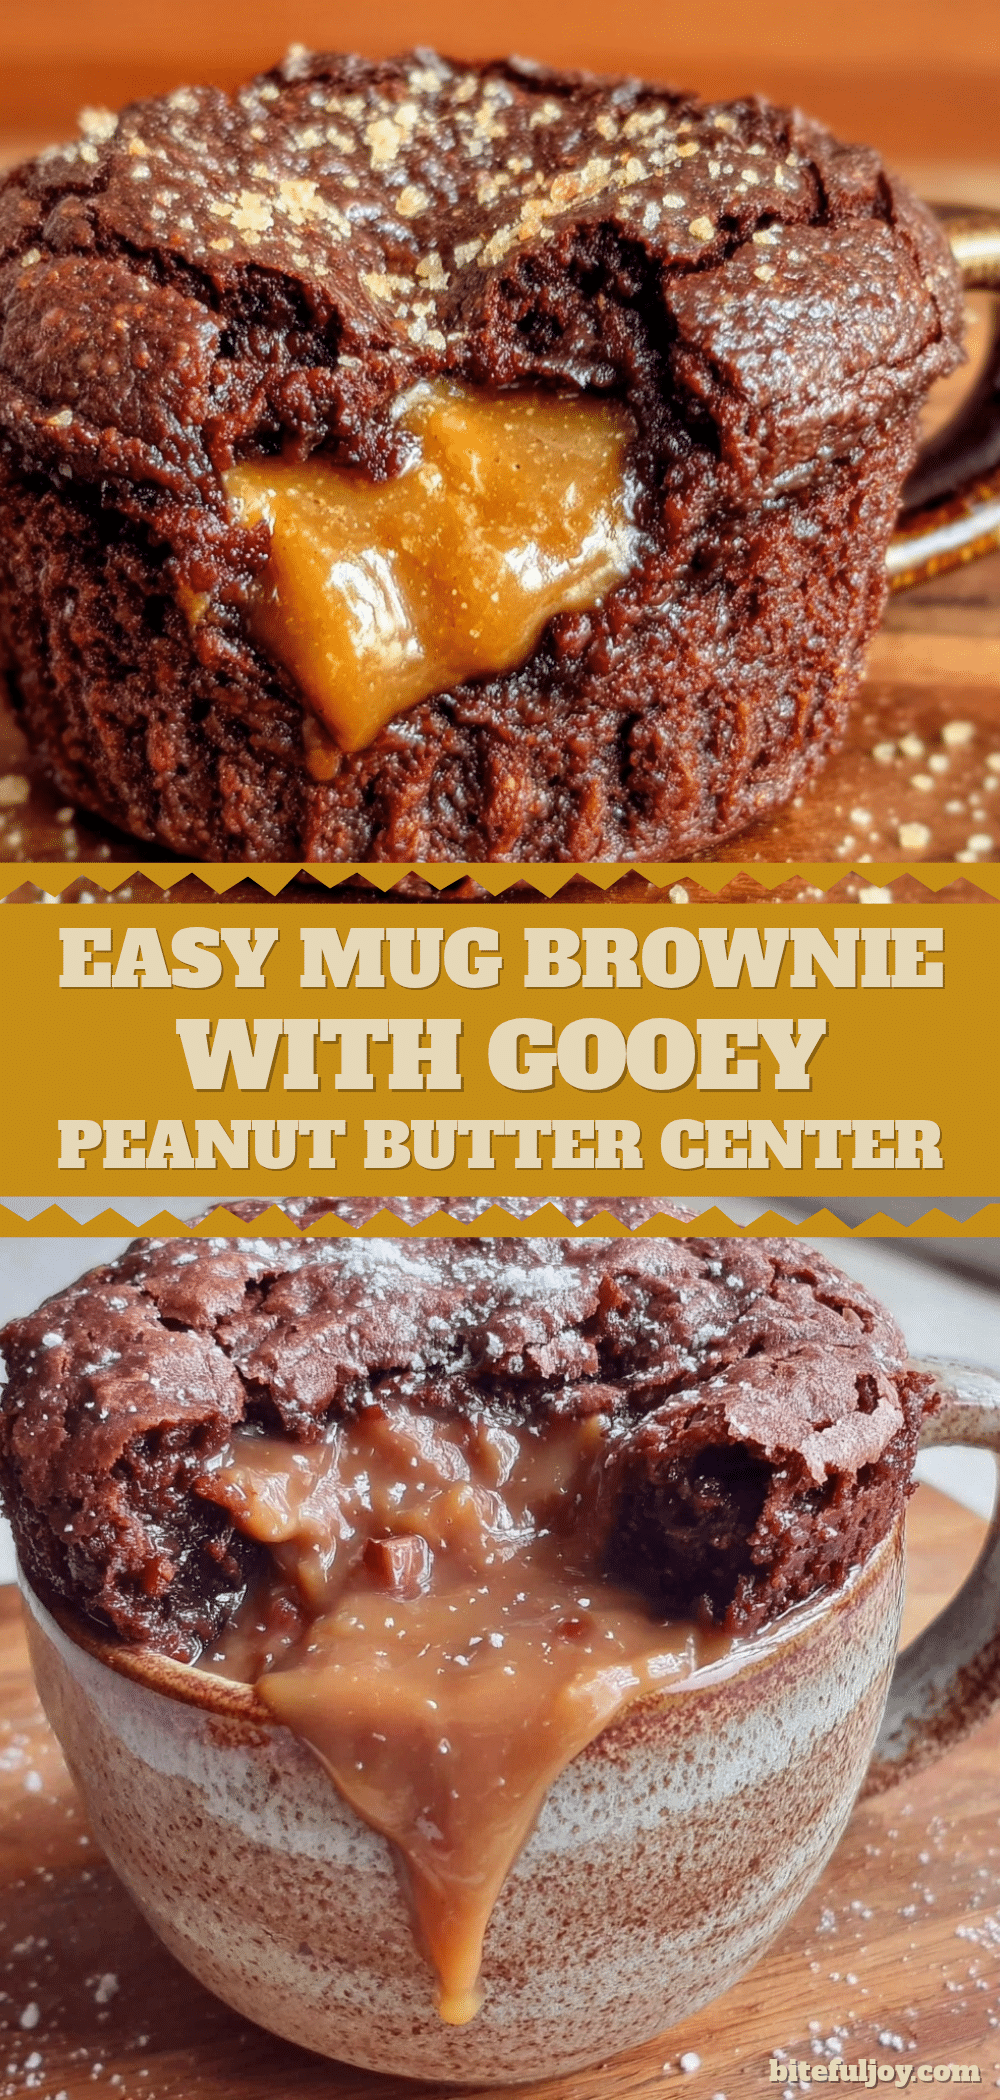
Easy Solo Mug Brownie Recipe with Gooey Peanut Butter Center Perfect for Quick Treats

A quick and easy solo mug brownie with a fudgy chocolate exterior and a gooey peanut butter center, perfect for satisfying late-night chocolate cravings in under 5 minutes.
- Prep Time: 3 minutes
- Cook Time: 1 minute
- Total Time: 4 minutes
- Yield: 1 serving 1x
- Category: Dessert
- Cuisine: American
Ingredients
- 4 tablespoons (30 g) all-purpose flour
- 3 tablespoons (38 g) granulated sugar
- 2 tablespoons (10 g) unsweetened cocoa powder
- Pinch of salt
- 1/8 teaspoon baking powder
- 3 tablespoons (45 ml) milk (whole milk preferred, or any dairy-free alternative)
- 2 tablespoons (30 ml) vegetable oil (or melted coconut oil)
- 1/4 teaspoon vanilla extract
- 1 tablespoon (16 g) peanut butter (room temperature, creamy or chunky)
Instructions
- In a microwave-safe mug, whisk together the flour, sugar, cocoa powder, salt, and baking powder until evenly combined with no lumps.
- Add the milk, vegetable oil, and vanilla extract to the mug and stir gently until smooth and thick but pourable.
- Spoon the peanut butter into the center of the batter without stirring it in.
- Microwave on high for 45 to 60 seconds, starting to check at 45 seconds. The edges should be set but the center slightly wet.
- Let the mug brownie rest for one minute to finish cooking and allow the peanut butter center to stay gooey.
- Enjoy directly from the mug, optionally topped with vanilla ice cream or powdered sugar.
Notes
Use a larger mug to prevent overflow and microwave in short bursts to avoid overcooking. For a gooey peanut butter center, do not stir the peanut butter into the batter. Let the brownie rest after microwaving to firm up the edges while keeping the center molten. Chilling peanut butter slightly before adding can help prevent it from sinking too much. Variations include swapping peanut butter for other nut butters or using dairy-free milk and coconut oil for vegan adaptation.
Nutrition
- Serving Size: 1 mug brownie (about
- Calories: 375
- Sugar: 22
- Sodium: 150
- Fat: 22
- Saturated Fat: 3.5
- Carbohydrates: 38
- Fiber: 3
- Protein: 7
Keywords: mug brownie, peanut butter brownie, quick dessert, solo treat, microwave brownie, easy brownie recipe, fudgy brownie, gooey peanut butter center


