“Just one more bite,” I whispered to myself, sitting alone in my tiny kitchen just past midnight. The day had been a whirlwind of endless to-dos, and honestly, I wasn’t in the mood to bake a whole cake or even a batch of cookies. What I really craved was something warm, chocolatey, and quick — without the mess or the wait. That’s when the idea of an easy single serving molten mug brownie popped into my head. I’d seen those microwave mug desserts floating around, but wasn’t convinced they’d satisfy my serious chocolate craving.
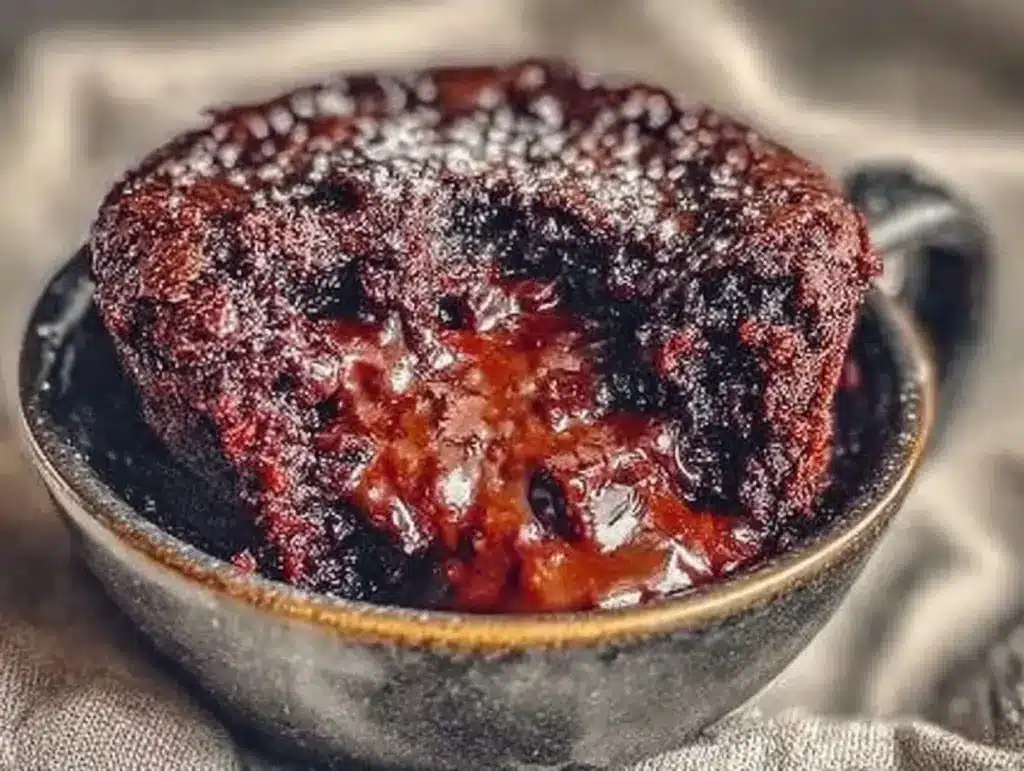
I decided to give it a shot, not expecting much. After all, how good could a brownie be if it only took a few minutes in the microwave? But, well, let’s just say I was surprised. The outer edges were delightfully cakey while the center stayed gloriously gooey, almost like molten lava—hence the name. It hit the spot in a way that felt like a warm hug on a rough night.
Since that first accidental win, I’ve made this molten mug brownie more times than I can count—sometimes tweaking it slightly, sometimes just sticking to the classic. It’s become my go-to comfort dessert when I want a little indulgence without the fuss. I even shared it with a friend during a last-minute movie night, and she was hooked too. There’s something about this simple mug brownie that feels like a tiny celebration in a cup, perfect for those quiet moments when you just want to treat yourself.
Honestly, it’s not just about satisfying a sweet tooth. It’s the ritual of mixing just a handful of ingredients, the smell of chocolate in the microwave, and that first warm spoonful that makes it special. If you’re anything like me—someone who loves quick desserts that don’t sacrifice flavor—this recipe might just become your little secret indulgence too.
Why You’ll Love This Recipe
Having tested this easy single serving molten mug brownie recipe multiple times (sometimes twice in a week, no shame), I can say it’s one of those rare treats that balances speed and satisfaction perfectly. Here’s why it stands out:
- Quick & Easy: Ready in under 5 minutes from start to finish, this mug brownie is perfect for those late-night cravings or unexpected dessert emergencies.
- Simple Ingredients: No specialty items here—just pantry staples you likely have on hand, which means no last-minute grocery runs.
- Perfect for Solo Indulgence: No need to bake a whole pan or worry about leftovers. This mug brownie is just the right size for one.
- Unbelievably Delicious: The gooey center with cakey edges delivers a texture combo that feels indulgent but effortless.
- Crowd-Pleaser: Even my more skeptical friends (who usually avoid microwave desserts) have asked for the recipe again and again.
What really makes this recipe different is the balance—a little butter, the right amount of sugar, and just enough cocoa to make it rich without bitterness. Plus, the secret to that molten center is a tiny extra bit of chocolate tucked inside before microwaving. It’s a small step that pays off big time. Honestly, this isn’t just another mug brownie recipe; it’s the one I keep coming back to when I want a cozy, personal dessert fix that’s both comforting and quick.
What Ingredients You Will Need
This recipe uses simple, wholesome ingredients that come together quickly to deliver a rich chocolate experience without any fuss. Most of these are pantry staples, and substitutions are easy if needed.
- All-purpose flour – 4 tablespoons (30 grams), the base for structure
- Sugar – 4 tablespoons (50 grams), for sweetness (I like using organic cane sugar for a subtle depth)
- Cocoa powder – 2 tablespoons (10 grams), unsweetened, for that deep chocolate flavor
- Baking powder – 1/8 teaspoon, helps the brownie rise slightly
- Salt – a pinch, to balance flavors
- Milk – 3 tablespoons (45 ml), any kind works (dairy or plant-based like almond or oat milk)
- Vegetable oil – 2 tablespoons (30 ml), or melted butter (adds richness)
- Vanilla extract – 1/4 teaspoon, for a warm, inviting aroma
- Chocolate chips – 1 tablespoon (optional), use semi-sweet or dark for a molten surprise in the center
Substitution tips: If you want a gluten-free version, almond flour can work, but the texture will be a bit different—more crumbly but still tasty. For a dairy-free option, swap milk with coconut or soy milk, and use vegetable oil instead of butter. If you don’t have baking powder, a pinch of baking soda plus a splash of lemon juice or vinegar can do the trick.
For the best cocoa powder, I personally recommend brands like Valrhona or Hershey’s Special Dark for a richer taste. And do not skip the pinch of salt—it really pulls out the chocolate flavor, trust me.
Equipment Needed
- Microwave-safe mug – at least 12 oz (350 ml) capacity to avoid overflow
- Measuring spoons and cups – for accurate ingredient amounts
- Small mixing bowl or you can mix directly in the mug
- Spoon or small whisk – for mixing the batter until smooth
You don’t need any fancy gadgets—just basic kitchen tools you already own. I usually mix right in the mug to save on dishes, but if you want a smoother blend, a small bowl works well. For microwaves, mine is a 1000-watt model; if yours is less powerful, just add 10-15 seconds to the cooking time. Also, a silicone spatula is handy if you want to scrape every last bit of batter.
Preparation Method
- Prepare your mug: Lightly grease the inside of your microwave-safe mug with a bit of oil or butter to prevent sticking. This makes cleanup easier and helps the edges crisp up nicely. (1 minute)
- Mix dry ingredients: In your mug or a small bowl, combine 4 tablespoons all-purpose flour, 4 tablespoons sugar, 2 tablespoons unsweetened cocoa powder, 1/8 teaspoon baking powder, and a pinch of salt. Stir until evenly mixed and free of lumps. (1-2 minutes)
- Add wet ingredients: Pour in 3 tablespoons milk, 2 tablespoons vegetable oil, and 1/4 teaspoon vanilla extract. Stir gently until the batter is smooth and glossy, making sure no dry pockets remain. The batter should be thick but pourable. (1-2 minutes)
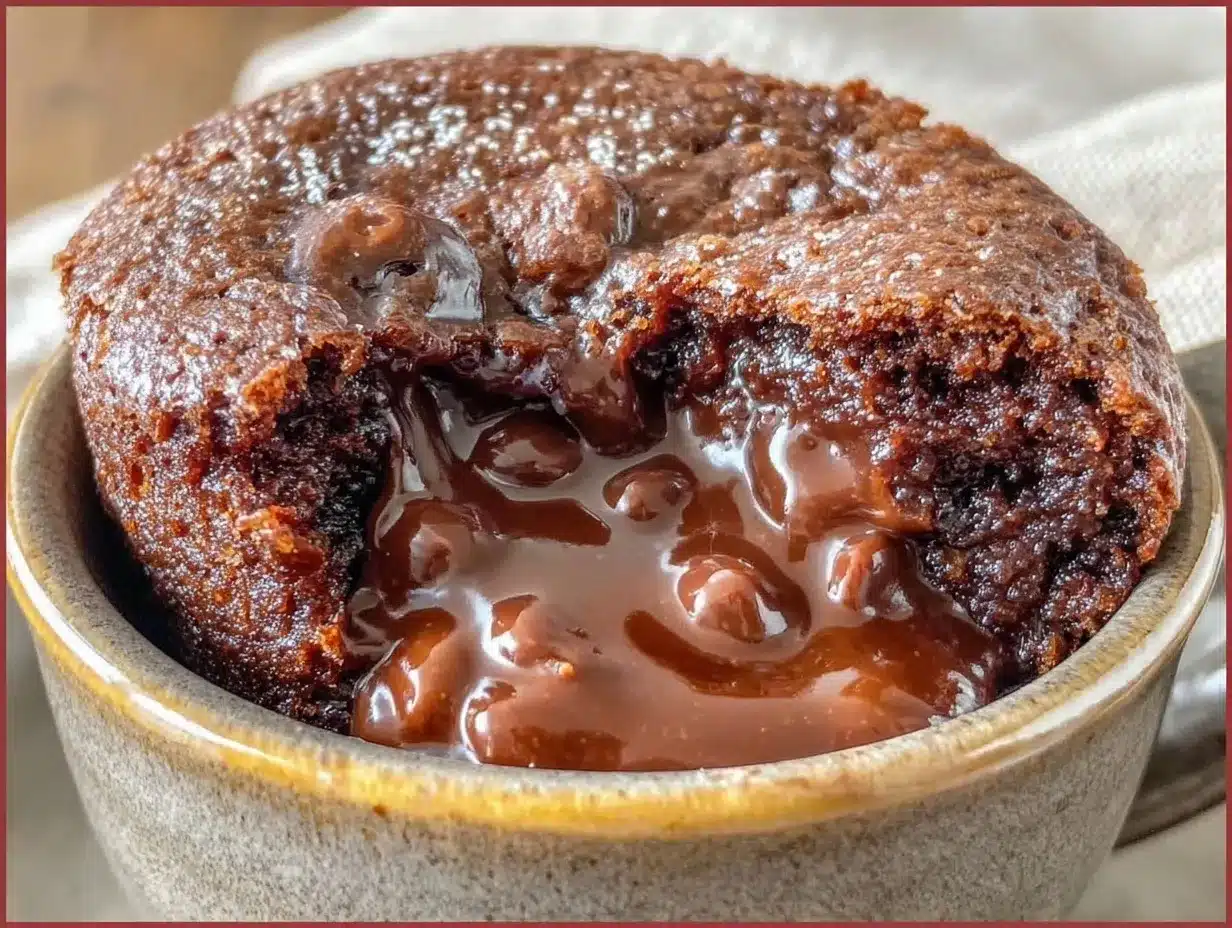
- Add the molten center: Drop 1 tablespoon of chocolate chips or a small chunk of your favorite chocolate right into the center of the batter. This secret step creates that luscious molten middle we’re after. (30 seconds)
- Microwave: Place your mug in the microwave and cook on high for 45 to 60 seconds. (Timing depends on your microwave wattage.) Stop when the edges look set but the center still jiggles slightly—that’s the molten magic. Be careful not to overcook, or the brownie will dry out. (1 minute)
- Cool briefly and enjoy: Let the brownie rest for about 1 minute (it’ll be hot!). Then dig in with a spoon. You’ll notice the fudgy center and cakey edges perfectly balanced. (1 minute)
Tip: If your mug brownie overflows a bit, it just means you picked a slightly small mug (been there). Next time, go for a bigger one! Also, if you’re unsure about doneness, microwave in 10-second bursts after the initial cook time to avoid drying out.
Cooking Tips & Techniques
One of the trickiest parts about mug brownies is nailing the microwave timing. I’ve learned through trial and error that every microwave behaves differently, so it’s best to start with 45 seconds and add time little by little to avoid a rubbery texture.
Always grease your mug well. This simple step prevents sticking and keeps the edges tender yet slightly crisp. Using oil instead of butter in the batter helps maintain moistness, but if you prefer butter’s flavor, go ahead—just melt it first for better mixing.
For a gooey center, the chocolate chip or chunk in the middle is key. I once skipped this step on a whim and the brownie was good—but lacked that luxurious molten feel that makes this recipe special.
Mix gently but thoroughly. Overmixing can lead to a denser brownie, which is fine if that’s your thing, but I prefer a light touch for fluffier edges with a tender crumb.
If you want to multitask, prepare your batter while you’re brewing a cup of tea or steeping a pot of Earl Grey tea cake. The brownie will be ready just in time for your tea break.
Variations & Adaptations
- Peanut Butter Swirl: Drop a teaspoon of peanut butter into the batter before microwaving and swirl it around for a nutty twist.
- Berry Boost: Mix in a tablespoon of fresh or frozen raspberries for a tart contrast that pairs beautifully with chocolate.
- Vegan Version: Use plant-based milk (almond or oat), replace the egg with a flax egg (1 tablespoon ground flaxseed + 3 tablespoons water), and swap butter for coconut oil. The texture changes slightly but still delicious.
- Spiced Brownie: Add a pinch of cinnamon and a tiny dash of cayenne for a warm, slightly spicy kick.
Personally, I once tried adding a teaspoon of espresso powder to deepen the chocolate flavor, and it was a game changer—especially when paired with a dollop of whipped cream or a scoop of vanilla ice cream.
For a different cooking method, you can bake this in a small ramekin at 350°F (175°C) for about 12 minutes, but that takes away some of the convenience this recipe offers. Still, it’s nice if you want a slightly firmer texture.
Serving & Storage Suggestions
This easy single serving molten mug brownie is best enjoyed warm, straight from the mug. The molten center is its star feature, and once it cools, that gooey magic diminishes. If you want to dress it up, a scoop of vanilla ice cream or a drizzle of caramel sauce works perfectly.
Pair it with a cup of hot coffee or tea for a cozy treat—try it alongside a slice of creamy passion fruit mousse cups for a fun dessert duo.
If you happen to have leftovers (rare but possible if making for two!), cover the mug with plastic wrap and store in the fridge for up to 2 days. To reheat, microwave for about 20 seconds. The texture won’t be quite the same, but still tasty.
Flavors tend to mellow and blend after resting, so if you make the batter ahead of time, it’s worth letting it sit for 10 minutes before microwaving.
Nutritional Information & Benefits
This single serving molten mug brownie provides approximately 300 calories, with about 15 grams of fat, 40 grams of carbohydrates, and 4 grams of protein. It’s a treat, but made with simple ingredients free of artificial additives.
Cocoa powder is rich in antioxidants and can boost mood thanks to natural compounds like flavonoids. Using vegetable oil instead of butter lowers saturated fat content, and substituting plant-based milk can make it lighter.
Do note: this recipe contains gluten and dairy unless adapted. For those with allergies, the substitutions suggested help keep it inclusive and just as enjoyable.
Conclusion
This easy single serving molten mug brownie has become my little secret for those moments when I want a fast, fuss-free chocolate fix that feels indulgent but doesn’t require baking an entire batch. It’s versatile, quick, and honestly, quite comforting.
Feel free to make it your own—try the peanut butter swirl, add some berries, or keep it classic. No matter what, it’s a dessert that fits into busy days or quiet nights with ease.
If you try it out, I’d love to hear how you tweak it or what your favorite mug dessert moments are. Sharing these small joys makes cooking feel even better.
Keep that microwave warm and that spoon ready—this brownie is waiting.
FAQs About the Easy Single Serving Molten Mug Brownie
- Can I make this brownie without a microwave?
Yes! You can bake it in a small ramekin at 350°F (175°C) for about 12 minutes. The texture will be slightly different but still delicious. - What if my brownie turns out rubbery?
Rubbery texture usually means it was overcooked. Try reducing the microwave time by 5-10 seconds next time and watch carefully. - Can I use dark chocolate instead of chocolate chips?
Absolutely! A small chunk of dark chocolate works wonderfully for the molten center. - Is this recipe suitable for vegans?
With simple swaps like plant-based milk, flax egg, and coconut oil, this recipe can be made vegan-friendly. - How do I prevent the brownie from overflowing in the mug?
Use a mug that holds at least 12 oz (350 ml) and avoid overfilling. Greasing the mug also helps with cleanup if spillage occurs.
Pin This Recipe!
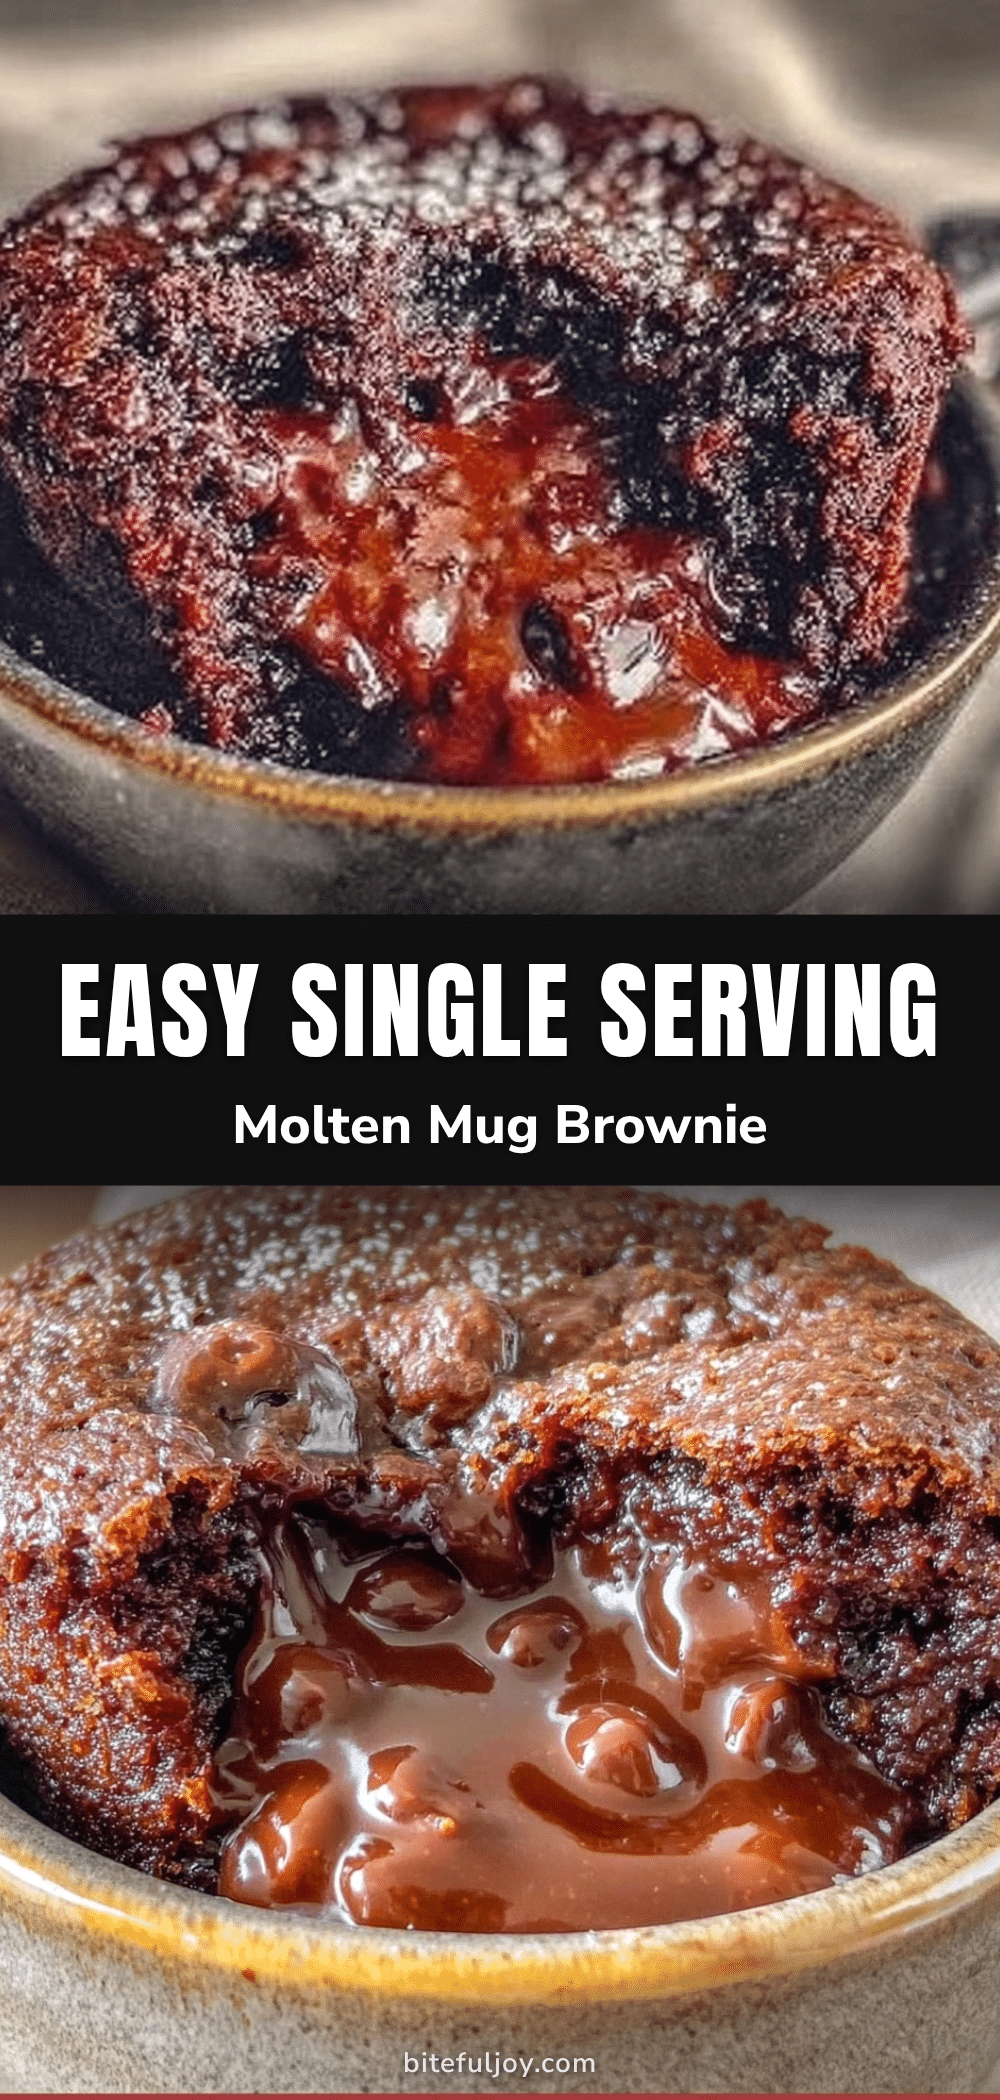
Easy Single Serving Molten Mug Brownie Recipe Perfect for Quick Desserts
A quick and easy single serving molten mug brownie that delivers a gooey center with cakey edges, perfect for satisfying late-night chocolate cravings without the fuss.
- Prep Time: 3 minutes
- Cook Time: 1 minute
- Total Time: 4 minutes
- Yield: 1 serving 1x
- Category: Dessert
- Cuisine: American
Ingredients
- 4 tablespoons all-purpose flour (30 grams)
- 4 tablespoons sugar (50 grams)
- 2 tablespoons unsweetened cocoa powder (10 grams)
- 1/8 teaspoon baking powder
- a pinch of salt
- 3 tablespoons milk (45 ml), any kind (dairy or plant-based)
- 2 tablespoons vegetable oil (30 ml) or melted butter
- 1/4 teaspoon vanilla extract
- 1 tablespoon chocolate chips (optional)
Instructions
- Lightly grease the inside of a microwave-safe mug (at least 12 oz capacity) with oil or butter to prevent sticking.
- In the mug or a small bowl, combine 4 tablespoons all-purpose flour, 4 tablespoons sugar, 2 tablespoons cocoa powder, 1/8 teaspoon baking powder, and a pinch of salt. Stir until evenly mixed and free of lumps.
- Add 3 tablespoons milk, 2 tablespoons vegetable oil, and 1/4 teaspoon vanilla extract. Stir gently until the batter is smooth and glossy with no dry pockets.
- Drop 1 tablespoon of chocolate chips or a small chunk of chocolate into the center of the batter for the molten center.
- Microwave on high for 45 to 60 seconds, stopping when edges are set but center still jiggles slightly. Adjust time based on microwave wattage.
- Let the brownie rest for about 1 minute to cool slightly, then enjoy warm with a spoon.
Notes
Use a mug with at least 12 oz capacity to prevent overflow. Adjust microwave time based on wattage, starting at 45 seconds and adding in 10-second increments if needed. Grease mug well to prevent sticking. For a molten center, do not skip adding chocolate chips or a chunk of chocolate. Variations include adding peanut butter swirl, berries, or spices. Can be baked in a ramekin at 350°F for 12 minutes as an alternative method.
Nutrition
- Serving Size: 1 mug brownie (singl
- Calories: 300
- Fat: 15
- Carbohydrates: 40
- Protein: 4
Keywords: molten mug brownie, single serving brownie, quick dessert, microwave brownie, easy chocolate dessert, mug cake, late night dessert


