“You know,” my neighbor Tom said one Friday evening, “you don’t need a fancy appetizer to impress folks.” I was perched on his worn-out porch swing, holding a cracked ceramic bowl, half-listening while he fiddled with his old radio. Somehow, between static and laughter, he described this crispy cheesy garlic pull-apart bread he whipped up on a whim. I wasn’t expecting anything spectacular—Tom’s kitchen experiments often turned into hilarious disasters. But that night, with garlic scents wafting from his oven, I got hooked.
The beauty of this recipe started as a simple fix for leftover bread and a craving for something warm and cheesy. Honestly, I forgot to preheat the oven at first, and the timer was set wrong, but the result was pure magic: golden, bubbly cheese wrapped in garlicky, buttery bread that you couldn’t help but pull apart piece by piece. Maybe you’ve been there—the kind of snack that’s so simple yet so satisfying it becomes your go-to comfort food.
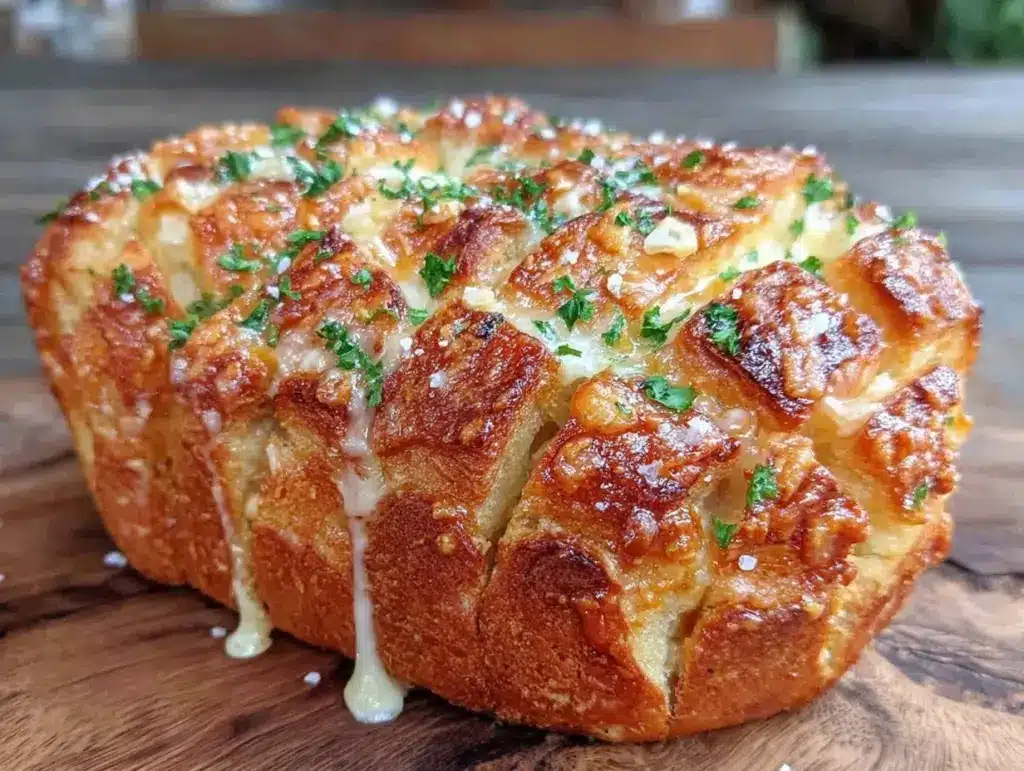
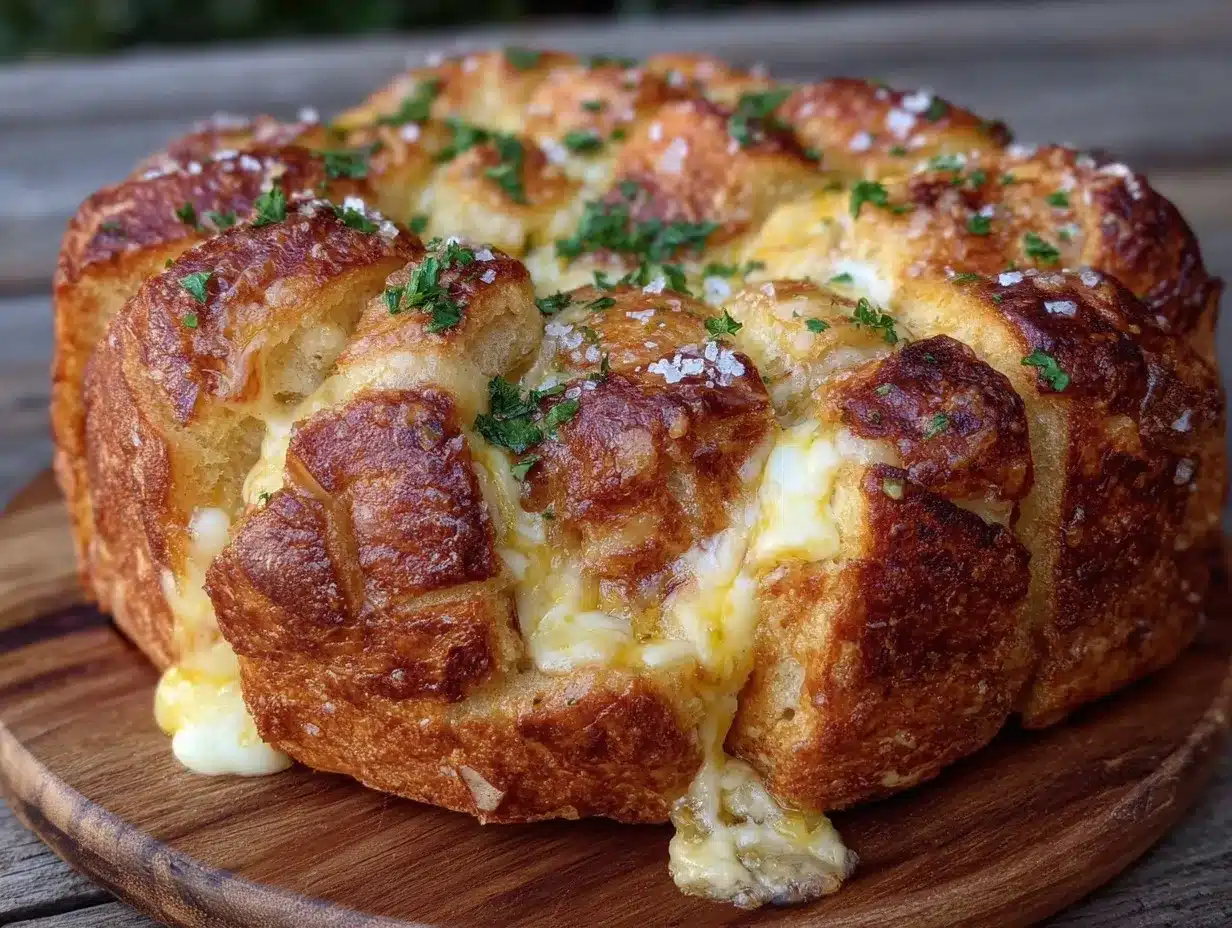
Since that evening, this crispy cheesy garlic pull-apart bread recipe has been a staple in my kitchen, especially when friends drop by unexpectedly or when I want to treat myself without fuss. It’s one of those rare recipes where the texture is spot-on: crunchy edges with soft, gooey interiors. And the garlic? Just the right kick—not overpowering, but enough to make you close your eyes after the first bite. This bread has stories baked into it, including a few messy attempts and the occasional cheese spill on the counter. But that’s what makes it real, right?
Why You’ll Love This Crispy Cheesy Garlic Pull-Apart Bread Recipe
After testing this recipe more times than I care to admit (and tweaking small details each round), I’m confident this pull-apart bread will win your heart like it did mine. Here’s why it stands out:
- Quick & Easy: Ready in under 40 minutes, it’s perfect for those busy weeknights or spontaneous snack cravings.
- Simple Ingredients: No need for specialty stores—most items are pantry staples you probably already have on hand.
- Perfect for Sharing: Whether it’s a casual hangout or family dinner, this bread always gets rave reviews from kids and adults alike.
- Crowd-Pleaser: The combination of crispy edges and melty cheese is a guaranteed hit at potlucks or game nights.
- Unbelievably Delicious: The garlic butter seeps into every crevice, and the cheese melts just right to create the ultimate comfort snack.
What sets this recipe apart is the technique I picked up from Tom: slicing the bread in a crosshatch pattern, allowing the garlic butter and cheese to nestle deep inside. Plus, using a blend of mozzarella and sharp cheddar gives it a flavor punch that’s both rich and balanced. Honestly, this isn’t just any cheesy bread—it’s the kind that invites you to linger, sharing stories and laughter over gooey bites.
What Ingredients You Will Need
This recipe uses simple, wholesome ingredients to deliver bold flavor and satisfying texture without the fuss. Most are common kitchen staples, making this an easy snack to whip up anytime.
- 1 large round loaf of sourdough or crusty bread (about 12 oz / 340 g; sturdy enough to hold fillings but soft inside)
- 4 tablespoons unsalted butter, melted (I like Land O’Lakes for a creamy touch)
- 4 cloves garlic, finely minced (fresh is best for that punchy flavor)
- 1 cup shredded mozzarella cheese (about 4 oz / 115 g; use whole milk for creaminess)
- 1/2 cup shredded sharp cheddar cheese (about 2 oz / 55 g; adds depth)
- 2 tablespoons fresh parsley, finely chopped (optional, for a fresh pop)
- Salt and freshly ground black pepper, to taste
Ingredient tips: Look for a loaf with a firm crust but soft crumb inside—this helps the pull-apart effect without collapsing. If you prefer, swap cheddar for Monterey Jack or pepper jack for a spicy twist. For dairy-free versions, use plant-based butter and cheese alternatives.
Equipment Needed
- A sharp serrated bread knife — essential for clean, deep cuts without squashing the loaf. I keep a Victorinox bread knife that’s stood the test of time.
- A small mixing bowl — for combining melted butter and garlic.
- A basting brush — to spread garlic butter evenly (a silicone brush makes cleanup easy).
- Baking sheet or oven-safe pan — to hold the bread while baking; a rimmed sheet works best to catch any drips.
- Aluminum foil — helpful for covering the bread if the cheese browns too quickly.
If you don’t have a serrated knife, a very sharp chef’s knife can work but requires a gentler touch. Using a silicone brush over a spoon for spreading gives better control. I’ve tried foil alternatives like parchment paper, but foil holds heat better for crisp edges.
Preparation Method
- Preheat your oven to 350°F (175°C). Line a baking sheet with aluminum foil for easy cleanup. (This step takes about 10 minutes.)
- Prepare the garlic butter: In a small bowl, whisk together melted butter and minced garlic. Add a pinch of salt and pepper. (You can let this sit a few minutes to infuse if you have time.)
- Slice the bread: Place the loaf on a cutting board. Using your serrated knife, make diagonal cuts about 1 to 1.5 inches (2.5 to 4 cm) apart, slicing almost all the way through but not cutting the bottom crust. Then turn the bread and make diagonal cuts the other way, creating a crosshatch pattern. (Be gentle but firm — you want deep cuts without breaking the loaf.)
- Brush the garlic butter: Carefully spread the garlic butter mixture between the cuts. Use your fingers or a spoon to work the butter inside as well. (This is where it gets messy, but it’s worth it!)
- Stuff the cheese: Gently stuff shredded mozzarella and cheddar into the slits, pushing the cheese deep inside. Don’t be shy — the more cheese, the better the pull-apart effect!
- Wrap and bake: Place the bread on the prepared baking sheet. Cover loosely with foil to prevent the cheese from browning too fast. Bake for 15 minutes.
- Crisp it up: Remove the foil and bake for an additional 10-12 minutes, or until the cheese is bubbly and the edges of the bread are golden and crispy.
- Garnish and serve: Sprinkle chopped parsley over the top for color and a fresh finish. Serve immediately, warm and ready to pull apart.
Pro tip: If your bread loaf is smaller or larger, adjust baking times slightly. Keep an eye on the cheese in the last 5 minutes to avoid burning. The smell will tell you when it’s time to dig in—garlic and melted cheese filling the kitchen is the best warning!
Cooking Tips & Techniques
Making the perfect crispy cheesy garlic pull-apart bread requires a few little tricks I’ve learned the hard way. First off, don’t skimp on the garlic butter—it’s the flavor backbone. Fresh garlic minced finely gives that punch, but if you’re in a rush, garlic powder can work in a pinch, though it lacks the vibrant aroma.
One common mistake is slicing too deep and breaking the loaf apart. I recommend stopping just before the base crust. This helps keep the loaf intact while still allowing the cheese and butter to seep inside.
Using a mix of cheeses is another game-changer. Mozzarella melts beautifully and gives that gooey stretch, while sharp cheddar adds a tangy kick. I tried cheddar alone once, and honestly, it was good but missing that ooey-gooey factor.
Timing matters, too. Covering the bread with foil initially traps steam and melts the cheese gently. Removing the foil later crisps the crust without drying out the inside. It’s a balance that took me a few tries to master, but now it’s second nature.
When multitasking, prep your garlic butter and shred cheese while the oven preheats. This way, you can get the bread into the oven right away, so the cheese doesn’t sit out too long and clump.
Variations & Adaptations
- Spicy Kick: Add red pepper flakes to the garlic butter or sprinkle cayenne throughout for a subtle heat.
- Herb Infusion: Mix fresh rosemary, thyme, or basil into the butter for an aromatic twist that brightens the flavor.
- Vegan Version: Use plant-based butter and shredded vegan cheese alternatives. Nutritional yeast sprinkled inside adds a cheesy flavor boost.
- Seasonal Veggies: Insert thinly sliced roasted bell peppers or caramelized onions between the bread layers for extra texture and sweetness.
I once tried swapping sourdough for a garlic baguette and added sun-dried tomatoes inside—unexpectedly delightful! Feel free to experiment with cheese types or bread styles—ciabatta or even a sturdy French loaf can work.
Serving & Storage Suggestions
Serve this crispy cheesy garlic pull-apart bread warm for the best experience. Let your guests pull apart pieces while the cheese is still melty and gooey. Pair it with a chilled glass of white wine or a tangy tomato soup for a cozy combo.
If you have leftovers (rare but possible), wrap the bread tightly in foil or plastic wrap and store it in the refrigerator for up to 2 days. To reheat, place it in a preheated 350°F (175°C) oven for about 10 minutes to revive crispiness and melt the cheese again.
Freezing is also an option—wrap tightly in foil and place in a freezer bag for up to 1 month. Thaw overnight in the fridge before reheating as above.
Flavors tend to deepen after resting, so if you can wait 10 minutes post-bake before serving, the garlic and cheese meld beautifully. Just don’t wait too long or the crust loses its crunch!
Nutritional Information & Benefits
This crispy cheesy garlic pull-apart bread is an indulgent treat, but it also brings some nutritional perks. Garlic is known for its immune-boosting properties and heart-healthy benefits. Cheese provides a good source of protein and calcium, supporting bone health.
Per serving (approximate): 250 calories, 14g fat, 20g carbohydrates, 8g protein. To make it lighter, consider using reduced-fat cheese or a whole grain bread.
This recipe isn’t gluten-free by default, but swapping in gluten-free bread can easily adapt it for special diets. Just check your cheese and butter labels for allergens if needed.
Overall, it’s a satisfying snack that hits the comfort-food sweet spot without complicated ingredients or prep.
Conclusion
If you’re looking for a snack or side that’s simple but bursting with flavor, this crispy cheesy garlic pull-apart bread recipe is worth your kitchen time. It’s straightforward, forgiving, and always a crowd-pleaser, whether you’re feeding friends or indulging solo.
Feel free to customize with your favorite cheeses, herbs, or spices to make it truly yours. Honestly, there’s something so joyful about tearing off cheesy, garlicky pieces and sharing them around the table.
I love this recipe because it turns humble ingredients into something that feels special with virtually no fuss. Give it a try and let me know how you make it your own—comments and stories are always welcome!
Happy baking and snacking!
FAQs About Crispy Cheesy Garlic Pull-Apart Bread
Can I use any type of bread for this recipe?
Yes! A crusty round loaf like sourdough works best, but you can also use French bread, ciabatta, or even a sturdy baguette. Just make sure it’s firm enough to hold the fillings.
How do I store leftovers to keep the bread crispy?
Wrap the bread tightly in foil or plastic wrap and refrigerate. Reheat in a 350°F (175°C) oven for 10 minutes to restore crispness and melt the cheese.
Can I prepare this recipe ahead of time?
You can assemble the bread a few hours before baking and keep it covered in the fridge. Bake just before serving for the best texture and flavor.
What can I substitute for fresh garlic?
If you’re short on fresh garlic, garlic powder works in a pinch. Use about 1 teaspoon and mix it into the melted butter, but fresh garlic will give a brighter flavor.
Is it possible to make this recipe vegan?
Absolutely! Use plant-based butter and vegan cheese shreds, and add nutritional yeast for extra cheesy flavor. Just be mindful of brands and melting properties.
Pin This Recipe!
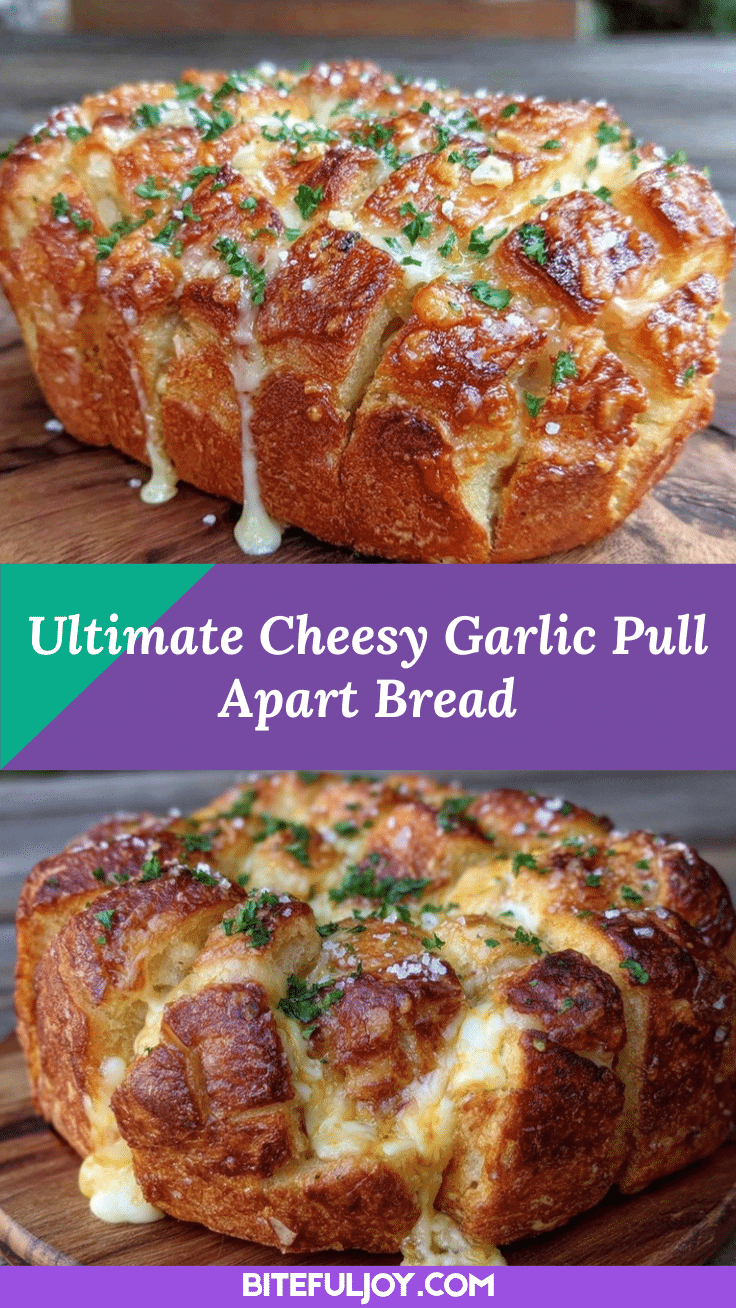
Crispy Cheesy Garlic Pull-Apart Bread

A quick and easy homemade snack featuring a crusty bread loaf sliced in a crosshatch pattern, filled with garlic butter and a blend of mozzarella and sharp cheddar cheeses, baked to golden, bubbly perfection.
- Prep Time: 10 minutes
- Cook Time: 27 minutes
- Total Time: 37 minutes
- Yield: 6 servings 1x
- Category: Snack
- Cuisine: American
Ingredients
- 1 large round loaf of sourdough or crusty bread (about 12 oz / 340 g)
- 4 tablespoons unsalted butter, melted
- 4 cloves garlic, finely minced
- 1 cup shredded mozzarella cheese (about 4 oz / 115 g)
- 1/2 cup shredded sharp cheddar cheese (about 2 oz / 55 g)
- 2 tablespoons fresh parsley, finely chopped (optional)
- Salt and freshly ground black pepper, to taste
Instructions
- Preheat your oven to 350°F (175°C). Line a baking sheet with aluminum foil for easy cleanup.
- In a small bowl, whisk together melted butter and minced garlic. Add a pinch of salt and pepper.
- Place the loaf on a cutting board. Using a serrated knife, make diagonal cuts about 1 to 1.5 inches apart, slicing almost all the way through but not cutting the bottom crust. Turn the bread and make diagonal cuts the other way, creating a crosshatch pattern.
- Carefully spread the garlic butter mixture between the cuts. Use your fingers or a spoon to work the butter inside as well.
- Gently stuff shredded mozzarella and cheddar into the slits, pushing the cheese deep inside.
- Place the bread on the prepared baking sheet. Cover loosely with foil to prevent the cheese from browning too fast. Bake for 15 minutes.
- Remove the foil and bake for an additional 10-12 minutes, or until the cheese is bubbly and the edges of the bread are golden and crispy.
- Sprinkle chopped parsley over the top for color and a fresh finish. Serve immediately, warm and ready to pull apart.
Notes
Use a loaf with a firm crust but soft crumb to maintain structure. For a dairy-free version, substitute plant-based butter and cheese. Adjust baking time slightly for different loaf sizes. Cover with foil initially to melt cheese gently, then remove foil to crisp the crust.
Nutrition
- Serving Size: 1/6 of the loaf
- Calories: 250
- Fat: 14
- Carbohydrates: 20
- Protein: 8
Keywords: pull-apart bread, cheesy bread, garlic bread, snack recipe, easy appetizer, homemade snack, cheesy garlic bread


