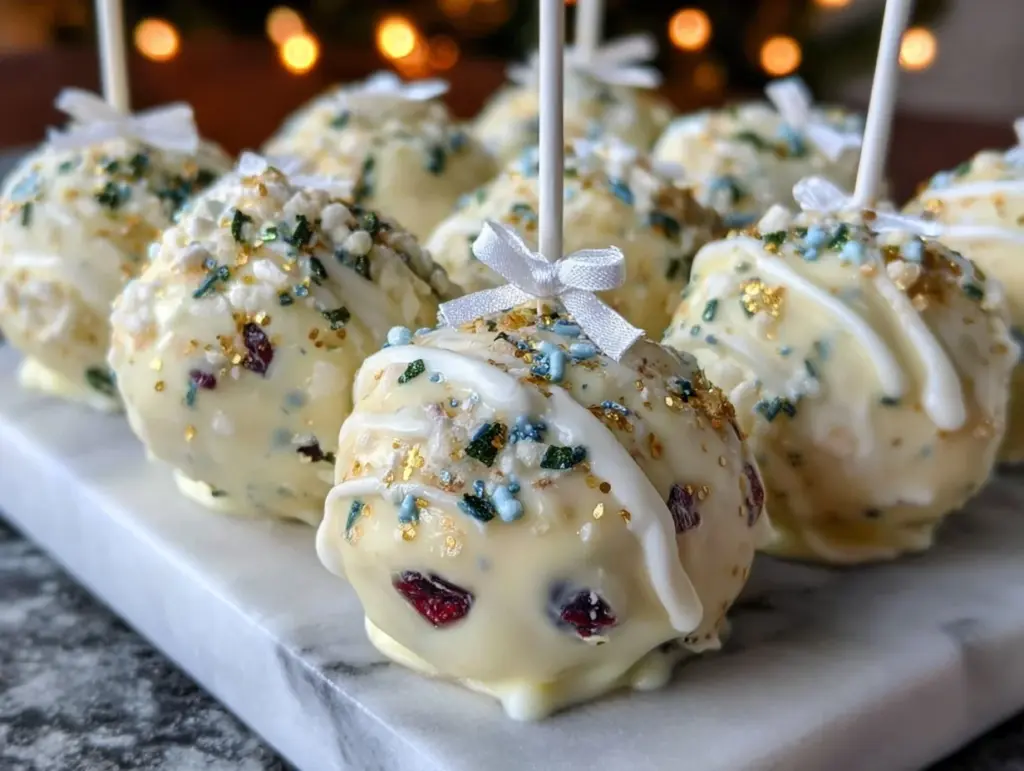
Let me tell you, the sight and scent of these perfect New Year’s Eve cake pops swirling with festive colors and sugary sparkle is enough to make anyone’s mouth water. The first time I made these little bites of joy was on a chilly December evening, right before the countdown. I was instantly hooked—the kind of moment where you pause, take a deep breath, and just smile because you know you’re onto something truly special. These cake pops aren’t just cute; they’re a nostalgic burst of celebration wrapped in every bite.
When I was knee-high to a grasshopper, my grandma used to make dense, heavy desserts for holidays, but these cake pops? They’re a modern twist that feels light, fun, and downright festive. Years ago, I stumbled on this recipe while trying to recreate a party treat I’d seen at a friend’s bash. Honestly, I wish I’d found it sooner—it’s dangerously easy and perfect for any last-minute celebration.
My family couldn’t stop sneaking them off the cooling rack (and I can’t really blame them). Let’s face it, these cake pops are the perfect sweet treat for your kids, a dazzling addition to your party table, or a way to brighten up your Pinterest cookie board. Tested multiple times in the name of research, of course, they’ve become a staple for family gatherings and gifting. Trust me, this recipe feels like a warm hug wrapped in sparkles, and you’re going to want to bookmark this one for your next festive celebration.
Why You’ll Love This Recipe
Having tested and tweaked this recipe a bunch of times, I can say with confidence it’s a winner for so many reasons. Here’s why these perfect New Year’s Eve cake pops will quickly become your go-to party treat:
- Quick & Easy: Comes together in under an hour, perfect for busy weeknights or last-minute holiday cravings.
- Simple Ingredients: No fancy grocery trips needed; you likely already have everything in your kitchen pantry.
- Perfect for Celebrations: Great for New Year’s Eve parties, potlucks, or even cozy dinners with a festive flair.
- Crowd-Pleaser: Always gets rave reviews from kids and adults alike—people can’t resist the cute factor and delicious taste.
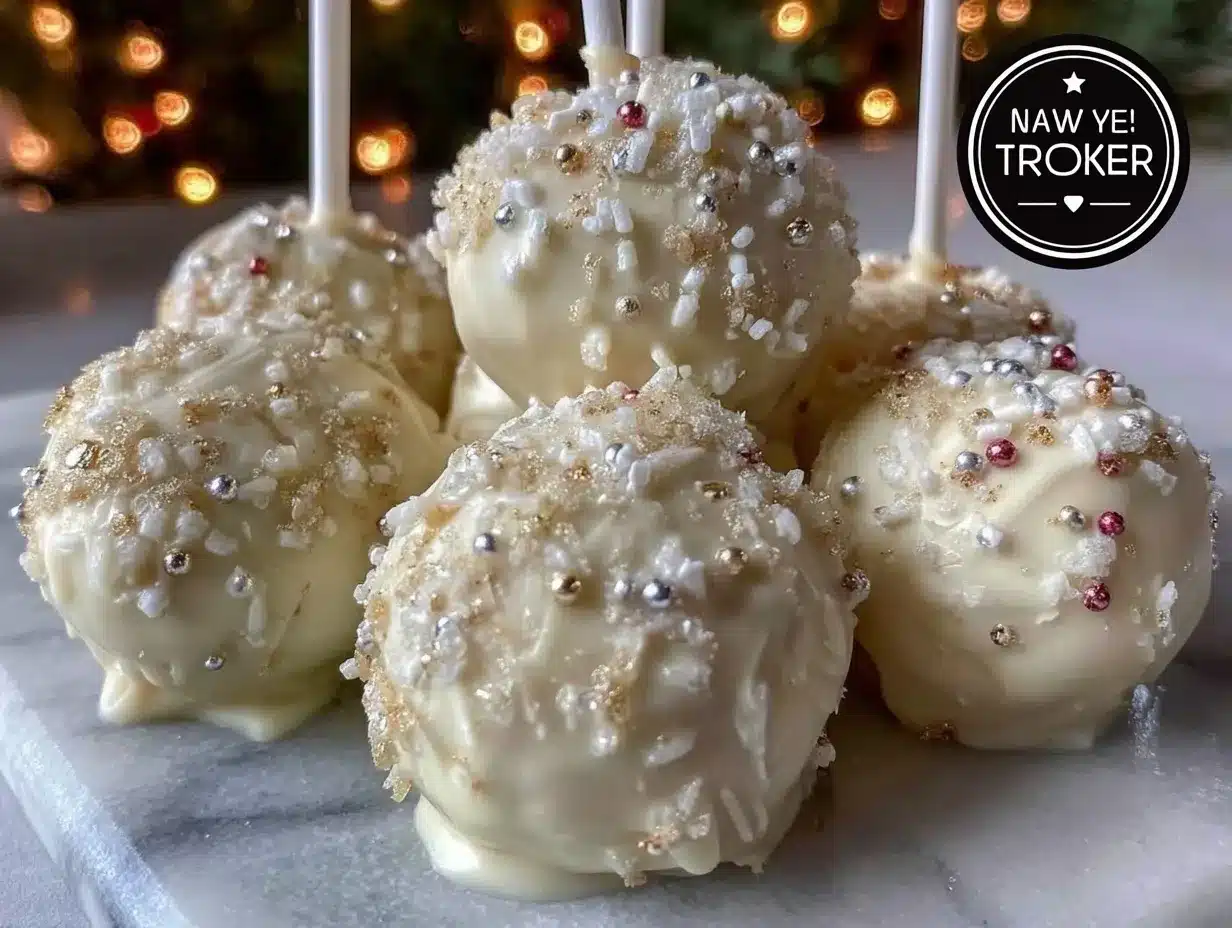
- Unbelievably Delicious: The cake is moist and tender, while the coating adds a satisfying crunch with just the right sweetness.
This recipe isn’t just another cake pop hack—it’s the best version I’ve made, thanks to blending homemade cake crumbs with creamy frosting for the perfect consistency. Plus, the festive sprinkles and colors make these pops pop (pun intended!) on any dessert table. Honestly, they’re comfort food reimagined—fun, fast, and fabulous for ringing in a fresh year.
What Ingredients You Will Need
This recipe uses simple, wholesome ingredients to deliver bold flavor and satisfying texture without the fuss. Most are pantry staples, and substitutions are easy if you need them.
- For the Cake:
- 1 box of yellow or white cake mix (about 15.25 oz / 432 g) – I recommend Betty Crocker for reliable texture
- 3 large eggs (room temperature)
- 1/2 cup (120 ml) vegetable oil
- 1 cup (240 ml) water
- For the Frosting:
- 1/2 cup (113 g) unsalted butter, softened (adds richness)
- 1 1/2 cups (180 g) powdered sugar
- 1 teaspoon vanilla extract
- 2-3 tablespoons (30-45 ml) milk or heavy cream (use dairy-free milk if needed)
- For Assembly & Decoration:
- 2 cups (340 g) candy melts or white chocolate chips (I prefer Wilton’s candy melts for easy melting)
- Sprinkles in festive colors (gold, silver, red, green)
- Cake pop sticks or sturdy lollipop sticks
- Optional: edible glitter or shimmer dust for extra sparkle
Substitution tips: Use almond flour cake mix for gluten-free options, or swap the frosting with cream cheese frosting if you like a tangy twist. In summer, fresh fruit-flavored sprinkles or crushed freeze-dried berries can add a seasonal spin. The key is to keep the cake moist and the frosting creamy for the perfect binding.
Equipment Needed
- Cake pan (9×13 inch / 23×33 cm) – a basic metal or glass pan works fine
- Mixing bowls (medium and large sizes)
- Electric mixer or hand whisk (makes frosting and cake batter easier to blend)
- Baking sheet lined with parchment paper
- Cake pop sticks or sturdy lollipop sticks (available online or at craft stores)
- Microwave-safe bowl or double boiler for melting candy melts
- Styrofoam block or cake pop stand to hold pops upright while drying
If you don’t have a cake pop stand, a simple Styrofoam block or even a deep bowl filled with rice works just as well. For melting candy melts, a double boiler prevents burning, but the microwave method (short bursts of 20 seconds) is totally fine if you watch carefully. I’ve used both and honestly, the microwave saves time but requires attention!
Preparation Method
- Bake the Cake: Preheat your oven to 350°F (175°C). In a large bowl, whisk together the cake mix, eggs, vegetable oil, and water until smooth (about 2 minutes). Pour the batter into a greased or parchment-lined 9×13 inch pan. Bake for 30-35 minutes or until a toothpick inserted in the center comes out clean. Allow the cake to cool completely on a wire rack—this is key so your cake pops don’t fall apart.
- Crumble the Cake: Once cooled, crumble the cake into a large bowl using your hands or a fork. The texture should be fine crumbs, but a few small chunks are okay—they add a nice bite.
- Make the Frosting: In a separate bowl, beat the softened butter with powdered sugar, vanilla extract, and 2 tablespoons of milk until creamy and smooth. Add a little more milk if needed to get a spreadable consistency.
- Combine Cake & Frosting: Add the frosting to the cake crumbs, mixing gently with a spoon or your hands until it comes together like dough. It should hold together when pressed but not be too wet or sticky—think playdough consistency. If it’s too crumbly, add a bit more frosting; if too wet, add more cake crumbs.
- Form the Cake Pops: Scoop about 1 1/2 tablespoons (22 g) of the mixture and roll into smooth balls. Place them on a parchment-lined baking sheet. Chill in the fridge for at least 30 minutes to firm up—this helps when dipping.
- Prepare Candy Melts: Melt candy melts or white chocolate in a microwave-safe bowl in 20-second intervals, stirring each time until smooth. Avoid overheating, or it will seize up.
- Dip the Sticks: Dip one end of a cake pop stick into the melted candy and insert it halfway into a cake ball. This “glue” step helps secure the stick inside.
- Dip Cake Pops: Holding the stick, dip the cake pop into the melted candy until fully coated. Gently tap off excess to avoid thick clumps. Immediately decorate with sprinkles or edible glitter before the coating sets.
- Dry & Set: Stick the dipped cake pops upright into a Styrofoam block or cake pop stand. Let them dry at room temperature for about 30 minutes or until firm. Avoid the fridge if possible—it can cause condensation and dull the shine.
If any cake pops crack or fall apart during dipping, it usually means the cake mixture was too dry or too warm. Chilling longer or adding more frosting fixes this. Also, don’t rush the drying step; patience pays off with glossy, perfect pops.
Cooking Tips & Techniques
Here are some tricks I’ve picked up making these cake pops through trial and error:
- Use Room Temperature Ingredients: It makes mixing smoother and ensures even cake texture.
- Don’t Overmix Cake Batter: Overmixing can make the cake dense instead of light and fluffy.
- Frosting Amount Is Key: Too little frosting leads to crumbly pops; too much makes them sticky. Aim for that perfect dough feel.
- Chill Twice: After forming and after dipping, chilling helps maintain shape and coating quality.
- Work Quickly With Candy Melts: They set fast, so have sprinkles ready before dipping.
- Fix Broken Pops: Use a bit of melted candy as glue to reattach fallen pieces.
- Multitasking Tip: While cake cools, prepare frosting and set up your dipping station to save time.
One time, I skipped chilling and ended up with a melted mess (lesson learned!). Also, hands-down, using a Styrofoam block instead of a glass helped keep pops upright and neat. These little details make a big difference in presentation and ease.
Variations & Adaptations
To make these perfect New Year’s Eve cake pops your own, consider these fun twists:
- Chocolate Lover’s Version: Swap the yellow cake mix for chocolate, and use dark chocolate candy melts for dipping.
- Gluten-Free Adaptation: Use a gluten-free cake mix and ensure frosting and candy melts are gluten-free certified.
- Seasonal Flavor Twist: Add a teaspoon of peppermint extract to frosting for a wintery vibe, or fold in chopped nuts for crunch.
- Alternative Coating: Try dipping in colored melting chocolates and drizzle with contrasting colors for a modern look.
- Dairy-Free Option: Use vegan butter and dairy-free candy melts to keep it allergy-friendly.
I once tried swapping frosting for cream cheese, and while it added tang, it made the mixture a bit softer—chilling longer helped! Feel free to customize colors and toppings to match your party’s theme. The recipe plays well with creativity.
Serving & Storage Suggestions
Serve these cake pops at room temperature so the coating stays crisp and the cake tender. Arrange them standing up on a pretty platter or in a festive cake pop stand for a striking display. They pair wonderfully with bubbly drinks or a hot cup of cocoa for cozy vibes.
Store leftovers in an airtight container at room temperature for up to 3 days. If your home’s warm, pop them in the fridge, but bring back to room temperature before serving to avoid condensation. For longer storage, freeze the pops in a single layer on a baking sheet, then transfer to a sealed container for up to 2 months. Thaw in the fridge overnight and serve the next day.
Flavors actually deepen a bit when stored, making them taste even better the day after baking. Just watch the coating so it doesn’t dull or soften too much during storage.
Nutritional Information & Benefits
Each cake pop roughly contains about 150-180 calories, depending on size and coating thickness. The main ingredients offer energy-boosting carbs and a bit of fat for satisfaction. Using unsalted butter and moderate sugar keeps the sweetness balanced without going overboard.
For those mindful of dietary needs, swapping ingredients can make these cake pops gluten-free, dairy-free, or lower in sugar. The recipe’s simplicity means you know exactly what goes in—no hidden additives or preservatives.
Honestly, having a small festive treat like this is a nice way to indulge mindfully during celebrations without feeling weighed down. It’s all about enjoying the moment and the company, right?
Conclusion
If you’re looking for a sweet, fun, and festive treat to ring in the new year, these perfect New Year’s Eve cake pops are your answer. They’re easy to make, customizable, and bring a dash of sparkle to any celebration. I love how these pops bring smiles and a little magic to my holiday table, and I think you will too.
Feel free to tweak the colors, flavors, and decorations to match your party vibe. Trust me, once you try this recipe, you’ll want to make it a tradition. Don’t forget to leave a comment sharing your favorite variations or any tips you discover along the way—I’m all ears!
Here’s to sweet celebrations and delicious memories—happy baking and happy New Year!
FAQs
Can I make cake pops ahead of time?
Yes! You can prepare and assemble cake pops a day or two before your event. Store them in an airtight container at room temperature or in the fridge if it’s warm.
What if my cake pops are too crumbly?
Try adding a bit more frosting to the cake crumbs until the mixture holds together like dough. Chilling the mixture also helps firm it up.
How do I prevent candy melts from seizing?
Heat candy melts in short bursts (20 seconds), stirring in between. Avoid adding water or overheating, which causes seizing.
Can I use homemade cake instead of box mix?
Absolutely! Any moist cake works well. Just crumble it finely and adjust frosting amount to get the right dough consistency.
How long do cake pops last?
Stored properly, cake pops last about 3 days at room temperature and up to 2 months frozen. Bring frozen pops to fridge overnight before serving.
Pin This Recipe!
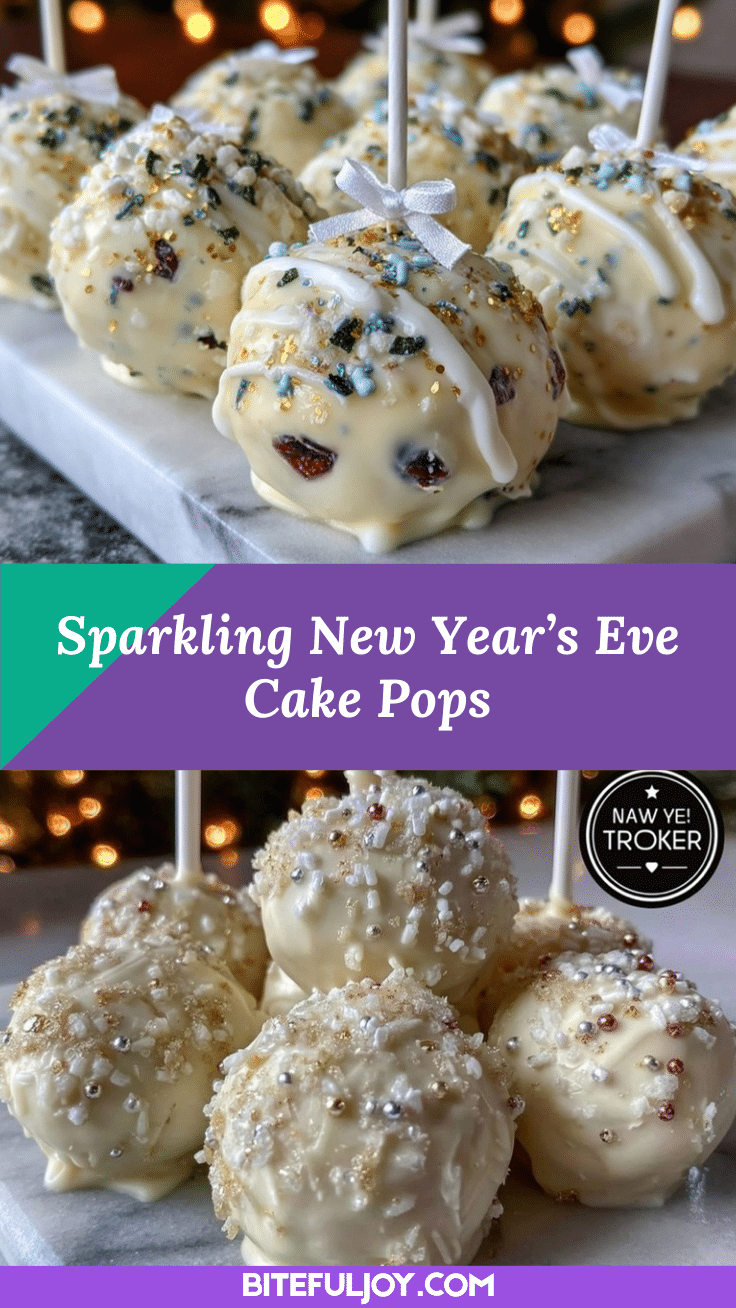
Perfect New Year’s Eve Cake Pops

These festive cake pops are quick, easy, and perfect for New Year’s Eve celebrations. They combine moist cake crumbs with creamy frosting and a crunchy candy coating for a delightful treat.
- Prep Time: 20 minutes
- Cook Time: 35 minutes
- Total Time: 1 hour 25 minutes
- Yield: 24 cake pops 1x
- Category: Dessert
- Cuisine: American
Ingredients
- 1 box yellow or white cake mix (about 15.25 oz / 432 g)
- 3 large eggs (room temperature)
- 1/2 cup vegetable oil (120 ml)
- 1 cup water (240 ml)
- 1/2 cup unsalted butter, softened (113 g)
- 1 1/2 cups powdered sugar (180 g)
- 1 teaspoon vanilla extract
- 2–3 tablespoons milk or heavy cream (30–45 ml), dairy-free milk optional
- 2 cups candy melts or white chocolate chips (340 g)
- Sprinkles in festive colors (gold, silver, red, green)
- Cake pop sticks or sturdy lollipop sticks
- Optional: edible glitter or shimmer dust
Instructions
- Preheat oven to 350°F (175°C). In a large bowl, whisk together cake mix, eggs, vegetable oil, and water until smooth (about 2 minutes).
- Pour batter into a greased or parchment-lined 9×13 inch pan. Bake for 30-35 minutes or until a toothpick inserted in the center comes out clean.
- Allow cake to cool completely on a wire rack.
- Crumble cooled cake into a large bowl using hands or fork until fine crumbs with some small chunks remain.
- In a separate bowl, beat softened butter with powdered sugar, vanilla extract, and 2 tablespoons milk until creamy and smooth. Add more milk if needed for spreadable consistency.
- Add frosting to cake crumbs and mix gently until mixture holds together like playdough. Adjust frosting or crumbs if too dry or wet.
- Scoop about 1 1/2 tablespoons (22 g) of mixture and roll into smooth balls. Place on parchment-lined baking sheet and chill in fridge for at least 30 minutes.
- Melt candy melts or white chocolate in microwave-safe bowl in 20-second intervals, stirring until smooth. Avoid overheating.
- Dip one end of a cake pop stick into melted candy and insert halfway into a cake ball to secure stick.
- Dip cake pop into melted candy until fully coated. Tap off excess and immediately decorate with sprinkles or edible glitter.
- Place dipped cake pops upright in Styrofoam block or cake pop stand and let dry at room temperature for about 30 minutes until firm.
Notes
Use room temperature ingredients for best texture. Chill cake balls before dipping to prevent falling apart. Work quickly with candy melts as they set fast. If cake pops crack, add more frosting or chill longer. Avoid refrigerating dipped pops to prevent condensation dulling the coating.
Nutrition
- Serving Size: 1 cake pop
- Calories: 165
- Sugar: 16
- Sodium: 90
- Fat: 8
- Saturated Fat: 4.5
- Carbohydrates: 22
- Fiber: 0.5
- Protein: 2
Keywords: cake pops, New Year’s Eve, festive treats, party desserts, easy cake pops, candy melts, celebration sweets


