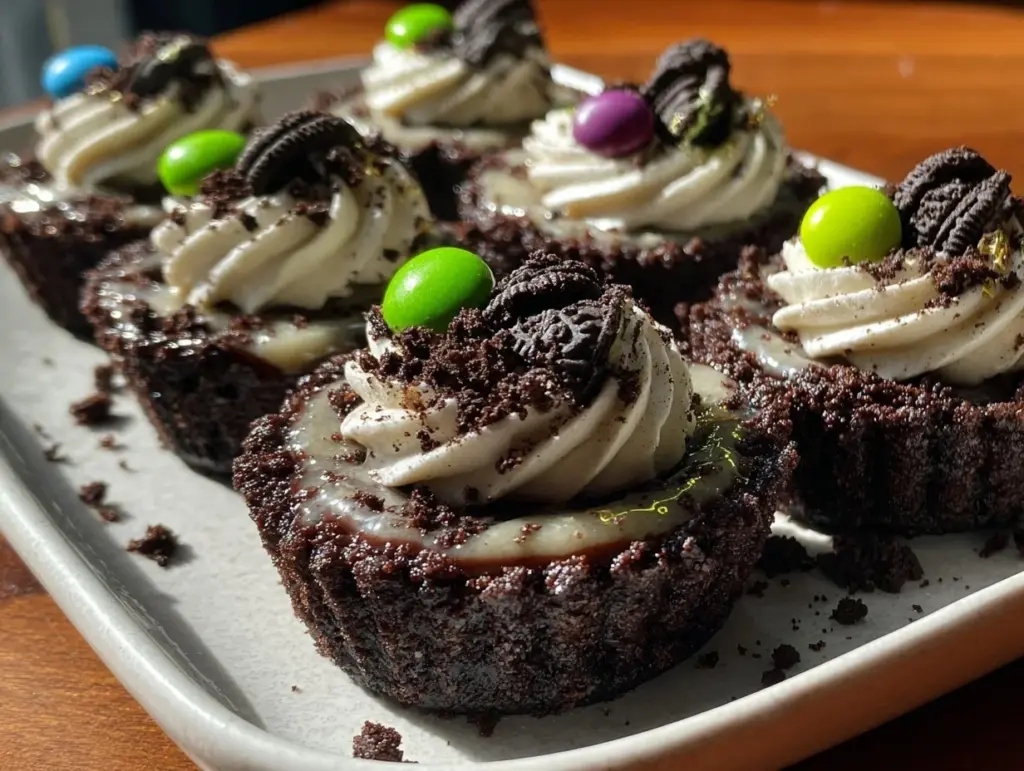
Let me paint a picture for you: the sweet, chocolatey aroma of crushed Oreos drifts through the kitchen, mixed with the cool, creamy scent of vanilla pudding and whipped topping. The first time I made these Creamy Oreo Dirt Cups, I was instantly hit with a wave of nostalgia – the kind of moment where you pause, take a deep breath, and just smile because you know you’re onto something truly special. There’s something magical about the way the Oreo “dirt” looks piled on top of those fluffy clouds of pudding, especially when you add those playful graduation picks for a party-ready vibe. My youngest was knee-high to a grasshopper the first time he grabbed one off the tray and declared it “the best dessert ever.”
Years ago, I stumbled on an early version of this recipe at a neighbor’s backyard graduation bash. I thought, “What in the world is this adorable concoction?” One bite and I was hooked. Honestly, it’s dangerously easy to make and brings pure, nostalgic comfort with every spoonful. My family couldn’t stop sneaking them off the cooling rack (and I can’t really blame them). These Creamy Oreo Dirt Cups have become the go-to for potlucks, celebratory school events, and – let’s face it – any time I want to brighten up our Pinterest dessert board. You know what? I wish I’d discovered this recipe years ago. It’s now a staple for family gatherings, gifting, and those moments when you just need a sweet, creamy hug in a cup.
After testing these dirt cups more times than I care to admit (in the name of research, of course), I can safely say you’re going to want to bookmark this one, especially for graduation parties. It’s fun, festive, and feels like a little celebration in every bite!
Why You’ll Love This Creamy Oreo Dirt Cups Recipe
After years of party planning and dessert making, I can tell you – these Creamy Oreo Dirt Cups are a total crowd-pleaser. Whether you’re a seasoned baker or just looking for something simple and festive, this recipe delivers. I’ve made these for graduation parties, birthday bashes, and even office potlucks, and they always disappear fast. Here’s why you’ll love them:
- Quick & Easy: Comes together in under 20 minutes – perfect for those last-minute party scrambles or when you need a showstopper without the fuss.
- Simple Ingredients: No fancy grocery trips required. You probably have everything you need right now (Oreos, pudding mix, milk, whipped topping).
- Perfect for Graduation Parties: The graduation picks make these cups extra festive, but honestly, they’re great for any celebration – from school milestones to backyard BBQs.
- Crowd-Pleaser: Kids love the “dirt,” adults adore the creamy layers, and no one ever says no to Oreos.
- Unbelievably Delicious: The contrast of crunchy cookie crumbs and silky pudding is next-level comfort food. It’s the kind that makes you close your eyes after the first bite.
What makes this recipe stand out? For starters, blending the pudding with whipped topping gives it an ultra-creamy texture – not too thick, not too runny, just right. The layering lets every spoonful hit that perfect balance of crunch and cream. And, you know, it’s not just another dirt cup; it’s a party-ready treat that looks amazing on any dessert table (especially with those Pinterest-worthy graduation picks).
This isn’t just a dessert; it’s a memory-maker. It’s comfort food reimagined – faster, easier, and just as soul-soothing. You can impress guests without breaking a sweat, or turn a simple family night into something unforgettable. Trust me, once you try these Creamy Oreo Dirt Cups, you’ll be making them for every occasion under the sun.
What Ingredients You Will Need
This Creamy Oreo Dirt Cups recipe uses straightforward, wholesome ingredients to deliver bold flavor and a satisfyingly smooth texture. Most of what you’ll need is probably already sitting in your pantry or fridge, which makes this dessert both convenient and budget-friendly. Here’s what you’ll want to gather:
- For the Creamy Pudding Layer:
- 1 package (3.9 oz/110 g) instant chocolate pudding mix (I like Jell-O brand for consistent results)
- 2 cups (480 ml) cold milk (whole milk gives the creamiest texture, but 2% works well too)
- 1 package (8 oz/225 g) cream cheese, softened (adds richness)
- 1 cup (120 g) powdered sugar (for sweetness and smoothness)
- 1 tub (8 oz/225 g) whipped topping, thawed (Cool Whip or store-brand works fine)
- For the Oreo “Dirt”:
- 1 package (14.3 oz/405 g) Oreo cookies (regular, not Double Stuf – Double Stuf makes it a bit too sticky)
- For Assembly & Decoration:
- Graduation picks (optional, but so fun for parties – you can find them online or at party stores)
- Gummy worms (optional, especially if you want a more whimsical look)
Ingredient notes:
- If you’re making these for someone with a dairy allergy, swap the milk and cream cheese for dairy-free alternatives like almond milk and vegan cream cheese.
- Gluten-free Oreos are available and work just as well for those avoiding gluten.
- You can substitute homemade whipped cream for the whipped topping if you prefer a less sweet version.
- For a lighter option, use reduced-fat cream cheese and light whipped topping – it’ll still taste dreamy.
- Seasonal twist: In summer, add a few fresh berries between the layers for color and tang.
- If you want extra chocolatey cups, use double chocolate pudding instead of regular.
Honestly, the best part about these ingredients is how flexible they are. You can swap, add, or subtract based on what you have on hand or what your guests prefer. I recommend sticking with classic Oreo cookies for that nostalgic flavor, but don’t be afraid to get creative!
Equipment Needed
You don’t need a ton of fancy tools to whip up these Creamy Oreo Dirt Cups, which is one of the reasons I love them for parties. Here’s what you’ll want to have ready:
- Mixing bowls: At least two – one for pudding, one for cream cheese mixture. Any size works, but medium bowls are easiest.
- Hand mixer or stand mixer: For blending the cream cheese and powdered sugar until smooth. (A whisk will do in a pinch, but it’s a workout!)
- Measuring cups and spoons: For accuracy – you know how it is with pudding mix.
- Food processor or zip-top bag: For crushing the Oreos. I’ve used a rolling pin over a bag plenty of times, and it works just fine.
- Rubber spatula: Makes folding the whipped topping a breeze and scraping every last bit out of the bowl.
- Clear plastic cups (8 oz/240 ml): For serving – clear cups show off those pretty layers! Mason jars or glass dessert cups work, too.
- Spoons: For layering and serving.
- Graduation picks: Optional, but they turn these treats into a festive party centerpiece.
If you don’t have a food processor, don’t sweat it – just toss your Oreos in a zip bag and crush them with a rolling pin or even the bottom of a saucepan. I’ve tried both, and honestly, sometimes the chunkier crumbs from hand-crushing are even better for texture. For budget-friendly options, dollar store measuring cups and plastic cups are perfectly fine. Just make sure your hand mixer is in good shape – cream cheese can be stubborn!
Preparation Method
Ready to make these Creamy Oreo Dirt Cups for your graduation party? Here’s how you’ll get from ingredients to party-perfect treats – with all the little tips and cues I’ve picked up along the way.
-
Crush the Oreos:
Place Oreo cookies in a food processor and pulse until they reach a fine crumb consistency (about 30 seconds). If you’re using a zip-top bag, put the cookies inside, seal it tight, and crush with a rolling pin until you have both fine crumbs and a few chunky bits. Set aside.
Tip: Don’t remove the cream filling! It helps the crumbs stick together a little, making better “dirt.” -
Make the pudding:
In a medium bowl, whisk together the instant chocolate pudding mix and cold milk for 2 minutes until thickened. Let sit for 5 minutes to fully set.
Note: If it looks runny, just wait – it thickens as it sits. Use a cold bowl for even faster setting. -
Prepare the cream cheese mixture:
In a separate bowl, beat softened cream cheese with powdered sugar using a hand mixer on medium speed for about 2 minutes, until smooth and creamy. Scrape down the sides as needed.
Troubleshooting: If the mixture looks lumpy, your cream cheese may not be soft enough – let it sit at room temp a bit longer. -
Combine pudding and cream cheese:
Add the prepared pudding to the cream cheese mixture. Beat together until fully combined and silky.
Personal tip: I like to mix slowly at first, then speed up for that extra-smooth texture. -
Fold in whipped topping:
With a rubber spatula, gently fold the whipped topping into the pudding-cream cheese mixture until no streaks remain. The mixture should be light and creamy.
Warning: Don’t overmix, or it’ll lose some fluff. -
Layer the cups:
Spoon 1-2 tablespoons (10-20 g) of Oreo crumbs into the bottom of each clear cup. Add a generous layer of the creamy mixture (about 1/3 cup or 80 ml), then another layer of Oreo crumbs. Repeat until you reach the top, finishing with Oreo “dirt.”
Sensory cue: The cups should look like a little garden bed – dark “earth” on top, creamy layers peeking through the sides. -
Add graduation picks:
Insert a graduation pick into each cup for a festive, party-ready look. Optional: tuck in a gummy worm for extra fun! -
Chill and serve:
Refrigerate the cups for at least 1 hour before serving. This helps the flavors meld and gives you that cool, creamy texture.
Efficiency tip: You can prep these up to a day ahead; just keep them covered in the fridge.
If you’re making a big batch, line up your cups and do each layer assembly-line style – it’s way faster! And hey, if you accidentally mix up the layering order, don’t stress. These dirt cups are forgiving, and a little imperfection just makes them more fun.
Cooking Tips & Techniques
After making these Creamy Oreo Dirt Cups for more parties than I can count, I’ve picked up a handful of tricks (and learned from a few mishaps along the way):
- Don’t over-whip the cream cheese: If you beat the cream cheese too long after adding the pudding, it can become runny. Mix just until combined – it’s the secret to that dreamy, thick texture.
- Layering matters: Clear cups are best, so everyone sees those pretty layers. Use a piping bag for the creamy mixture if you want super-neat presentation, but honestly, a spoon works fine.
- Crushing Oreos: Food processor is fastest, but if you go old-school with a zip bag, make sure to crush the cookies evenly. Chunkier crumbs add texture, but too big and it’s hard to eat. Don’t forget to leave the filling in!
- Temperature control: For best results, keep all dairy ingredients cold until you’re ready to assemble. Warm pudding can make the layers runny.
- Multitasking trick: While the pudding sets, crush your Oreos and prep the cream cheese mixture. The whole process flows easier that way.
- Consistency tip: Always let the finished dirt cups chill for at least an hour. This helps everything firm up and lets the flavors blend. I once served them right away and they tasted fine, but the texture was a bit loose.
- Party hack: Make smaller, “mini” cups for kids or larger ones for adults. Just adjust the layering amounts to fit.
One time, I tried to shortcut and layer everything while the pudding was still a little runny – big mistake! It’s worth waiting for it to thicken. And if you’re prepping for a huge crowd, assemble the creamy filling and crumbs the night before, then layer the morning of the event. Easy peasy!
Variations & Adaptations
Here’s the fun part – you can totally make these Creamy Oreo Dirt Cups your own! Over the years, I’ve tried all sorts of twists, and these three are my favorites:
- Dietary adaptation: Use gluten-free Oreos and dairy-free cream cheese/milk for an allergy-friendly version. Works great for school parties with dietary restrictions.
- Seasonal variation: Swap chocolate pudding for vanilla or lemon pudding in spring, and add sliced strawberries or blueberries for a fruity touch. It’s a fresh twist that looks so pretty in clear cups!
- Flavor boost: Mix in a little instant coffee granules with the pudding for a mocha “dirt cup” – adults love this at brunches or coffee-themed parties.
If you like extra crunch, add mini chocolate chips between layers. For peanut butter fans, swirl a little peanut butter into the creamy mixture before layering (I tried this last summer – total hit!). You can also adjust the serving style: make one big trifle bowl for a centerpiece, or use shot glasses for mini bites.
For those with nut allergies, always double-check your pudding and whipped topping labels. And honestly, don’t be afraid to experiment – the base recipe is forgiving, and sometimes the “mistakes” turn out tastier than the original!
Serving & Storage Suggestions
These Creamy Oreo Dirt Cups are best served cold, straight from the fridge. The layers hold up beautifully, and the flavors are most vibrant when chilled. For parties, arrange the cups on a festive tray with graduation picks and maybe a sprinkle of confetti for extra flair.
If you want to make them ahead, assemble the creamy layers and Oreo crumbs in the cups, cover with plastic wrap, and refrigerate for up to 24 hours. The cookies will soften a bit, which some folks actually prefer – it makes the “dirt” taste more cake-like. For longer storage, keep the components separate and layer just before serving.
Leftovers (if you have any!) can be stored in the fridge for up to 2 days. I don’t recommend freezing – the texture gets weird. To re-chill, just pop them back in the fridge for an hour. The flavors meld and deepen, so they taste even better the second day.
Pair these cups with lemonade, iced coffee, or chocolate milk for a fun graduation party spread. They also go great with fresh fruit platters or savory snacks like pretzels and popcorn. Simple, festive, and always a hit!
Nutritional Information & Benefits
Each Creamy Oreo Dirt Cup (about 8 oz/240 ml) contains approximately:
Calories: 320 | Fat: 15g | Carbohydrates: 42g | Protein: 4g
The recipe delivers a boost of calcium from the milk and cream cheese, and the Oreos provide iron and a little fiber. If you choose gluten-free or low-fat variations, the nutritional profile lightens up a bit. For those monitoring sugar, you can use sugar-free pudding mix and light whipped topping to reduce sweetness.
Allergens to consider: Contains wheat, dairy, and potential soy (from Oreos). For nut allergies, double-check all packaging. As a mom, I love that you can adjust this recipe to fit different dietary needs, so everyone gets to join in the fun. Don’t forget – these are a treat, so enjoy them as part of a balanced spread!
Conclusion
So, why should you make these Creamy Oreo Dirt Cups with graduation picks? Because they’re fast, festive, and seriously delicious. You get creamy, chocolatey comfort in every bite, plus the visual wow factor for your party table. Whether you stick to the classic or try a fun twist, this recipe is endlessly customizable and absolutely reliable.
I love making these for my family and friends – they’ve become a tradition at every graduation (and honestly, any excuse will do). Don’t be afraid to mix up the flavors, swap in your favorite toppings, or let the kids assemble their own cups. It’s about celebrating together and making memories.
Ready to give it a try? Leave a comment below if you have questions, share your favorite variation, or tag me if you post your party pics! Bookmark this recipe, share it with your fellow party planners, and remember: the best desserts are the ones made with love (and a few extra Oreos).
Frequently Asked Questions
How far in advance can I make Creamy Oreo Dirt Cups?
You can assemble the dirt cups up to 24 hours ahead. Just keep them covered in the fridge until you’re ready to serve.
Can I use homemade whipped cream instead of store-bought whipped topping?
Absolutely! Homemade whipped cream gives a richer, less sweet flavor. Just whip 1 cup (240 ml) heavy cream with 2 tablespoons (15 g) powdered sugar until stiff peaks form.
Are these dirt cups gluten-free?
They can be! Just use gluten-free Oreos and make sure your pudding mix is gluten-free as well.
What can I use instead of graduation picks?
You can use any festive party picks, mini flags, or even small printed labels. For a birthday, try colorful sprinkles or themed toppers.
Can I freeze the dirt cups?
Freezing is not recommended – the creamy mixture gets icy and the texture isn’t as smooth. Stick to chilling in the fridge for best results.
Pin This Recipe!
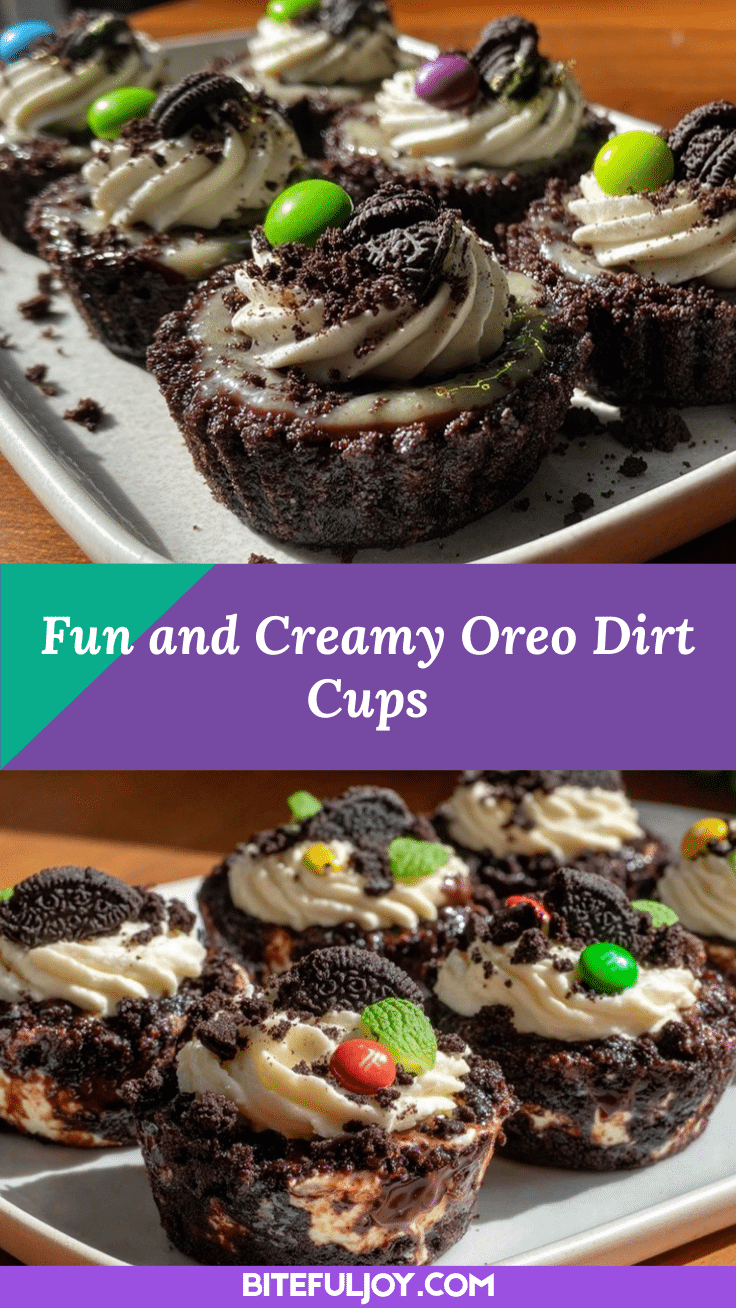
Creamy Oreo Dirt Cups

Creamy Oreo Dirt Cups are a nostalgic, party-ready dessert featuring layers of chocolate pudding, cream cheese, whipped topping, and crushed Oreos. Perfect for graduation parties, potlucks, or any celebration, these cups are quick to assemble and always a crowd-pleaser.
- Prep Time: 15 minutes
- Cook Time: 0 minutes
- Total Time: 1 hour 15 minutes
- Yield: 8 servings 1x
- Category: Dessert
- Cuisine: American
Ingredients
- 1 package (3.9 oz) instant chocolate pudding mix
- 2 cups cold milk (whole or 2%)
- 1 package (8 oz) cream cheese, softened
- 1 cup powdered sugar
- 1 tub (8 oz) whipped topping, thawed (Cool Whip or similar)
- 1 package (14.3 oz) Oreo cookies (regular, not Double Stuf)
- Graduation picks (optional, for decoration)
- Gummy worms (optional, for decoration)
Instructions
- Place Oreo cookies in a food processor and pulse until fine crumbs form. Alternatively, crush cookies in a zip-top bag with a rolling pin. Set aside.
- In a medium bowl, whisk together instant chocolate pudding mix and cold milk for 2 minutes until thickened. Let sit for 5 minutes to fully set.
- In a separate bowl, beat softened cream cheese with powdered sugar using a hand mixer on medium speed for about 2 minutes, until smooth and creamy.
- Add the prepared pudding to the cream cheese mixture and beat together until fully combined and silky.
- Gently fold in the whipped topping with a rubber spatula until no streaks remain. Do not overmix.
- Spoon 1-2 tablespoons of Oreo crumbs into the bottom of each clear cup. Add a generous layer of the creamy mixture (about 1/3 cup), then another layer of Oreo crumbs. Repeat until the cup is full, finishing with Oreo crumbs on top.
- Insert a graduation pick and/or gummy worm into each cup for decoration, if desired.
- Refrigerate the cups for at least 1 hour before serving to allow flavors to meld and texture to set.
Notes
For gluten-free or dairy-free adaptations, use gluten-free Oreos and dairy-free cream cheese/milk. Homemade whipped cream can be substituted for whipped topping. Chill for at least 1 hour for best texture. Can be made up to 24 hours in advance. Do not freeze.
Nutrition
- Serving Size: 1 cup (8 oz/240 ml)
- Calories: 320
- Sugar: 28
- Sodium: 320
- Fat: 15
- Saturated Fat: 8
- Carbohydrates: 42
- Fiber: 2
- Protein: 4
Keywords: Oreo dirt cups, graduation dessert, party dessert, easy pudding cups, creamy Oreo cups, kid-friendly dessert, no bake dessert


