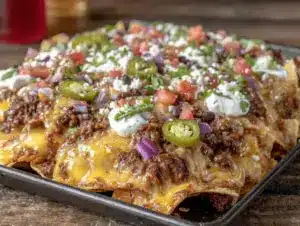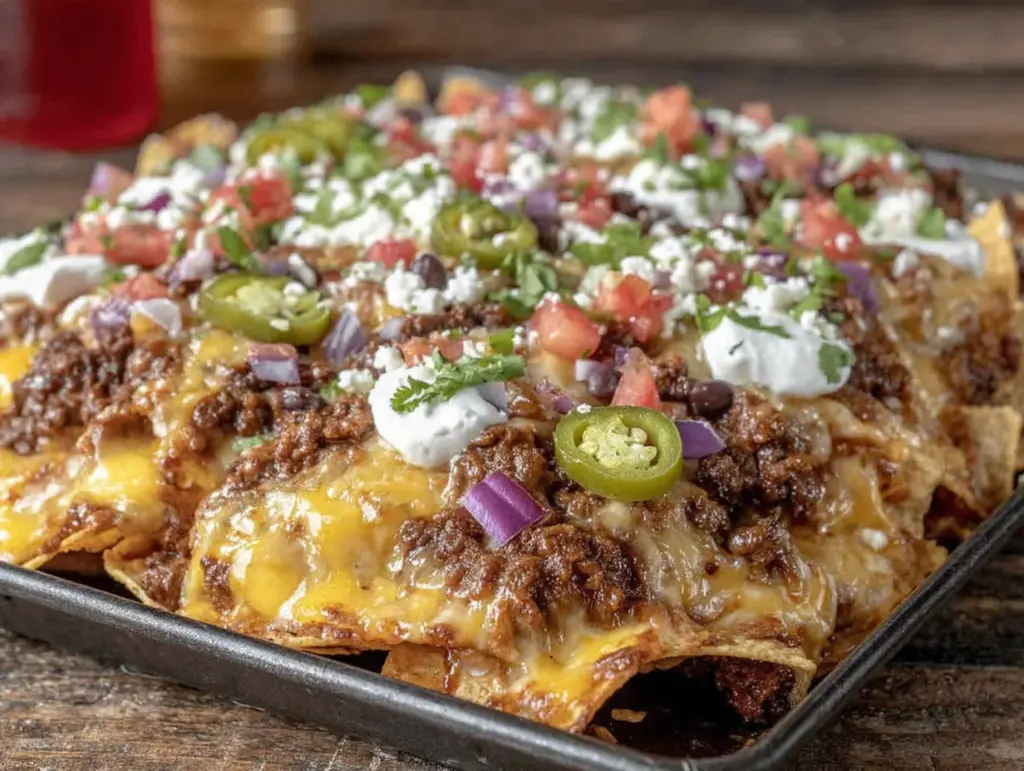
My brother, a man who once tried to grill a frozen pizza, called me three hours before kickoff. “I need food for twelve people,” he said. “And I don’t want to wash any dishes.” That was the moment the Ultimate Loaded Nacho Bar Sheet Pan for Tailgating was born. I had always thought sheet pan nachos were a little gimmicky, honestly. A pile of chips under a mountain of toppings that turns into a soggy mess before the first commercial break? No thanks. But necessity is a powerful motivator, and my brother’s desperation was my lab.
I grabbed a half sheet pan, lined it with foil (his only request), and started layering. The trick, I realized, wasn’t just dumping everything on top. It was about creating a foundation that could actually hold up. I used a double layer of sturdy tortilla chips, a generous blanket of shredded cheese that I melted twice, and then I built the nachos in stages. It was a gamble, but the result was a sheet pan of nachos that stayed crunchy, stayed hot, and somehow stayed together. My brother texted me a photo of an empty, foil-lined pan with the caption “miracle worker.” That text sits in my phone to this day. It wasn’t just a recipe; it was a solution to a very specific, very loud problem. This is that solution, perfected for your next tailgate.
Why You’ll Love This Recipe
This isn’t just another nacho recipe. This is the sheet pan nacho bar that turns you into the tailgate hero. I’ve tested this through rain, wind, and the chaos of a pre-game parking lot, and it delivers every single time.
- Quick & Easy to Assemble: From prep to table in under 30 minutes. You can even prep the toppings the night before and just assemble at the tailgate. No stress, all glory.
- Simple, Crowd-Favorite Ingredients: Ground beef, black beans, cheese, and chips. No fancy trips to a specialty store. It’s all the stuff you probably already have in your pantry and fridge.
- Perfect for Tailgating & Parties: One pan feeds a hungry crowd. No bowls, no plates, no endless refilling. Just one glorious, shareable sheet of perfection.
- Stays Crunchy (Seriously): The double-bake method ensures the chips stay crisp even under a mountain of toppings. No more sad, soggy nachos.
- Fully Customizable Nacho Bar: This is the star of the show. Everyone builds their own perfect bite from the toppings bar. It’s interactive, fun, and guarantees no one leaves hungry.
What makes this different from every other nacho recipe? It’s the strategy. It’s not just about throwing ingredients on a pan. It’s about the order of operations, the double layer of chips, and the strategic placement of wet ingredients. This isn’t my first rodeo with a sheet pan, and I’ve learned that a little structure goes a long way. Plus, the nacho bar setup means picky eaters and adventurous foodies alike can get exactly what they want. It’s comfort food that brings people together, and honestly, that’s the whole point of tailgating.
What Ingredients You Will Need
This recipe uses simple, hearty ingredients to build layers of flavor and texture. The beauty is in how they work together, so let’s break down what you’ll need for the ultimate nacho bar.
For the Nacho Base
- 1 large bag (13-16 oz) of sturdy tortilla chips: Do not use thin or restaurant-style chips. Go for the thick, scoop-style chips. I’m partial to Tostitos Scoops because they hold up to the weight of the toppings without snapping. (The scoop shape is a game-changer for catching all the good stuff.)
- 1 lb ground beef (80/20): The fat adds flavor and keeps the meat moist. You can use ground turkey, but I’d add a tablespoon of olive oil to the pan to prevent dryness.
- 1 packet (1 oz) taco seasoning: My go-to is McCormick, but use your favorite. You could also use homemade seasoning (chili powder, cumin, garlic powder, onion powder, paprika, salt, pepper).
- 1 can (15 oz) black beans, drained and rinsed: They add fiber, protein, and a creamy texture that contrasts the crunchy chips. Rinsing them removes the excess sodium and that slimy can liquid.
- 2 cups shredded Mexican blend cheese: This is the glue. Pre-shredded cheese is fine, but freshly shredded melts so much better. It has less anti-caking agent, so it gets gooey faster.
- 1/2 cup pickled jalapeños: For that vinegary heat that cuts through the richness. I love the La Costeña brand for their consistent crunch.
For the Nacho Bar Toppings (Choose Your Favorites)
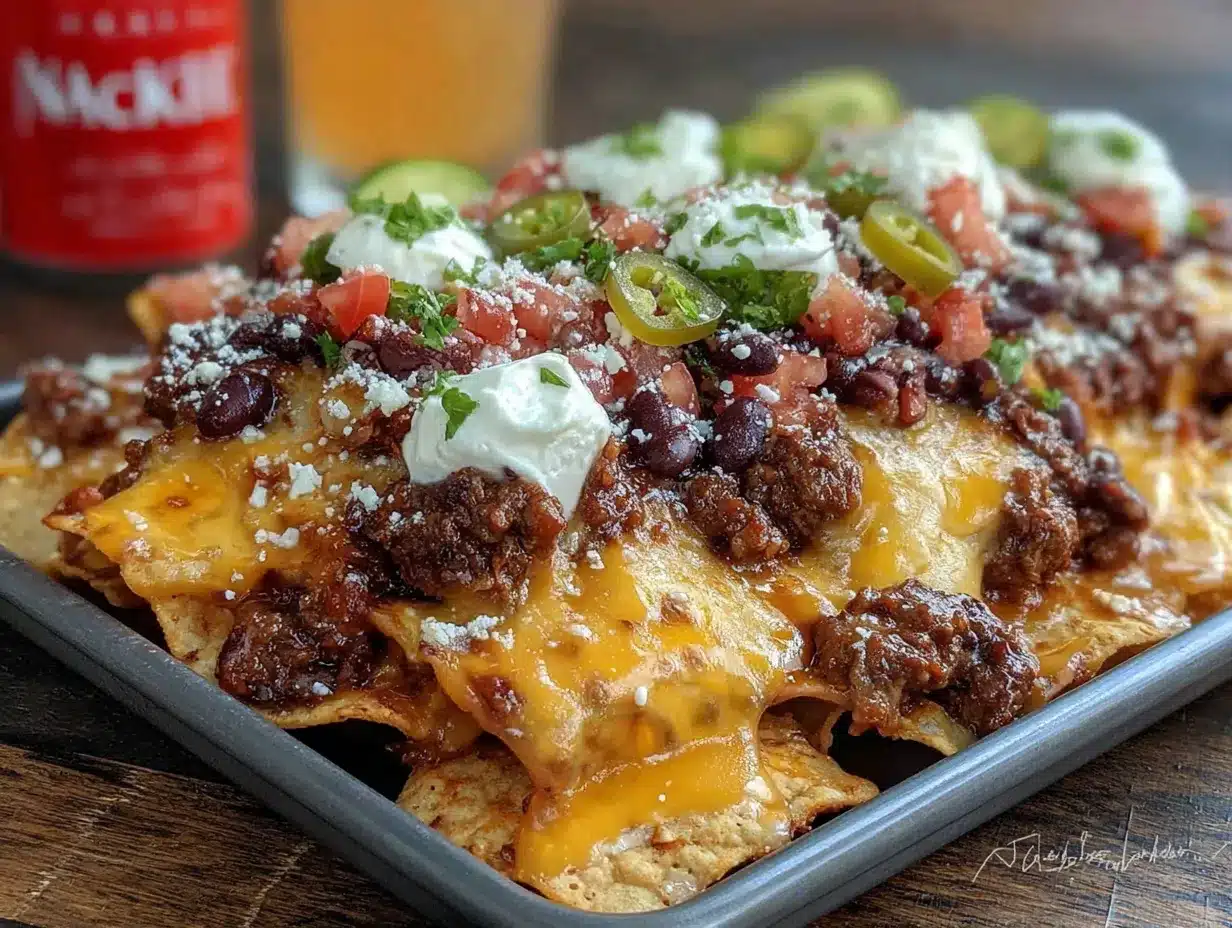
- 1 cup sour cream: For cool, creamy relief.
- 1 cup salsa (pico de gallo or restaurant-style): Adds freshness and acidity.
- 1 cup guacamole (homemade or store-bought): The rich, buttery element. If making your own, add a squeeze of lime to keep it from browning.
- 1/2 cup sliced black olives: A classic, briny touch.
- 1/4 cup chopped fresh cilantro: For a pop of color and herbaceousness.
- 1/2 cup diced tomatoes: Use Roma tomatoes for less water content.
- 1/4 cup sliced green onions: For a mild onion bite.
- 1/2 cup pickled red onions: A quick, tangy upgrade. (Just slice a red onion and toss it in white vinegar, a pinch of sugar, and salt for 15 minutes.)
- 1 can (4 oz) diced green chiles: For a mild, earthy heat.
Equipment Needed
You don’t need a lot of fancy gear for this one, which is part of the beauty. Here’s what you’ll need to pull this off:
- Large half sheet pan (13″ x 18″): This is non-negotiable. A standard cookie sheet is too small and shallow. You need the rimmed edges to keep everything contained. I use a Nordic Ware half sheet pan, and it’s been a workhorse for years.
- Aluminum foil: For the easiest cleanup of your life. Line the pan before you start, and you can just roll up the mess after the game.
- Large skillet (12-inch): For browning the ground beef.
- Wooden spoon or spatula: For breaking up the meat.
- Cutting board and sharp knife: For prepping your fresh toppings.
- Small bowls: For setting up your nacho bar. I use a set of Pyrex nesting bowls, which are perfect for this.
- Oven mitts: That sheet pan gets hot!
Preparation Method
This is where the magic happens. Follow these steps, and you will have a sheet pan of nachos that will make you the legend of the parking lot.
- Preheat and Prep: Preheat your oven to 400°F (200°C). Line your half sheet pan with a large piece of aluminum foil, letting the edges hang over the sides. This is your ticket to zero cleanup.
- Cook the Meat: In your large skillet over medium-high heat, cook the ground beef. Break it up with your wooden spoon as it browns. This should take about 6-8 minutes. You want it fully cooked, not burnt. Drain off the excess fat (carefully!), then return the pan to the stove. Add the taco seasoning and 1/3 cup of water. Stir and let it simmer for 2-3 minutes until the sauce thickens. The kitchen will smell incredible. Set it aside.
- First Layer of Chips and Cheese: Spread half of your tortilla chips evenly on the prepared sheet pan. Make a single, solid layer. Sprinkle 1 cup of the shredded cheese over these chips. This first layer of cheese is the foundation—it melts and acts like glue, holding everything together.
- Second Layer of Chips and Toppings: Spread the remaining chips on top of the first layer. Now, distribute the seasoned ground beef and the drained black beans evenly over the chips. Scatter the pickled jalapeños on top. Don’t pile it all in the middle; spread it to the edges so every chip gets some love.
- Final Cheese Blanket: Sprinkle the remaining 1 cup of shredded cheese over everything. Be generous. This is the blanket that will melt and crisp up, creating a glorious, gooey top layer.
- Bake (First Time): Place the sheet pan in the preheated oven and bake for 10-12 minutes. You want the cheese to be fully melted and bubbly, and the edges of the chips to start taking on a little color. Don’t walk away—oven times vary, and you don’t want burnt cheese.
- Rest and Set Up the Bar: Remove the pan from the oven and let it rest for 2-3 minutes. This is crucial. It allows the cheese to set slightly so your nachos don’t slide off the pan when you move it. While it rests, arrange all your cold toppings (sour cream, salsa, guacamole, olives, cilantro, tomatoes, green onions) in small bowls.
- Serve Immediately: Place the hot sheet pan in the center of your tailgate table. Let everyone grab their own plate and pile on their favorite toppings from the bar. The fun is in the building!
Cooking Tips & Techniques
I’ve learned a few things the hard way so you don’t have to. Here are my top tips for sheet pan nacho success.
- The Double Chip Layer is Non-Negotiable: Trust me on this. The first layer of chips and cheese creates a solid base. The second layer gets all the toppings. Without it, your bottom chips get soggy from the meat juices. This method keeps the whole pan crunchy.
- Don’t Overload with Wet Toppings Before Baking: Salsa, sour cream, and guacamole go on AFTER baking. If you bake them, they release water and turn your nachos into a sad, wet casserole. Keep them fresh and cold on the side.
- Use a Meat Thermometer (for the Ground Beef): It’s the only way to be sure your meat is safe. Ground beef should reach 160°F (71°C). I use a simple ThermoPro instant-read thermometer, and it gives me peace of mind.
- Make-Ahead Tip: You can cook the ground beef and drain the black beans the night before. Store them in separate containers in the fridge. On game day, just reheat the meat in the microwave for 1-2 minutes before assembling. It shaves off a solid 10 minutes of prep time.
- The Foil Liner Trick: Don’t just line the bottom. Let the foil hang over the edges of the pan. After the nachos are devoured, you can lift the whole mess out by the foil edges and throw it away. The pan stays clean. It’s a game-changer for tailgating where you have limited clean-up options.
Variations & Adaptations
This recipe is a template, not a rulebook. Here are some ways to make it your own.
- Vegetarian Loaded Nachos: Skip the ground beef entirely. Double up on the black beans and add a can of drained corn, a cup of sautéed bell peppers and onions, and a sprinkle of smoked paprika. It’s hearty, colorful, and just as satisfying.
- Spicy Carnitas Nachos: Swap the ground beef for leftover shredded carnitas or pulled pork. Toss the meat in a little chipotle adobo sauce before layering it on the chips. The smoky, spicy flavor is incredible with the creamy sour cream and guacamole.
- Breakfast Nachos: Yes, this is a thing. Replace the ground beef with crumbled breakfast sausage or chorizo. Add a layer of scrambled eggs before the final cheese bake. Top with a drizzle of crema and a sprinkle of fresh cilantro. It’s the ultimate pre-game brunch.
- Low-Carb / Keto Option: Use a low-carb tortilla chip alternative (like Quest brand protein chips) or even pork rinds for the base. The rest of the ingredients (meat, cheese, sour cream, guacamole) are already low-carb friendly. Just skip the black beans and corn.
Serving & Storage Suggestions
This recipe is best served hot and fresh, but here’s how to handle leftovers (if you have any).
- Serving Temperature: Serve the sheet pan nachos straight from the oven while the cheese is still bubbly and the chips are warm. The cold toppings from the bar create a perfect hot-cold contrast.
- Presentation: Place the sheet pan on a sturdy cutting board or a trivet on your tailgate table. Arrange the small bowls of toppings around the pan. Provide small plates and forks (or sturdy napkins for a more rustic approach).
- Storage: Nachos do not store well. The chips will get soft. If you have leftover components, store them separately. The cooked meat and beans can be refrigerated in an airtight container for up to 3 days. The cold toppings (salsa, sour cream, guacamole, olives) should be stored in their own containers and used within 2 days.
- Reheating: Do not reheat the assembled nachos. The chips will become a sad, chewy mess. Instead, reheat the meat and beans in a skillet or microwave, and enjoy them with fresh chips. It’s a whole new snack.
Nutritional Information & Benefits
This is a party food, so we’re not pretending it’s a health salad. But it does have some redeeming qualities.
- Estimated Nutritional Values (per serving, based on 8 servings):
- Calories: 450-550
- Fat: 28-35g
- Carbohydrates: 35-40g
- Protein: 20-25g
- Fiber: 6-8g
- Health Benefits: The black beans are a fantastic source of plant-based protein and fiber, which helps keep you full. The ground beef provides iron and vitamin B12. The fresh toppings like tomatoes, cilantro, and onions add a dose of vitamins and antioxidants.
- Dietary Considerations: This recipe can be made gluten-free by using certified gluten-free tortilla chips and taco seasoning. It’s naturally nut-free. To make it dairy-free, use a vegan cheese shred and a dairy-free sour cream alternative.
- Personal Perspective: I love that this recipe is all about balance. You get the indulgence of melted cheese and crunchy chips, balanced by the freshness of the salsa and the creaminess of the guacamole. It’s a celebration, and sometimes that’s exactly what we need.
Conclusion
This Ultimate Loaded Nacho Bar Sheet Pan for Tailgating is more than just a recipe; it’s a strategy for a successful, stress-free party. It’s the kind of food that brings people together, encourages conversation, and makes everyone feel like they’re part of the action. I’ve seen it turn a quiet tailgate into a full-blown block party. I love how customizable it is, how easy it is to clean up, and how it always, always delivers on flavor. So go ahead, give it a try for your next game day. Load it up with your favorite toppings, and watch it disappear. And when you do, I’d love to hear about it. What’s your go-to nacho topping? Share your creations and adaptations in the comments below. Let’s make every tailgate a little more delicious!
Frequently Asked Questions
Can I make this ahead of time?
You can prep the components. Cook the ground beef and drain the beans the night before. You can even chop all your fresh toppings and store them in the fridge. But do not assemble the nachos until you are ready to bake them. The chips will get soft if they sit with the meat and beans too long.
What if I don’t have a sheet pan?
You can use a large, rimmed baking dish (like a 9×13 inch) or even a cast iron skillet. You’ll just need to adjust the chip layers to fit the pan. The principle is the same: double layer of chips, cheese, toppings, and cheese.
Can I use a different protein?
Absolutely. Shredded chicken, carnitas, carne asada, or even tofu crumbles would all be fantastic. Just make sure your protein is fully cooked and seasoned before adding it to the chips.
How do I keep the chips from getting soggy?
The double chip layer is key. Also, make sure you drain any excess liquid from the cooked meat and the beans. And remember, wet toppings like salsa and guacamole go on AFTER baking, not before.
What are the best chips to use?
Sturdy, thick chips are a must. I highly recommend Tostitos Scoops or any brand’s “restaurant style” or “thick cut” chips. Avoid thin, delicate chips as they will break under the weight of the toppings.
Pin This Recipe!
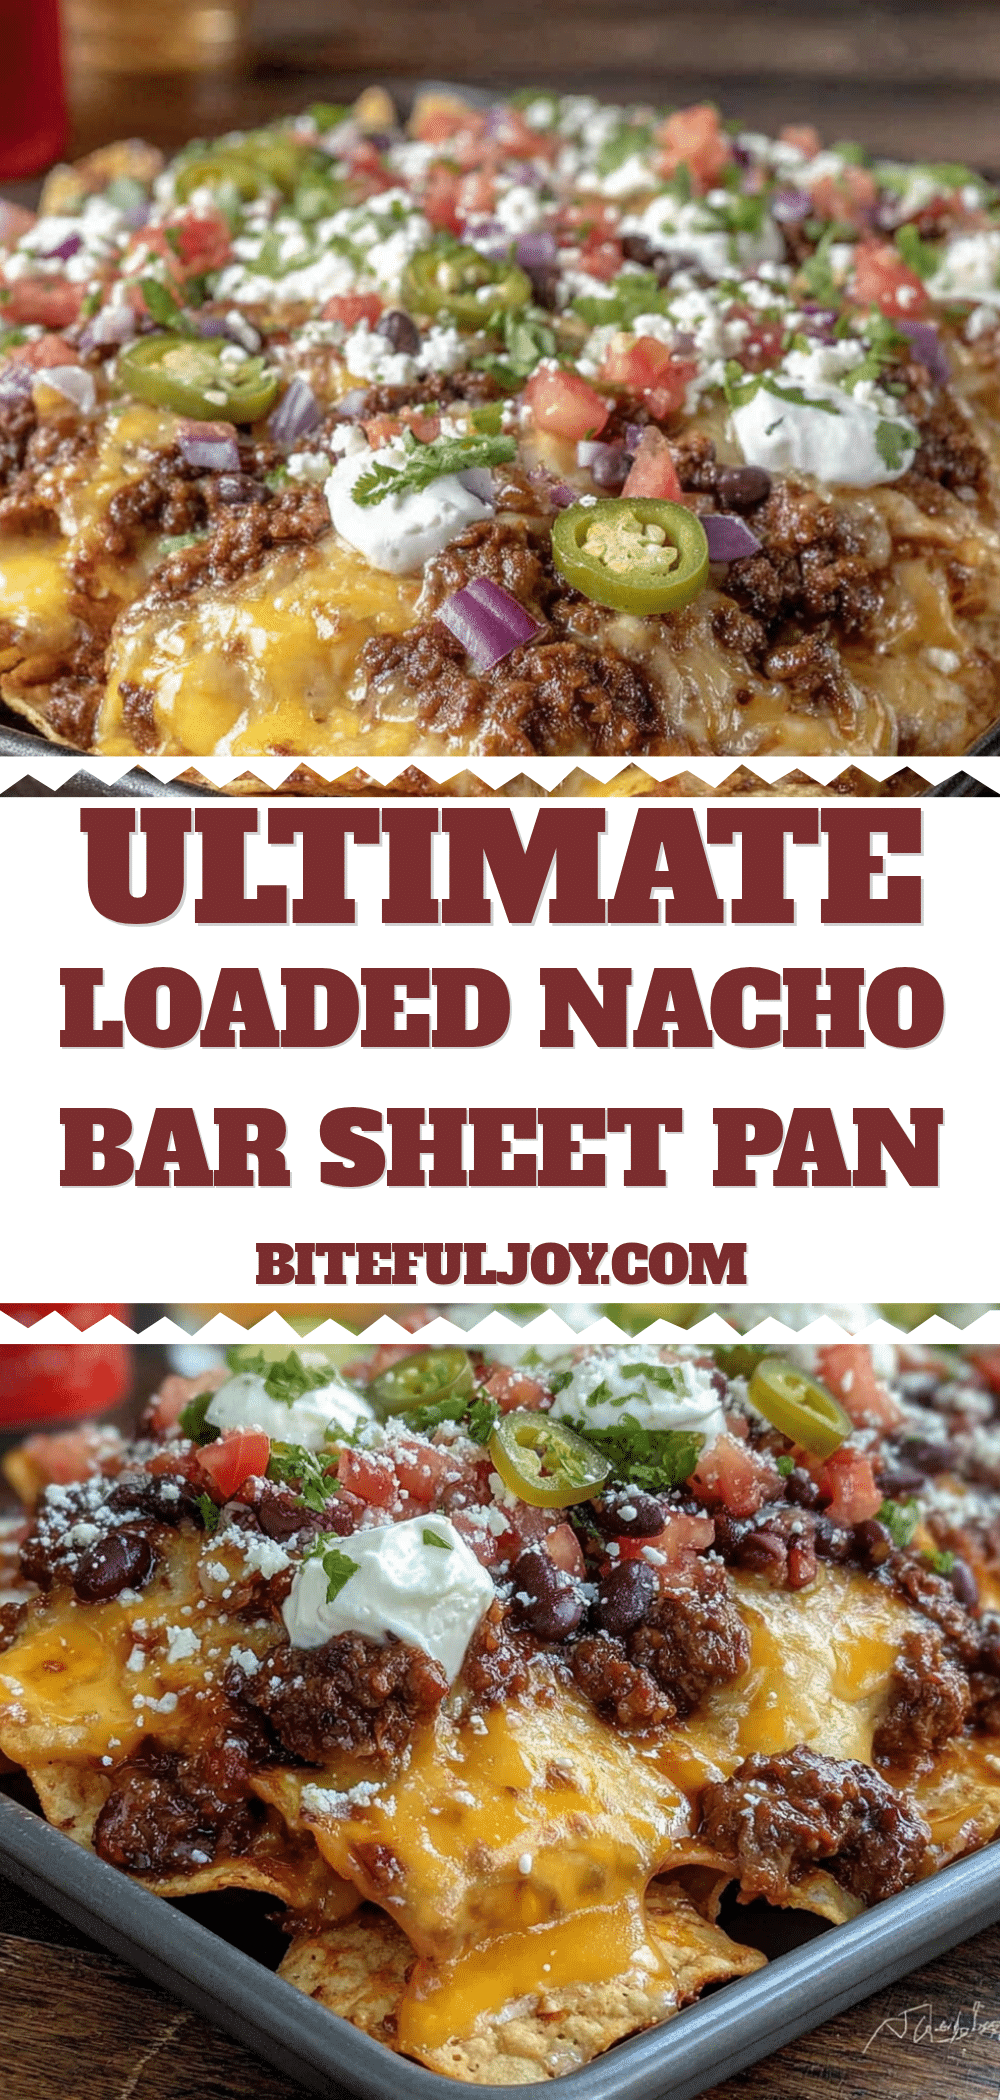
Ultimate Loaded Nacho Bar Sheet Pan for Easy Tailgating

This isn’t just another nacho recipe. This is the sheet pan nacho bar that turns you into the tailgate hero, with a double-bake method that keeps chips crunchy even under a mountain of toppings.
- Prep Time: 15 minutes
- Cook Time: 20 minutes
- Total Time: 35 minutes
- Yield: 8 servings 1x
- Category: Appetizer
- Cuisine: Mexican-American
Ingredients
- 1 large bag (13–16 oz) sturdy tortilla chips (e.g., Tostitos Scoops)
- 1 lb ground beef (80/20)
- 1 packet (1 oz) taco seasoning (e.g., McCormick)
- 1 can (15 oz) black beans, drained and rinsed
- 2 cups shredded Mexican blend cheese
- 1/2 cup pickled jalapeños
- 1 cup sour cream
- 1 cup salsa (pico de gallo or restaurant-style)
- 1 cup guacamole (homemade or store-bought)
- 1/2 cup sliced black olives
- 1/4 cup chopped fresh cilantro
- 1/2 cup diced tomatoes (Roma recommended)
- 1/4 cup sliced green onions
- 1/2 cup pickled red onions (optional)
- 1 can (4 oz) diced green chiles (optional)
Instructions
- Preheat oven to 400°F (200°C). Line a half sheet pan with aluminum foil, letting edges hang over.
- In a large skillet over medium-high heat, cook ground beef, breaking it up, for 6-8 minutes until fully cooked. Drain excess fat.
- Return pan to stove, add taco seasoning and 1/3 cup water. Stir and simmer for 2-3 minutes until sauce thickens. Set aside.
- Spread half of tortilla chips evenly on prepared sheet pan. Sprinkle 1 cup shredded cheese over chips.
- Spread remaining chips on top. Distribute seasoned ground beef, drained black beans, and pickled jalapeños evenly over chips.
- Sprinkle remaining 1 cup shredded cheese over everything.
- Bake for 10-12 minutes until cheese is melted and bubbly, and chip edges are slightly colored.
- Remove from oven and let rest for 2-3 minutes. Arrange cold toppings (sour cream, salsa, guacamole, olives, cilantro, tomatoes, green onions) in small bowls.
- Place hot sheet pan in center of table. Let everyone build their own nachos with toppings from the bar.
Notes
The double chip layer is key to preventing sogginess. Add wet toppings (salsa, sour cream, guacamole) after baking. For make-ahead, cook meat and drain beans the night before; reheat meat before assembling. Use foil liner for easy cleanup.
Nutrition
- Serving Size: 1 serving (approxima
- Calories: 500
- Sugar: 4
- Sodium: 850
- Fat: 31
- Saturated Fat: 12
- Carbohydrates: 37
- Fiber: 7
- Protein: 22
Keywords: sheet pan nachos, loaded nachos, tailgate food, game day appetizer, easy nacho bar, crowd-pleasing recipe