Scrambling around the kitchen with a toddler tugging at my pants and a forgotten grocery list in my hand, I realized I had zero ice cream in the freezer and a house full of dessert-hungry kids. Half a jar of caramel sauce lurking in the fridge and no fancy ice cream maker in sight. That’s when this easy creamy no-churn salted caramel ice cream came to life—out of pure necessity and a bit of tasty desperation. Honestly, I wasn’t expecting much, but the silky texture and that perfect balance of sweet and salty quickly turned this into a family favorite.
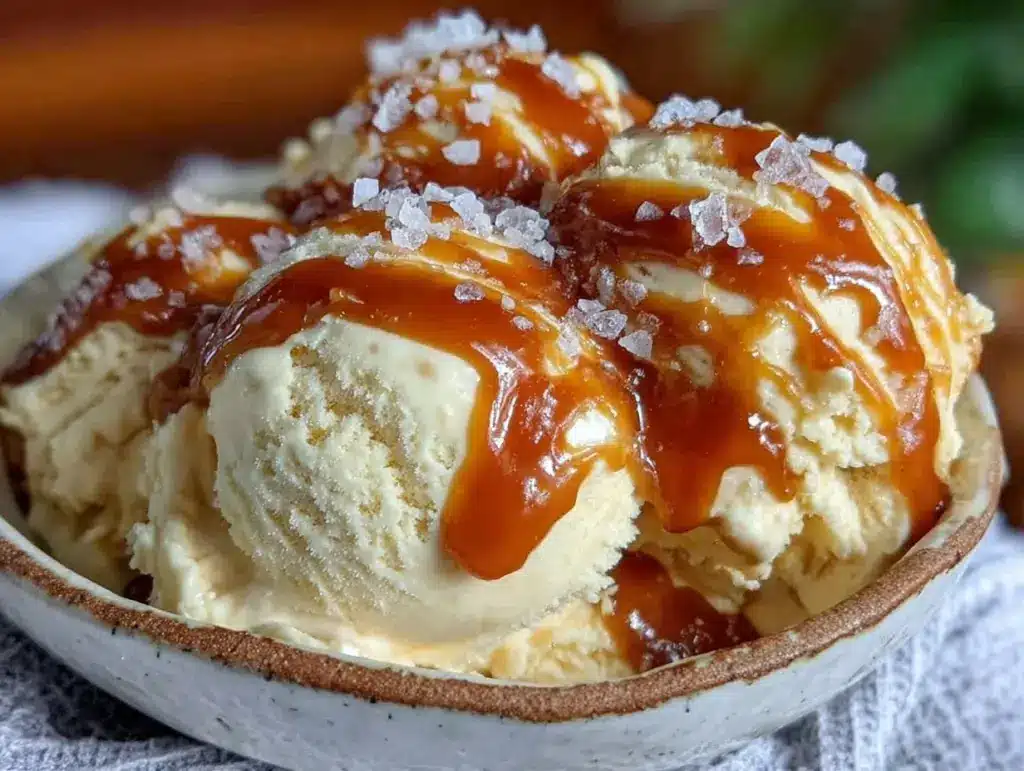
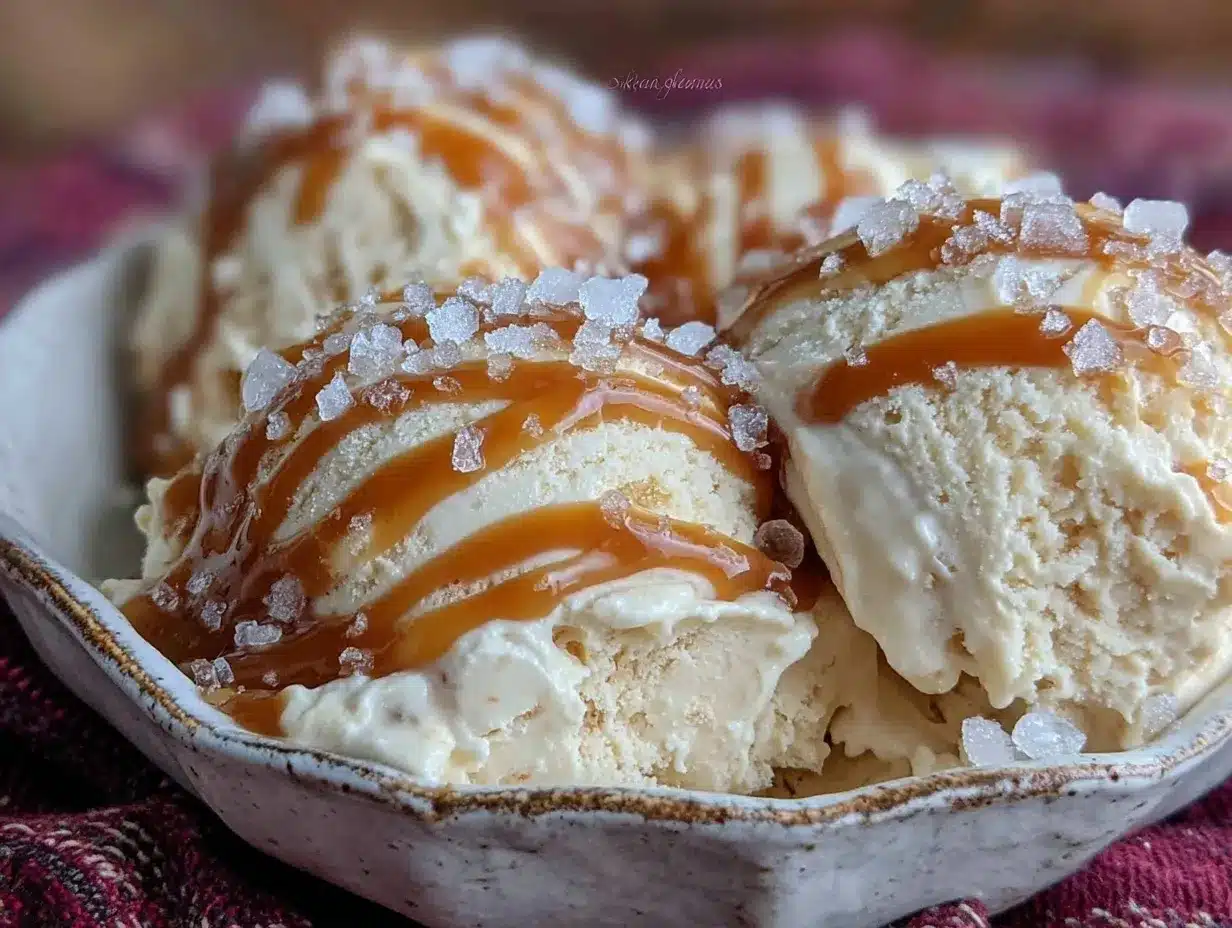
There’s something about the way the rich caramel ribbons fold through the smooth, luscious base that feels like a little indulgence you don’t have to work hard for. It’s got that homemade charm without the usual fuss — no churning, no special machines, just a few simple ingredients coming together while life’s chaos swirls around. I found myself stealing spoonfuls late at night, grateful for a recipe that’s as forgiving as it is delicious. If you’ve ever thought homemade ice cream was out of reach, this one is your quiet little victory.
What’s stuck with me most is how this recipe manages to feel special without demanding hours or a complicated setup—perfect for those hectic evenings or surprise guests. It’s comfort food that’s creamy, dreamy, and packed with just the right hit of salty caramel magic, making it a sweet spot in my go-to dessert lineup.
Why You’ll Love This Recipe
This no-churn salted caramel ice cream has been through the wringer in my kitchen, tested on picky eaters and dessert lovers alike. It’s one of those recipes that honestly feels like cheating because it’s so easy yet delivers a rich, satisfying dessert every single time.
- Quick & Easy: Ready in under 20 minutes of prep with no ice cream maker needed — ideal for last-minute cravings or busy weeknights.
- Simple Ingredients: Pantry staples like sweetened condensed milk and heavy cream come together with caramel sauce you probably already have.
- Perfect for All Occasions: Whether it’s a casual family night or a backyard party, this treat fits right in.
- Crowd-Pleaser: Kids, adults, and dessert skeptics all give it two thumbs up for the creamy texture and that irresistible salted caramel swirl.
- Unbelievably Delicious: The salt cuts through the sweetness just right, making the flavor complex but comforting — like a warm hug in frozen form.
- Unique Touch: Instead of just mixing caramel in, swirling it through creates pockets of gooey goodness, giving each bite a little surprise.
This isn’t your run-of-the-mill ice cream. I’ve tried versions with heavy caramel flavoring or too much salt, but this one strikes the perfect harmony, thanks to a bit of patience and the right ratio of ingredients. It’s a recipe I keep coming back to, especially after making desserts like the creamy passion fruit mousse cups that demand a lighter, cooler finish.
What Ingredients You Will Need
This recipe calls for straightforward ingredients that work together to create a luscious, creamy base with decadent caramel ribbons. Most of these are pantry staples, so no need for a special trip to the store.
- Sweetened Condensed Milk – 1 can (14 oz / 395 g), the backbone of sweetness and creaminess.
- Heavy Whipping Cream – 2 cups (480 ml), whipped to soft peaks for that airy, smooth texture.
- Salted Caramel Sauce – ¾ cup (180 ml), homemade or store-bought (I prefer Ghirardelli for its deep caramel notes).
- Vanilla Extract – 1 teaspoon, to round out the flavors.
- Sea Salt – ½ teaspoon, enhances the salted caramel effect.
If you want to add a touch of crunch, sprinkling in some crushed pretzels or chopped pecans works beautifully. For a dairy-free option, swap the heavy cream with coconut cream and use a vegan caramel sauce.
When it comes to caramel sauce, if you’re feeling adventurous, try making your own with brown sugar and cream for that fresh, buttery flavor. Otherwise, a good-quality store-bought sauce saves time and still tastes fantastic.
Equipment Needed
- Mixing Bowls: One large bowl for whipping cream and another for combining condensed milk and caramel.
- Electric Mixer or Stand Mixer: Essential to whip the heavy cream to soft peaks. A hand whisk works in a pinch but expect some arm workout.
- Spatula: For gentle folding, which keeps the ice cream light and airy.
- Loaf Pan or Freezer-Safe Container: To freeze your ice cream mixture evenly.
- Plastic Wrap or Lid: To cover the container and prevent ice crystals.
Personally, I find using a stand mixer like a KitchenAid saves time and ensures perfectly whipped cream every time. But a simple hand mixer like a Hamilton Beach also does the job well if you’re on a budget. For the container, a metal loaf pan chills faster, but any freezer-safe dish will do.
Preparation Method
- Whip the Cream: Pour 2 cups (480 ml) of heavy whipping cream into a chilled bowl. Using an electric mixer, beat on medium-high speed until soft peaks form (about 3-4 minutes). The cream should be fluffy but still hold its shape when you lift the beaters.
- Mix Condensed Milk and Vanilla: In a separate bowl, combine one 14 oz (395 g) can of sweetened condensed milk with 1 teaspoon of vanilla extract. Stir gently until smooth.
- Combine Cream and Condensed Milk: Fold about one-third of the whipped cream into the condensed milk mixture using a spatula. This lightens the base and makes folding easier. Then fold in the remaining whipped cream gently to keep the mixture airy.
- Layer the Ice Cream and Caramel: Pour half of the ice cream base into your freezer-safe container. Drizzle half of the salted caramel sauce (about 6 tablespoons / 90 ml) evenly over the top. Use a knife or skewer to gently swirl the caramel into the base, creating marbled ribbons. Repeat with the remaining ice cream base and caramel sauce.
- Sprinkle Sea Salt: Lightly sprinkle ½ teaspoon of sea salt over the top to boost the salted caramel flavor.
- Freeze: Cover tightly with plastic wrap or a lid and freeze for at least 6 hours, preferably overnight, until firm.
Pro tip: If you want to avoid large ice crystals, take the ice cream out 10 minutes before serving and stir gently to soften the texture. Also, if your caramel sauce is thick, warm it slightly in the microwave for easier swirling.
Cooking Tips & Techniques
Whipping the cream to the right consistency is key here. You want soft peaks—not too loose (or the ice cream won’t hold texture) and not too stiff (or it won’t blend smoothly). I’ve learned the hard way that overwhipped cream can turn grainy once frozen.
Folding technique matters as well. Use a gentle under-and-over motion with a spatula, so you keep the air bubbles intact, which makes the ice cream fluffy and creamy rather than dense.
When swirling in the caramel, don’t overdo it. You want pretty ribbons, not a fully blended caramel. That little contrast is what makes every bite interesting.
Lastly, freezing time is non-negotiable—rushing this step results in a less creamy texture. Patience pays off, and if you’re pressed for time, try chilling the container beforehand to speed up freezing.
Variations & Adaptations
- Chocolate Caramel Swirl: Add ¼ cup (25g) of mini chocolate chips or swirl in melted chocolate along with caramel for a chocolate-caramel combo.
- Nutty Delight: Fold in toasted pecans or almonds before freezing for an added crunch and nutty flavor.
- Dairy-Free Version: Use coconut cream instead of heavy cream and a vegan caramel sauce. The texture might be a little different but still satisfyingly creamy.
- Salted Caramel Coffee: Mix in 1 tablespoon instant espresso powder to the base for a coffee twist that’s perfect with a slice of Earl Grey tea cake.
- Fruit & Caramel: Swirl in some fresh sliced bananas or raspberry coulis for bursts of fruity brightness, balancing the richness.
I once tried adding a pinch of cinnamon, which gave the ice cream a warm spice note — surprisingly good with the salted caramel.
Serving & Storage Suggestions
This ice cream is best enjoyed straight from the freezer but pulling it out 5-10 minutes before serving softens it to the perfect scoopable texture. Serve it in bowls or waffle cones and drizzle a little extra caramel sauce on top for show-off factor.
It pairs wonderfully with crisp baked goods like the crispy brioche French toast or alongside a warm fruit cobbler for contrast.
Store leftovers in an airtight container in the freezer for up to 2 weeks. To prevent ice crystals and preserve creaminess, press a piece of parchment paper on the surface before sealing. When reheating, let it thaw slightly at room temperature and stir gently.
Flavors tend to mellow and meld beautifully after a day or two, so if you can wait, it tastes even better the next day.
Nutritional Information & Benefits
Each serving (about ½ cup / 125 ml) of this no-churn salted caramel ice cream approximates to:
| Calories | 280 |
|---|---|
| Fat | 17g |
| Sugar | 28g |
| Protein | 3g |
While indulgent, this recipe contains real cream and caramel with minimal additives, so it’s a treat you can feel a bit better about than store-bought versions packed with stabilizers. Using sea salt helps balance blood sugar spikes a little, and homemade caramel allows you to control sugar quality.
For gluten-free diets, this recipe is naturally safe, but do check caramel sauces for hidden gluten if using store-bought versions. Dairy-free coconut cream substitutions make this accessible for vegan or lactose-intolerant friends.
Conclusion
This easy creamy no-churn salted caramel ice cream has become my secret weapon when time is short, but the craving for something sweet and special is strong. It’s forgiving, fast, and ridiculously good — a recipe I keep coming back to and tweak depending on my mood. The way the salted caramel ribbons melt into the smooth base is pure magic, making it feel like a treat worth every bit of the fuss avoided.
Try it as is or experiment with the variations to find your perfect scoop. I’d love to hear how you make it your own — whether you add nuts, coffee, or a hint of spice. Sharing your twists keeps this recipe alive and fresh in my kitchen too.
So go ahead, whip up a batch, and enjoy a little homemade sweetness that’s anything but complicated.
Frequently Asked Questions
Can I make this recipe without an electric mixer?
Yes, you can whip the cream by hand using a whisk, but it will take longer and require some elbow grease. Aim for soft peaks rather than stiff peaks to keep the texture right.
How long can I store the no-churn salted caramel ice cream?
Store it in an airtight container in the freezer for up to 2 weeks. Make sure to press parchment paper on the surface to prevent ice crystals.
Can I use regular caramel sauce instead of salted caramel?
You can, but I recommend adding a pinch of sea salt to the ice cream base or on top to mimic that signature salted caramel contrast.
Is there a way to make this recipe vegan?
Yes! Use coconut cream instead of heavy cream and a vegan caramel sauce or homemade caramel made with coconut milk and coconut sugar.
Why is the caramel sauce swirled instead of mixed in completely?
Swirling creates pockets of gooey caramel throughout the ice cream, adding texture and surprise in every bite. Mixing it fully would lose that contrast and make the flavor more uniform.
Pin This Recipe!
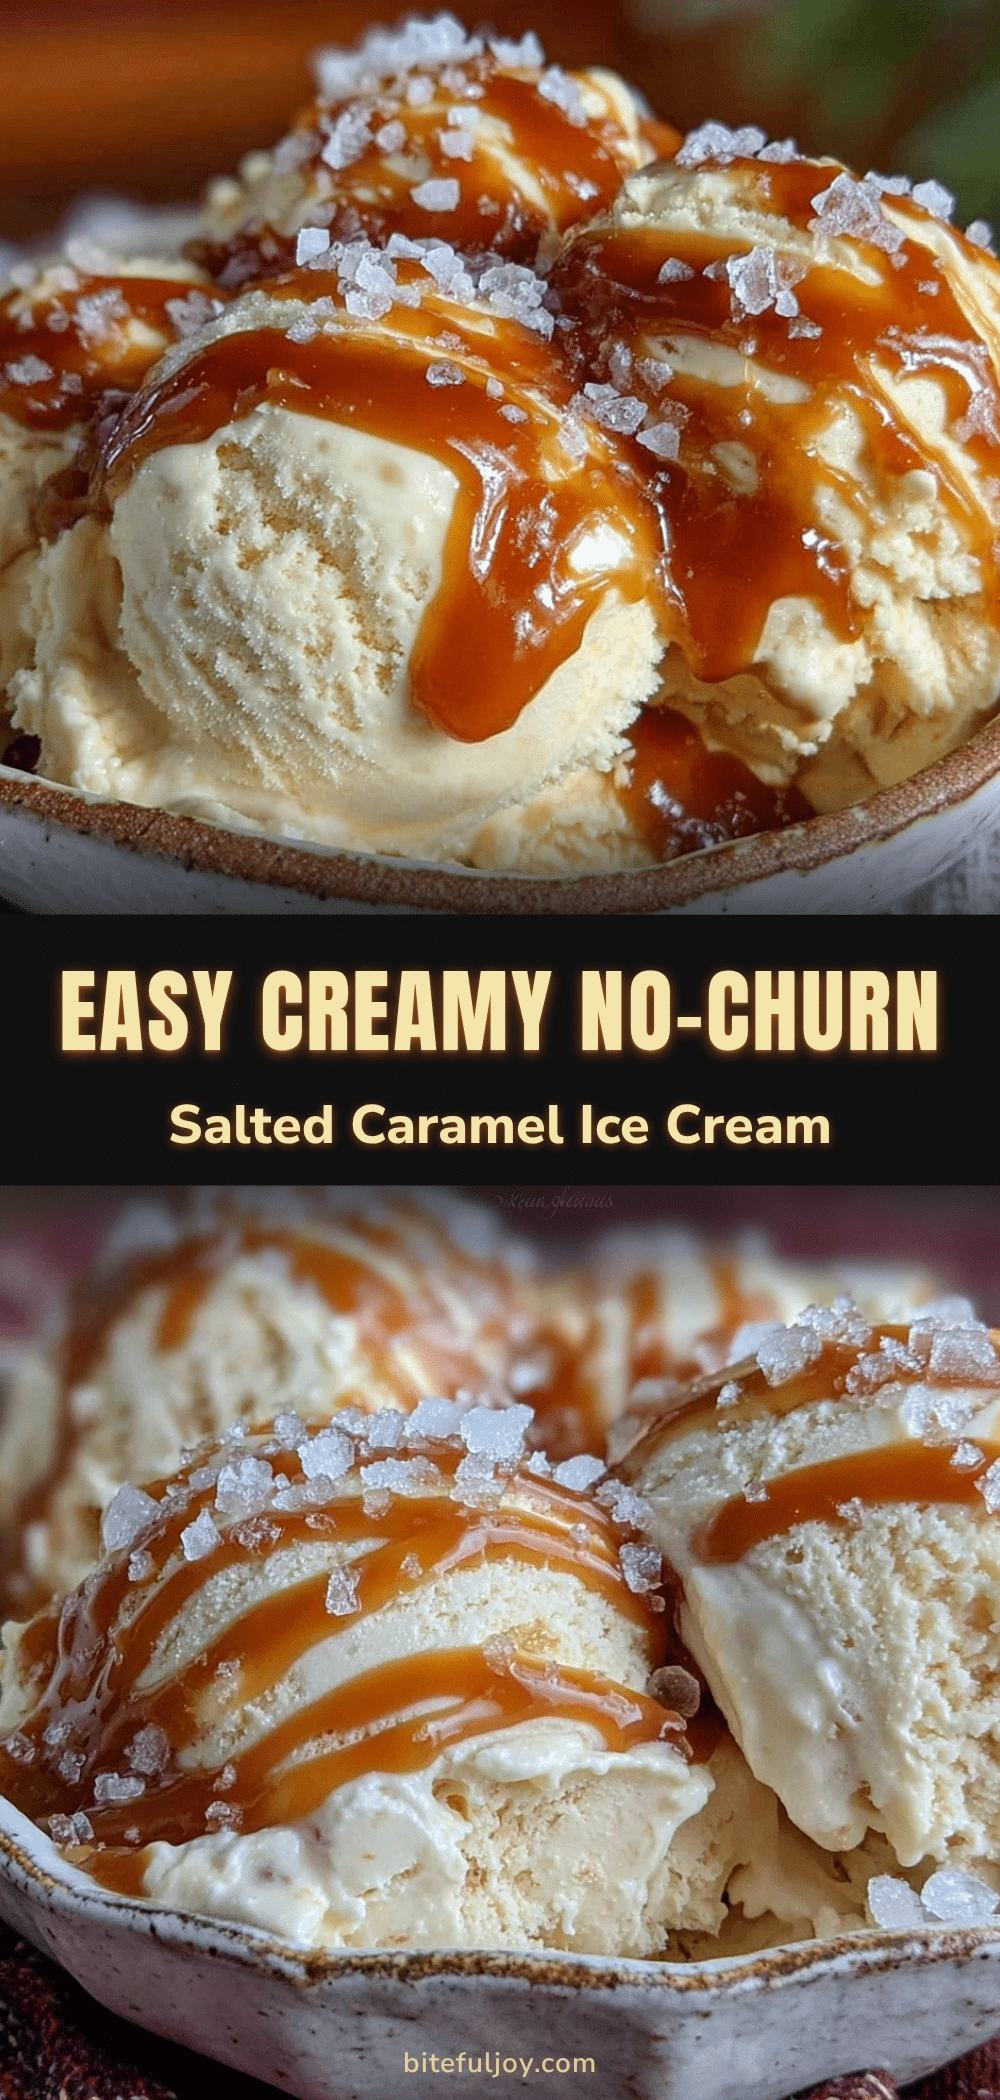
Easy Creamy No-Churn Salted Caramel Ice Cream Recipe for Perfect Homemade Treats

A quick and easy no-churn salted caramel ice cream recipe that delivers a rich, creamy dessert with luscious caramel ribbons, perfect for busy nights or surprise guests.
- Prep Time: 15 minutes
- Cook Time: 0 minutes
- Total Time: 6 hours 15 minutes
- Yield: 8 servings 1x
- Category: Dessert
- Cuisine: American
Ingredients
- 1 can (14 oz / 395 g) sweetened condensed milk
- 2 cups (480 ml) heavy whipping cream
- 3/4 cup (180 ml) salted caramel sauce (homemade or store-bought)
- 1 teaspoon vanilla extract
- 1/2 teaspoon sea salt
- Optional: crushed pretzels or chopped pecans for crunch
Instructions
- Pour 2 cups (480 ml) of heavy whipping cream into a chilled bowl. Using an electric mixer, beat on medium-high speed until soft peaks form (about 3-4 minutes).
- In a separate bowl, combine one 14 oz (395 g) can of sweetened condensed milk with 1 teaspoon of vanilla extract. Stir gently until smooth.
- Fold about one-third of the whipped cream into the condensed milk mixture using a spatula. Then fold in the remaining whipped cream gently to keep the mixture airy.
- Pour half of the ice cream base into your freezer-safe container. Drizzle half of the salted caramel sauce (about 6 tablespoons / 90 ml) evenly over the top. Use a knife or skewer to gently swirl the caramel into the base, creating marbled ribbons. Repeat with the remaining ice cream base and caramel sauce.
- Lightly sprinkle 1/2 teaspoon of sea salt over the top to boost the salted caramel flavor.
- Cover tightly with plastic wrap or a lid and freeze for at least 6 hours, preferably overnight, until firm.
Notes
Whip cream to soft peaks for best texture. Fold gently to keep mixture airy. Swirl caramel instead of mixing fully for texture contrast. Freeze at least 6 hours or overnight. Remove 10 minutes before serving to soften. Warm caramel slightly if thick for easier swirling.
Nutrition
- Serving Size: About 1/2 cup (125 m
- Calories: 280
- Sugar: 28
- Fat: 17
- Protein: 3
Keywords: no-churn ice cream, salted caramel, easy ice cream recipe, homemade ice cream, no ice cream maker, creamy dessert, caramel swirl