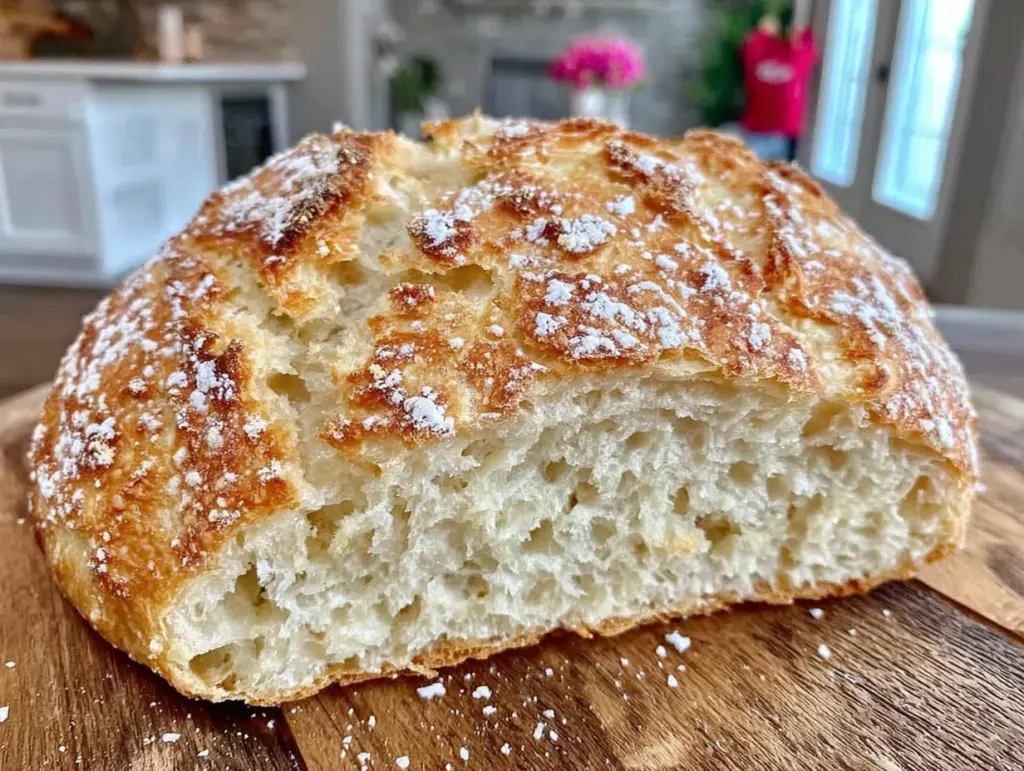
My partner took one bite of this easy no-knead artisan bread loaf with crispy crust and immediately went back for seconds—twice in a row. That crunch, that golden crust cracking under your fingertips before giving way to the soft, airy crumb inside—it was the kind of moment that made me rethink bread baking entirely. Honestly, I wasn’t expecting such a fuss over something so simple, but watching his eyes light up over a loaf that barely required any kneading felt like a small kitchen victory.
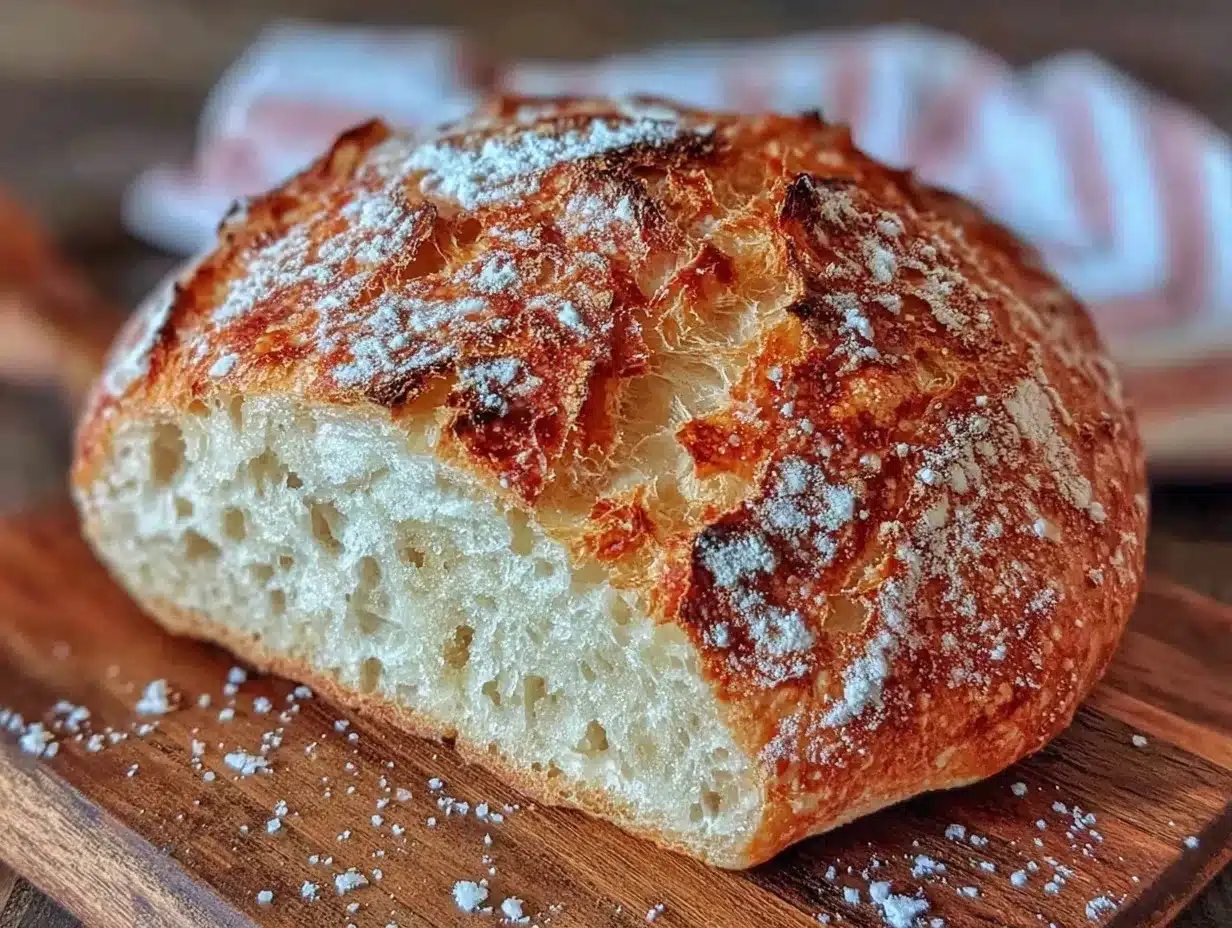
The smell of fresh bread filling the house, mingling with the faint scent of toasted flour, turned an ordinary afternoon into something quietly special. It was a surprise to realize that this artisan loaf, with its rustic looks and satisfying crust, didn’t demand hours of labor or fancy ingredients. The dough’s slow rise overnight and a quick bake in a hot Dutch oven created that perfect crust I’d been chasing for years.
What stuck with me wasn’t just the recipe’s ease but that unspoken joy of sharing something homemade that tastes like it came from a bakery window. There’s a kind of quiet pride in pulling this loaf out of the oven, knowing it’s all thanks to a method that’s as forgiving as it is rewarding. This easy no-knead artisan bread loaf with crispy crust has become my go-to for weekends when I want a little comfort without the fuss, and I think you’ll find the same kind of magic in it.
Why You’ll Love This Recipe
After testing countless bread recipes, this easy no-knead artisan bread loaf with crispy crust stands out in a few key ways that make it a keeper for any home baker:
- Quick & Easy: The hands-on time is under 15 minutes, and then you let the dough do its thing. Perfect for busy days or when you want fresh bread with minimal effort.
- Simple Ingredients: No need for obscure flours or fancy additives—just flour, water, yeast, and salt. I always keep these basics on hand, making it an easy grab-and-go recipe.
- Perfect for Cozy Dinners: Nothing beats a warm crusty loaf alongside a hearty soup or a plate of creamy spinach and feta croissant bake for brunch.
- Crowd-Pleaser: Every time I bring this bread to a potluck or family dinner, it disappears fast—kids and adults alike love the texture and flavor.
- Unbelievably Delicious: The crust crackles just right and the crumb is open and chewy, giving you that bakery-quality bite without the fuss.
What sets this recipe apart is the slow fermentation process done mostly overnight, which develops flavor and texture without you having to knead or punch down dough repeatedly. Plus, baking it in a Dutch oven traps steam, creating that enviable crispy crust. I’ve tried other no-knead recipes before, but this one’s perfectly balanced with just enough salt and a slight tang that hints at artisan quality. It’s comfort food you can trust to impress without stress.
What Ingredients You Will Need
This recipe uses simple, wholesome ingredients to deliver bold flavor and satisfying texture without the fuss. All of these are pantry staples, which means you probably have them ready to go.
- All-purpose flour (3 cups / 375g) – I prefer King Arthur for consistent results, but any good quality brand works fine.
- Instant yeast (1/4 teaspoon) – This small amount helps slow fermentation and build flavor; active dry yeast can be swapped but adjust rising time.
- Salt (1 1/4 teaspoons) – Essential for flavor balance. Use fine sea salt or kosher salt.
- Warm water (1 1/2 cups / 360ml) – Around 75°F (24°C) to activate yeast without killing it.
That’s it! Just four ingredients for a classic artisan loaf. You can also add optional mix-ins like herbs or olives if you want to customize, but honestly, the pure flavor of simple bread is what makes this stand out. For gluten-free needs, swapping in a gluten-free flour blend requires some tweaking, but the basic no-knead method still applies.
Equipment Needed
To get the crust just right, you’ll need a few basic kitchen tools:
- Large mixing bowl – For combining ingredients and letting the dough rise. A glass or plastic bowl works well.
- Dutch oven or heavy oven-safe pot with lid (5-7 quart) – This is the secret to that crispy crust. It traps steam when the dough bakes, mimicking professional steam ovens.
- Wooden spoon or spatula – For mixing the wet dough without kneading.
- Kitchen towel or plastic wrap – To cover the dough during rising.
If you don’t have a Dutch oven, a heavy cast iron skillet covered tightly with aluminum foil can work, but results vary. I’ve burned a couple of loaves trying different pots, so investing in a good Dutch oven pays off if you plan to bake bread often. Keep your tools clean and dry for best dough performance.
Preparation Method
- Mix dry ingredients: In your large bowl, combine 3 cups (375g) all-purpose flour, 1/4 teaspoon instant yeast, and 1 1/4 teaspoons salt. Stir briefly to blend. (2 minutes)
- Add water and stir: Pour in 1 1/2 cups (360ml) warm water. Use a wooden spoon to stir until the dough is shaggy and sticky but well combined. Don’t worry about smoothness—this dough is meant to be loose. (3 minutes)
- Cover and let rise: Cover the bowl with a kitchen towel or plastic wrap. Let it rest at room temperature (about 70°F / 21°C) for 12 to 18 hours. You’ll see bubbles forming and the dough will double in size—a slow fermentation that builds flavor. (Overnight)
- Preheat oven and Dutch oven: Place your Dutch oven with the lid inside your regular oven. Preheat to 450°F (232°C) for at least 30 minutes. This step is crucial for a crispy crust.
- Shape the dough: Meanwhile, lightly flour a work surface. Scrape the dough out gently. It will be sticky; fold it over itself a couple of times to form a rough ball. Avoid pressing too hard to keep the air pockets intact. (5 minutes)
- Second rise: Place the dough seam-side down on a floured kitchen towel. Dust the top with flour and cover with another towel. Let it rest for 30-45 minutes until it puffs slightly.
- Bake the bread: Carefully remove the hot Dutch oven from the oven. Lift the dough using the towel and place it into the pot (seam side up). Cover with the lid and bake for 30 minutes.
- Finish baking: Remove the lid and bake uncovered for an additional 15-20 minutes until the crust is deep golden brown and crackly. The loaf should sound hollow when tapped. (Total bake time about 50 minutes)
- Cool completely: Transfer the loaf to a wire rack and cool for at least 1 hour before slicing. This step lets the crumb finish setting and avoids gummy texture.
One tip I learned the hard way: don’t rush the cooling. The aroma is tempting, but slicing too soon means your bread won’t have the right texture. Also, using a Dutch oven that’s properly preheated is key—skipping this step results in a pale crust that’s just not as satisfying.
Cooking Tips & Techniques
Baking artisan bread at home can feel like a puzzle, but a few tricks make a huge difference:
- Don’t skip the long rise: This slow fermentation is what gives the bread its rich flavor and airy crumb. I’ve tried speeding it up and the loaf ends up flat and bland.
- Use a kitchen scale if possible: Measuring flour by weight (375g) rather than cups gives consistent results—flour packs differently depending on humidity and brand.
- Keep the dough wet: The stickier the dough, the better the crumb. Don’t add extra flour during mixing; it should feel tacky.
- Preheat the Dutch oven thoroughly: This traps steam and crisps the crust. I’ve learned that less than 30 minutes preheat just doesn’t cut it.
- Test doneness by sound: Tap the bottom of the loaf once cool—it should sound hollow. If not, it needs more bake time or a hotter oven.
One of my early fails was underbaking, resulting in a doughy center. Now I set a timer but also trust my eyes and ears to know when the loaf is truly ready. Multitasking during the bake—like prepping a quick smoked salmon cucumber tea sandwiches plate—can make the waiting less painful!
Variations & Adaptations
This recipe is a great canvas for adjustments based on what you have or your preferences:
- Herb-infused loaf: Add 1-2 teaspoons of dried rosemary or thyme to the dry ingredients. Gives a fragrant twist perfect for pairing with soups.
- Whole wheat blend: Replace half of the all-purpose flour with whole wheat for nuttier flavor and more fiber. Dough will be denser; add a bit more water if needed.
- Gluten-free: Use a gluten-free all-purpose blend that includes xanthan gum. The dough will be wetter and more fragile; bake in a loaf pan instead of Dutch oven for support.
- Cheese and olive loaf: Fold in 1/2 cup chopped olives and 1/2 cup shredded sharp cheddar after the first rise for a savory, flavor-packed option.
I once tried a sourdough starter in place of yeast, which added a tangy note but required longer fermentation. For a quick adventure, the basic no-knead method is unbeatable for ease and taste.
Serving & Storage Suggestions
This artisan bread is best enjoyed fresh and warm, ideally within the first day or two. Slice it thick with butter melting in the cracks, or toast it lightly for breakfast. It pairs beautifully with a creamy quiche Lorraine or makes a rustic base for open-faced sandwiches.
To store, wrap the cooled loaf in a clean kitchen towel and keep it in a paper bag at room temperature for up to two days. Avoid plastic wrap at room temp to keep the crust crisp. For longer storage, slice and freeze in a resealable bag—toast slices directly from the freezer for almost-fresh taste.
If you want to revive day-old bread, sprinkle it lightly with water and warm in a 350°F (175°C) oven for 5-7 minutes. This refreshes the crust and crumb nicely. Over time, the flavor deepens, so it’s a nice treat to use leftover slices in croutons or bread pudding.
Nutritional Information & Benefits
A slice of this easy no-knead artisan bread loaf contains approximately 150 calories, with 30 grams of carbohydrates, 4 grams of protein, and 1 gram of fat. It is naturally free from added sugars and contains no preservatives.
Using all-purpose flour gives a moderate fiber content, which can be boosted by swapping some flour for whole wheat. The simplicity of ingredients makes it suitable for many diets, including vegetarian and nut-free households. Just be mindful of gluten content if you have sensitivities.
From a wellness perspective, homemade bread like this lets you control additives and enjoy a wholesome staple that supports balanced meals—especially when paired with nutrient-rich toppings like avocado or smoked salmon, such as in the smoked salmon cucumber tea sandwiches.
Conclusion
This easy no-knead artisan bread loaf with crispy crust is proof that you don’t need to be a professional baker to make truly impressive homemade bread. It’s got that irresistible crunch and tender crumb that turns any meal into a cozy occasion. I love how forgiving the recipe is—perfect for those who want fresh bread without the stress or kneading mess.
Feel free to tweak the recipe with your favorite herbs, flours, or add-ins to make it your own. I often pair it with a creamy spinach and feta croissant bake for brunch, creating a spread that feels both effortless and indulgent. If you give this a try, I’d love to hear how you customize it or what moments you share over a warm slice.
Happy baking, and here’s to many crackly, crusty loaves in your kitchen!
FAQs
Can I use active dry yeast instead of instant yeast?
Yes, but you’ll need to dissolve active dry yeast in warm water first and allow it to bloom for about 5-10 minutes before mixing into flour. The rising time may also be slightly longer.
What if my dough is too sticky to handle?
That’s normal for no-knead dough! Use well-floured hands and surfaces when shaping, and avoid adding too much extra flour. The stickiness helps develop a light crumb.
Can I make the dough ahead and refrigerate it?
Definitely! After mixing, cover and refrigerate the dough for up to 24 hours. This slows fermentation and can deepen flavor. Let it come to room temperature before shaping and baking.
Is a Dutch oven absolutely necessary?
While it’s the best for crusty bread, you can bake on a preheated heavy baking sheet with a pan of water nearby for steam. Results won’t be quite the same but still tasty.
How do I store leftover bread to keep the crust crisp?
Wrap the bread in a kitchen towel and keep it in a paper bag at room temperature. Avoid plastic wrap as it traps moisture and softens the crust.
Pin This Recipe!
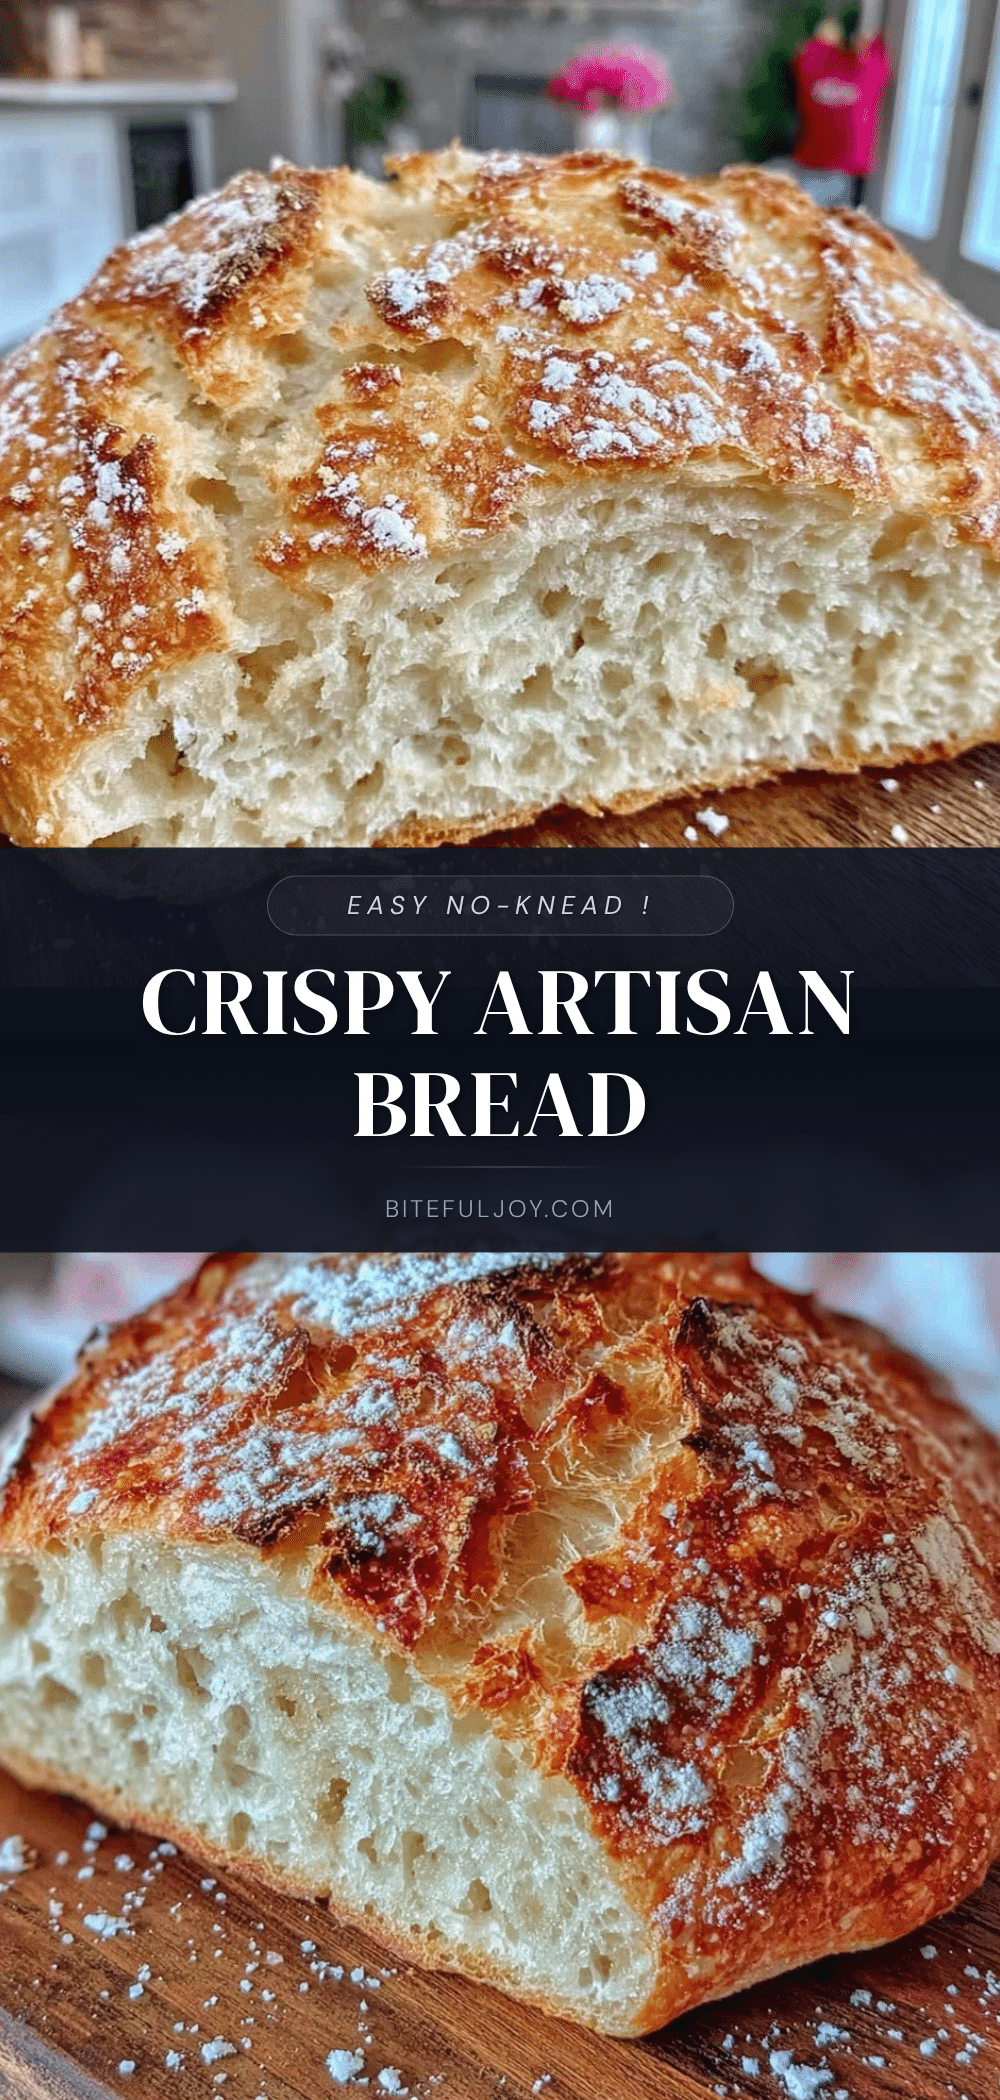
Easy No-Knead Artisan Bread Loaf Recipe for Perfect Crispy Crust

This easy no-knead artisan bread loaf features a crispy crust and soft, airy crumb with minimal hands-on time. Perfect for home bakers seeking bakery-quality bread without the fuss.
- Prep Time: 15 minutes
- Cook Time: 50 minutes
- Total Time: 13 hours 5 minutes
- Yield: 1 loaf (about 8 servings) 1x
- Category: Bread
- Cuisine: Artisan
Ingredients
- 3 cups (375g) all-purpose flour
- 1/4 teaspoon instant yeast
- 1 1/4 teaspoons salt
- 1 1/2 cups (360ml) warm water (around 75°F / 24°C)
Instructions
- In a large mixing bowl, combine 3 cups (375g) all-purpose flour, 1/4 teaspoon instant yeast, and 1 1/4 teaspoons salt. Stir briefly to blend.
- Pour in 1 1/2 cups (360ml) warm water. Use a wooden spoon to stir until the dough is shaggy and sticky but well combined.
- Cover the bowl with a kitchen towel or plastic wrap. Let it rest at room temperature (about 70°F / 21°C) for 12 to 18 hours until the dough doubles in size and bubbles form.
- Preheat your oven to 450°F (232°C) with a Dutch oven and lid inside for at least 30 minutes.
- Lightly flour a work surface. Scrape the dough out gently and fold it over itself a couple of times to form a rough ball without pressing too hard.
- Place the dough seam-side down on a floured kitchen towel. Dust the top with flour and cover with another towel. Let it rest for 30-45 minutes until it puffs slightly.
- Carefully remove the hot Dutch oven from the oven. Lift the dough using the towel and place it into the pot seam side up. Cover with the lid and bake for 30 minutes.
- Remove the lid and bake uncovered for an additional 15-20 minutes until the crust is deep golden brown and crackly. The loaf should sound hollow when tapped.
- Transfer the loaf to a wire rack and cool for at least 1 hour before slicing.
Notes
Do not rush the cooling process to avoid gummy texture. Preheat the Dutch oven thoroughly for a crispy crust. Use a kitchen scale for consistent flour measurement. The dough will be sticky; avoid adding extra flour during mixing. Tap the bottom of the loaf to test doneness; it should sound hollow.
Nutrition
- Serving Size: 1 slice
- Calories: 150
- Sodium: 300
- Fat: 1
- Carbohydrates: 30
- Fiber: 1.5
- Protein: 4
Keywords: no-knead bread, artisan bread, crispy crust, easy bread recipe, homemade bread, Dutch oven bread