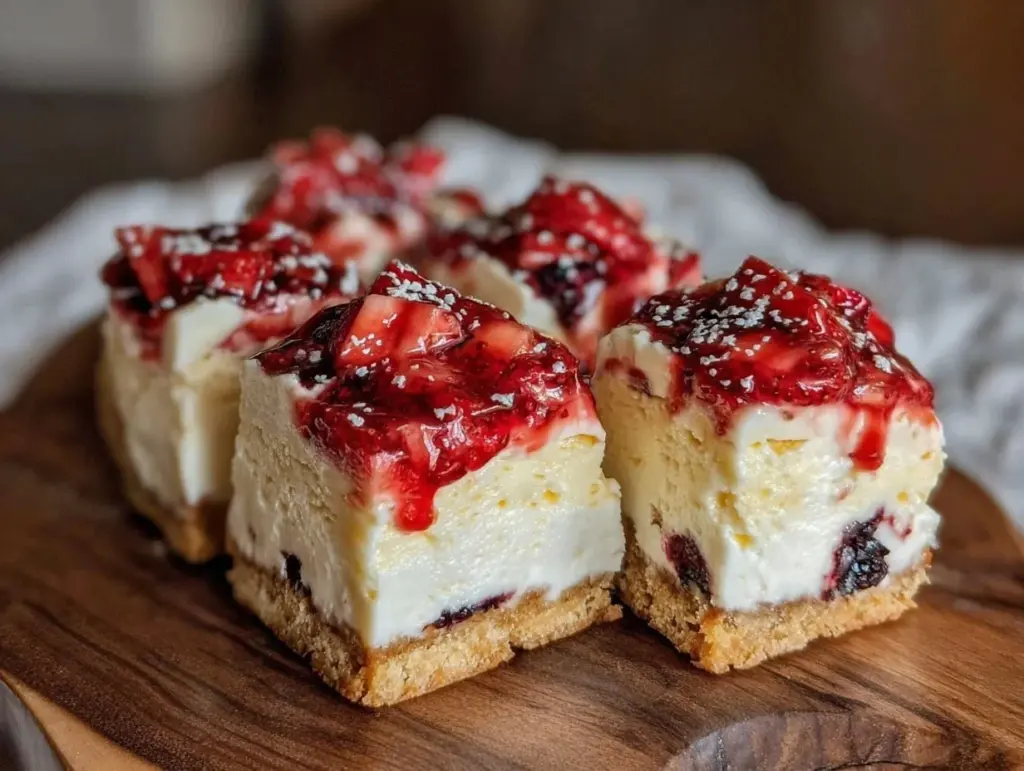
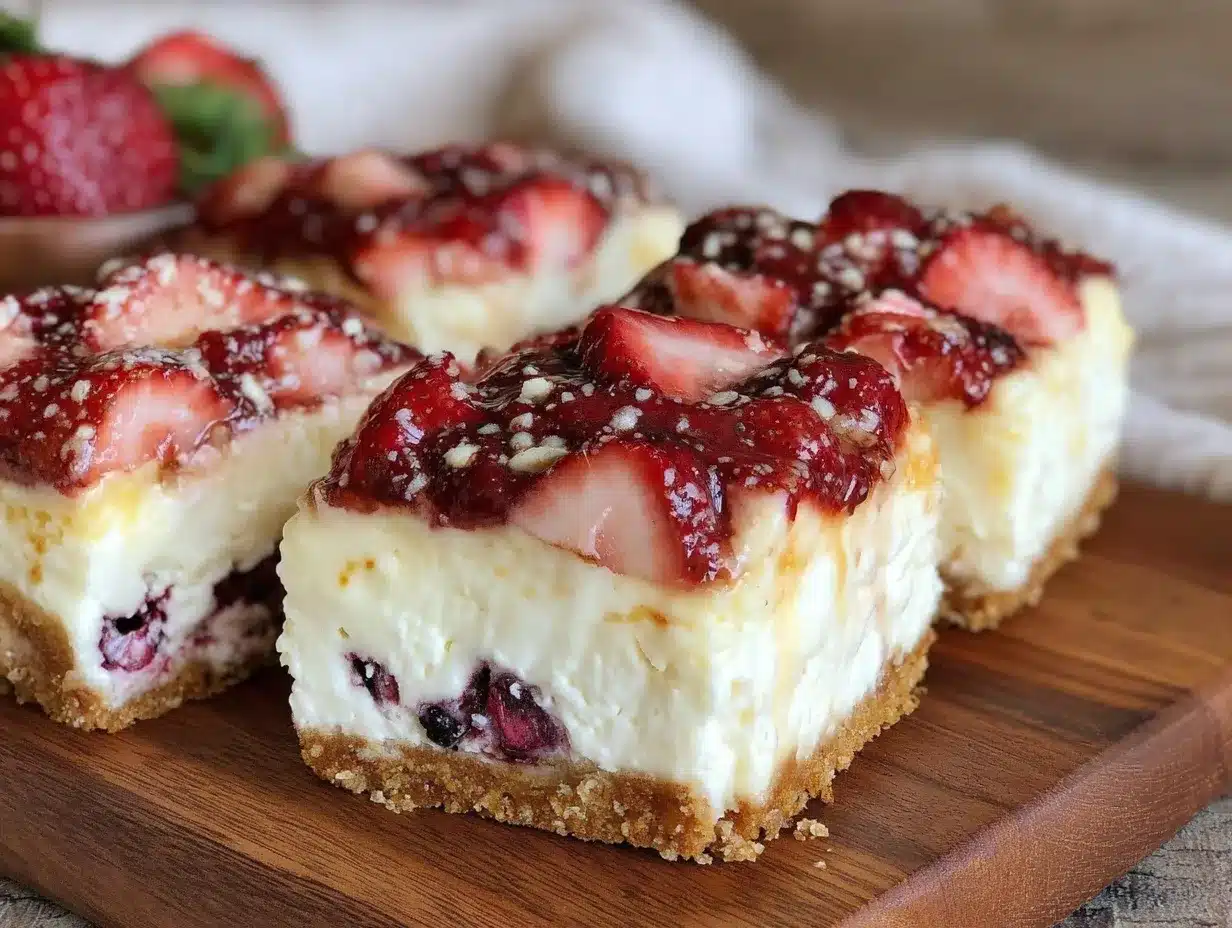
I thought making patriotic desserts meant juggling complicated decorations or fiddly piping techniques. It took about an hour for that assumption to completely fall apart when I first whipped up these Perfect Red White and Blue Layered Cheesecake Bars. Honestly, the layers — vivid red strawberry, creamy white cheesecake, and bright blue blueberry — came together in a way that felt almost too simple for all the wow-factor they deliver. No stress, no fancy tools, just straightforward layering that somehow looks like a party on a plate.
At first, I was skeptical about how well the layers would hold up without mixing into a murky purple mess. But the trick was in the chilling time and gentle handling, which gave me those distinct stripes of color that scream summer celebrations. And let me tell you, the taste? It’s like the classic cheesecake you love, but with a festive twist that’s both refreshing and indulgent. It’s the kind of recipe you want to make because it’s easy, but you end up making it again because it’s genuinely delicious and a crowd-pleaser.
There’s something quietly satisfying about pulling these bars from the fridge after a day of chilling — the layers firm, the colors proud, and the flavor perfectly balanced. It’s become my go-to when hosting anything from backyard BBQs to casual 4th of July hangouts with friends. No fuss, just that perfect red white and blue layered cheesecake bars magic that feels right at home among fireworks and laughter. And yeah, it’s the kind of dessert that makes me look forward to patriotic celebrations a little more each year.
Why You’ll Love This Recipe
- Quick & Easy: These cheesecake bars come together in under 45 minutes of active prep time, making them ideal for last-minute party plans or spontaneous backyard gatherings.
- Simple Ingredients: You probably already have most of the ingredients in your pantry or fridge — cream cheese, fresh berries, sugar, and a few staples.
- Perfect for Patriotic Celebrations: Whether it’s Independence Day, Memorial Day, or a summer cookout, these bars fit right in with the festive spirit and colors.
- Crowd-Pleaser: Kids and adults alike rave about the creamy texture and fresh berry flavors, making it a guaranteed hit at any party.
- Unbelievably Delicious: The creamy cheesecake layer balances the sweet and slightly tart red strawberry and blue blueberry layers, creating a harmony of flavors and textures like no other.
- Special Technique: Instead of mixing everything together, the layering method keeps the colors clear and vibrant — no muddled mess here.
- Emotional Connection: This recipe isn’t just dessert; it’s a sweet little tradition that brings a bit of joy and pride to any patriotic gathering, turning simple moments into memories.
What Ingredients You Will Need
This recipe uses simple, wholesome ingredients to deliver bold flavor and satisfying texture without the fuss. Most are pantry staples, and you can swap a few items to suit your preferences or dietary needs.
- For the crust:
- 1 ½ cups graham cracker crumbs (about 10 full sheets) — I like using Nabisco for consistent texture
- ⅓ cup unsalted butter, melted (adds richness and helps bind the crust)
- 2 tablespoons granulated sugar (balances the buttery flavor)
- For the cheesecake layer:
- 16 oz (450 g) cream cheese, softened (Philadelphia brand works great for smoothness)
- ¾ cup granulated sugar
- 2 large eggs, room temperature
- 1 teaspoon vanilla extract (pure vanilla makes a difference)
- ½ cup sour cream (adds tang and creaminess)
- For the red layer:
- 1 cup fresh strawberries, hulled and sliced (or thawed frozen strawberries)
- 2 tablespoons granulated sugar
- 1 teaspoon lemon juice (brightens the flavor)
- Optional: 1 teaspoon cornstarch mixed with 1 tablespoon water (to thicken if needed)
- For the blue layer:
- 1 cup fresh blueberries (or frozen, thawed)
- 2 tablespoons granulated sugar
- 1 teaspoon lemon juice
- Optional: 1 teaspoon cornstarch mixed with 1 tablespoon water (helps set the layer)
Ingredient substitutions: Use almond flour in place of graham cracker crumbs for a gluten-free crust. Swap sour cream with plain Greek yogurt for a lighter tang. For dairy-free versions, try cream cheese alternatives like cashew-based spreads and coconut yogurt. Fresh berries work best, but frozen is fine if thawed and drained well.
Equipment Needed
- 9×9-inch (23×23 cm) square baking pan — glass or metal works, but glass helps monitor baking
- Mixing bowls — at least two for batter and berry layers
- Electric mixer or stand mixer — handheld works too but might take longer to get smooth batter
- Spatula — for folding and spreading layers gently
- Food processor or blender (optional) — great for pureeing berries smoothly for vivid layers
- Measuring cups and spoons — precise measurements matter for cheesecake texture
- Fine mesh sieve (optional) — to strain berry puree for smoothness
- Plastic wrap or foil — for covering the cheesecake bars while chilling
Personally, I’ve tried making these bars with a handheld mixer and it’s doable, but a stand mixer really speeds things up and helps avoid lumps in the cheesecake layer. If you don’t have a food processor, mashing berries with a fork and then straining through a sieve is an easy workaround. For budget-friendly options, consider silicone spatulas and glass pans, which clean up easily and last forever.
Preparation Method
- Prepare the crust: Preheat your oven to 325°F (163°C). In a medium bowl, combine 1 ½ cups graham cracker crumbs, ⅓ cup melted unsalted butter, and 2 tablespoons sugar. Stir until evenly moistened. Press this mixture firmly into the bottom of the 9×9-inch baking pan. Use the bottom of a measuring cup to press down evenly. Bake for about 10 minutes until set and slightly golden. Remove from oven and cool while preparing the filling.
- Make the strawberry red layer: In a blender or food processor, puree 1 cup strawberries with 2 tablespoons sugar and 1 teaspoon lemon juice until smooth. If the mixture is too runny, stir in the cornstarch slurry and cook gently in a small saucepan until it thickens slightly (2-3 minutes). Let it cool completely. Set aside.
- Make the blueberry blue layer: Repeat the same process with 1 cup blueberries, 2 tablespoons sugar, and 1 teaspoon lemon juice. Cook with cornstarch slurry if needed and cool completely.
- Prepare the cheesecake layer: In a large mixing bowl, beat 16 oz softened cream cheese with ¾ cup sugar until smooth and creamy (about 3-4 minutes). Add eggs one at a time, beating well after each. Mix in 1 teaspoon vanilla and ½ cup sour cream until fully combined. Take care not to overbeat, or you’ll incorporate too much air which can cause cracks.
- Assemble the layers: Pour half of the cheesecake batter over the cooled crust and spread evenly. Gently spoon or drizzle the red strawberry layer over the cheesecake — don’t spread aggressively; just a light layer is enough. Pour the remaining cheesecake batter on top and smooth carefully. Finally, gently add the blueberry layer on top, spreading evenly but delicately.
- Bake and chill: Bake the assembled bars at 325°F (163°C) for about 40-45 minutes. The center should still jiggle slightly when you gently shake the pan. Remove from oven and let cool to room temperature, then cover and refrigerate for at least 4 hours or overnight to set fully.
- Serving: Use a sharp knife dipped in hot water and wiped dry to slice clean bars. Serve chilled for the best texture and flavor.
Pro tip: Letting each berry puree cool completely before layering prevents color bleeding and keeps the layers distinct. Also, patience in chilling makes a big difference for firm, neat slices.
Cooking Tips & Techniques
- Prevent color mixing: Cooling berry purees fully and carefully layering without spreading aggressively keeps the red, white, and blue layers sharp and clean.
- Room temperature eggs and cream cheese: These mix more smoothly and reduce the risk of lumps or curdling in your cheesecake layer.
- Don’t overbake: The cheesecake should still have a slight wobble in the center when done. It firms up during chilling, so overbaking leads to dryness and cracks.
- Use a water bath (optional): For an ultra-silky texture, bake the bars in a water bath by placing the baking pan inside a larger pan filled with hot water. This helps prevent cracks but isn’t strictly necessary for bars.
- Sharp knife for slicing: Clean the knife between cuts, warming it under hot water then drying, to get clean edges without dragging the layers.
- Personal lesson: I once tried to rush the chilling phase and ended up with sloppy layers that bled into each other. Waiting overnight is key, trust me on that.
Variations & Adaptations
- Seasonal berry swaps: Use raspberries instead of strawberries for the red layer, or blackberries for the blue, depending on what’s fresh or frozen. In summer, fresh berries give the best flavor and natural sweetness.
- Flavor twists: Add a teaspoon of lemon zest to the cheesecake layer for a bright citrus note. Or swirl in some blueberry jam into the white cheesecake layer for visual interest.
- Diet-friendly version: Substitute the crust with a gluten-free almond flour base. Use dairy-free cream cheese and coconut yogurt to make it vegan-friendly.
- Baking method: Turn these into mini cheesecake bars by using a muffin tin lined with parchment squares — adjust baking time to about 20-25 minutes.
- Personal variation: Once, I added a thin layer of graham cracker crumble on top of the blueberry layer before chilling — gave a nice little crunch contrast that was unexpected but delightful.
Serving & Storage Suggestions
Serve these cheesecake bars chilled straight from the fridge for the best texture — creamy yet firm. They look fantastic plated with a sprig of fresh mint or a dusting of powdered sugar for extra flair. Pair with a refreshing iced tea or sparkling lemonade to keep things light and festive.
Store leftovers covered tightly in the refrigerator for up to 5 days. You can also freeze the bars wrapped well in plastic wrap and foil for up to 2 months. When ready, thaw overnight in the fridge to keep the layers intact.
Reheat isn’t really recommended — these bars are best enjoyed cold. Over time, the flavors meld beautifully, so they taste even better the next day, making them a perfect make-ahead dessert.
Nutritional Information & Benefits
Each serving of these red white and blue layered cheesecake bars supplies a satisfying balance of protein and calcium from the cream cheese, plus antioxidants and vitamins from the fresh berries. They offer a moderate amount of sugar and fat but deliver a rich flavor that satisfies sweet cravings without needing extra indulgent toppings.
Gluten-free options are easy with almond flour crust substitutions, and swapping sour cream for Greek yogurt can lower fat content while keeping tanginess. Berries add fiber and vitamin C, making these bars a slightly healthier treat compared to typical desserts loaded with processed sugars and fats.
From my experience, this recipe is a nice way to enjoy dessert while sneaking in some real fruit benefits, especially during summer celebrations when fresh berries are at their peak.
Conclusion
These Perfect Red White and Blue Layered Cheesecake Bars are more than just a festive dessert — they’re a reliable, tasty way to bring people together with something that looks impressive but is surprisingly simple to make. I love how adaptable they are, letting you swap ingredients to suit your pantry or dietary needs while still delivering that iconic patriotic vibe.
Making these bars became a kind of unofficial tradition for me, one that helps mark the holiday with something sweet, creamy, and joyful. I encourage you to try them, tweak the layers to your liking, and maybe make them your signature dessert for patriotic celebrations.
When you do, I’d love to hear how it went — any twists you added or favorite moments from the party. Here’s to good food, good company, and a little bit of red white and blue magic on your plate.
FAQs
Can I make these cheesecake bars ahead of time?
Absolutely! They actually taste better after chilling overnight, which helps the layers set firmly and the flavors meld perfectly.
What can I use instead of graham cracker crumbs for the crust?
Almond flour is a great gluten-free substitute, or you can crush digestive biscuits or gluten-free cookies if preferred.
How do I prevent the berry layers from bleeding into the cheesecake?
Make sure the berry purees are fully cooled before layering and avoid spreading them too aggressively. Also, chilling the bars well helps keep the layers distinct.
Can I use frozen berries?
Yes, just thaw and drain any excess liquid before pureeing to avoid making the layers too runny.
What’s the best way to slice these bars cleanly?
Use a sharp knife dipped in hot water and wiped dry between cuts. This helps you get neat, clean slices without dragging the layers.
For a fun twist on patriotic desserts, these bars pair nicely alongside lighter bites like smoked salmon cucumber tea sandwiches or a fresh fruit tart like the red white and blue fruit tart, making your celebration spread truly unforgettable.
Pin This Recipe!
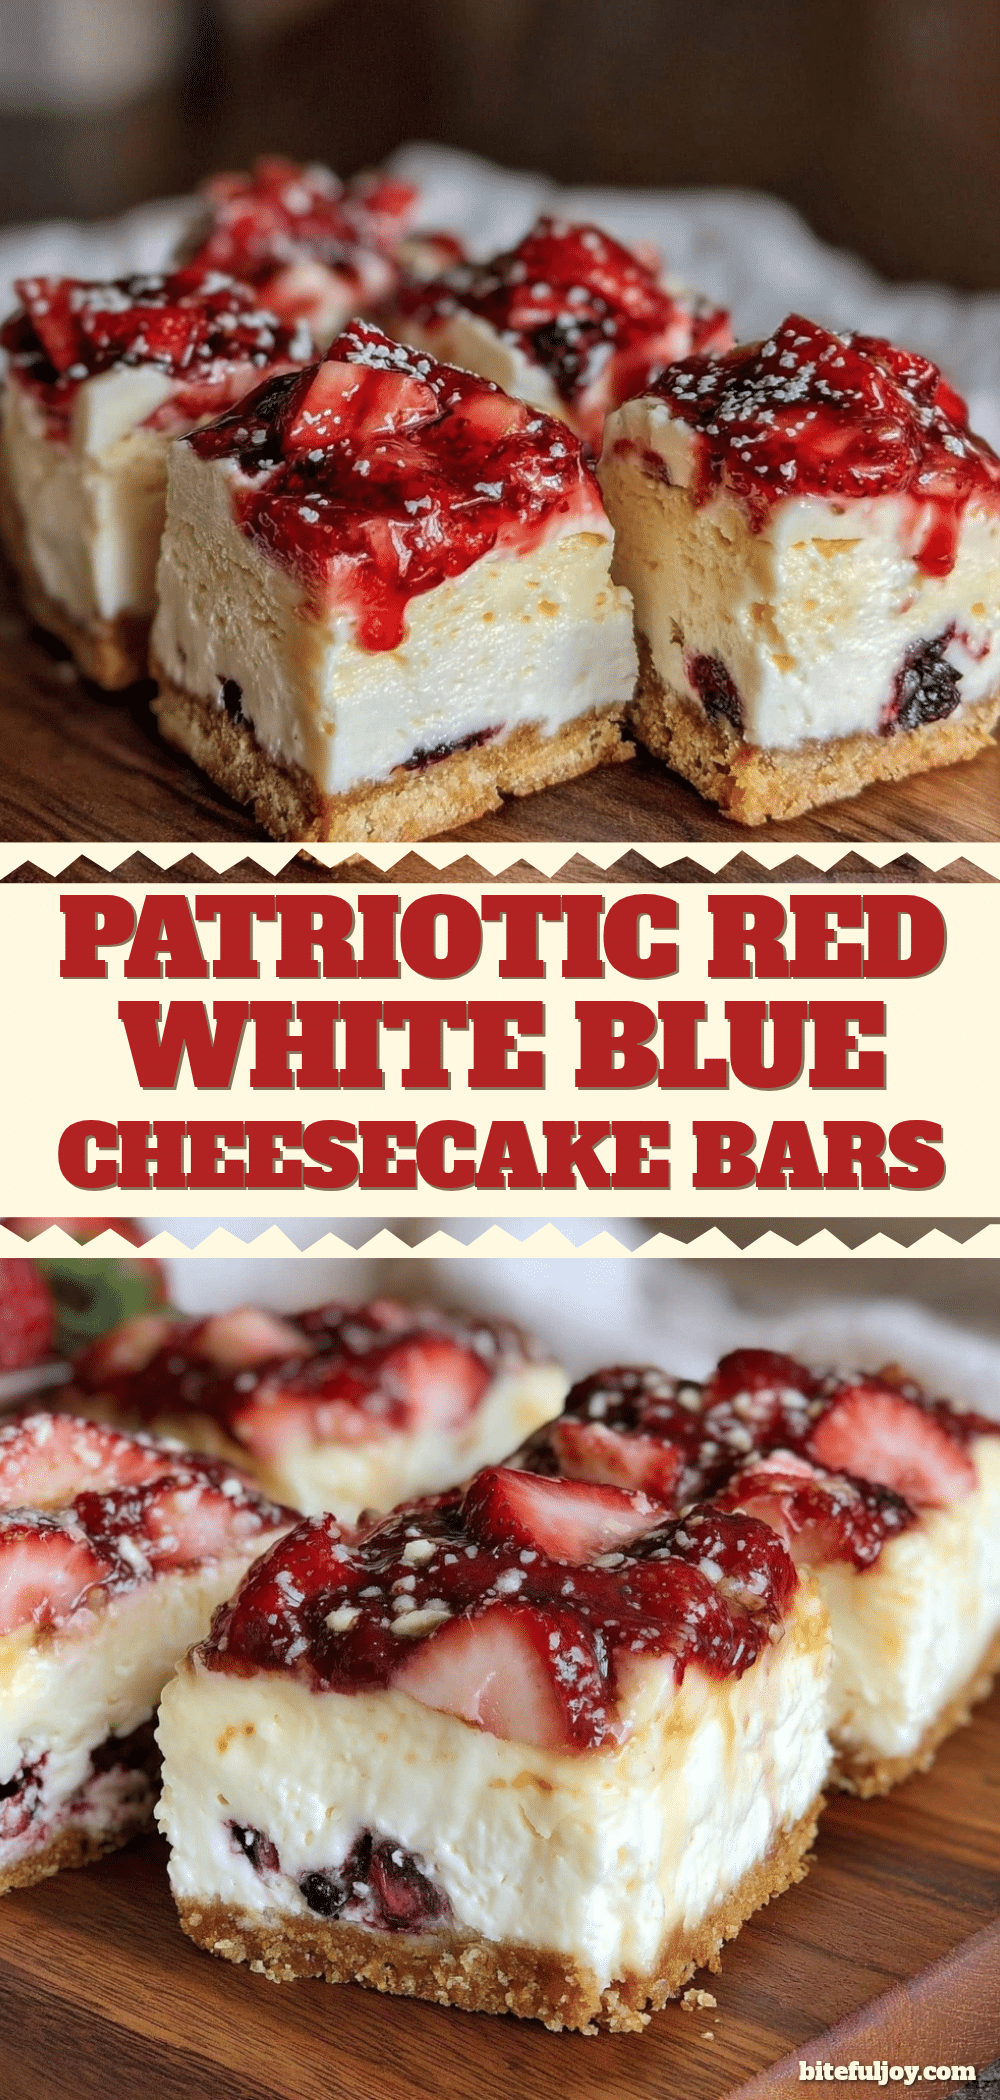
Perfect Red White and Blue Layered Cheesecake Bars

These patriotic cheesecake bars feature vivid red strawberry, creamy white cheesecake, and bright blue blueberry layers that come together easily for a festive and crowd-pleasing dessert.
- Prep Time: 45 minutes
- Cook Time: 55 minutes
- Total Time: 5 hours 40 minutes
- Yield: 16 servings 1x
- Category: Dessert
- Cuisine: American
Ingredients
- 1 ½ cups graham cracker crumbs (about 10 full sheets)
- ⅓ cup unsalted butter, melted
- 2 tablespoons granulated sugar (for crust)
- 16 oz (450 g) cream cheese, softened
- ¾ cup granulated sugar (for cheesecake layer)
- 2 large eggs, room temperature
- 1 teaspoon vanilla extract
- ½ cup sour cream
- 1 cup fresh strawberries, hulled and sliced
- 2 tablespoons granulated sugar (for red layer)
- 1 teaspoon lemon juice (for red layer)
- Optional: 1 teaspoon cornstarch mixed with 1 tablespoon water (for red layer)
- 1 cup fresh blueberries
- 2 tablespoons granulated sugar (for blue layer)
- 1 teaspoon lemon juice (for blue layer)
- Optional: 1 teaspoon cornstarch mixed with 1 tablespoon water (for blue layer)
Instructions
- Preheat oven to 325°F (163°C). Combine graham cracker crumbs, melted butter, and 2 tablespoons sugar in a medium bowl. Press firmly into the bottom of a 9×9-inch baking pan. Bake for 10 minutes until set and slightly golden. Cool.
- Puree strawberries with 2 tablespoons sugar and 1 teaspoon lemon juice until smooth. If too runny, stir in cornstarch slurry and cook gently until thickened. Cool completely.
- Puree blueberries with 2 tablespoons sugar and 1 teaspoon lemon juice until smooth. If too runny, stir in cornstarch slurry and cook gently until thickened. Cool completely.
- Beat cream cheese with ¾ cup sugar until smooth. Add eggs one at a time, beating well after each. Mix in vanilla and sour cream until combined. Avoid overbeating.
- Pour half the cheesecake batter over cooled crust and spread evenly. Gently spoon or drizzle the strawberry layer over cheesecake. Pour remaining cheesecake batter on top and smooth. Add blueberry layer on top gently and spread evenly.
- Bake at 325°F (163°C) for 40-45 minutes until center jiggles slightly. Cool to room temperature, then cover and refrigerate at least 4 hours or overnight.
- Use a sharp knife dipped in hot water and wiped dry to slice bars. Serve chilled.
Notes
Let berry purees cool completely before layering to prevent color bleeding. Use room temperature eggs and cream cheese for smooth batter. Avoid overbaking to prevent cracks; the center should jiggle slightly. Chill bars overnight for best texture and firm layers. Use a sharp knife dipped in hot water and wiped dry between cuts for clean slices. Almond flour can substitute graham cracker crumbs for gluten-free crust. Sour cream can be swapped with Greek yogurt for lighter tang. Dairy-free cream cheese and coconut yogurt can be used for vegan versions.
Nutrition
- Serving Size: 1 bar (1/16 of the p
- Calories: 280
- Sugar: 15
- Sodium: 210
- Fat: 18
- Saturated Fat: 10
- Carbohydrates: 22
- Fiber: 2
- Protein: 5
Keywords: cheesecake bars, patriotic dessert, red white and blue, strawberry cheesecake, blueberry cheesecake, layered cheesecake, 4th of July dessert, easy cheesecake bars