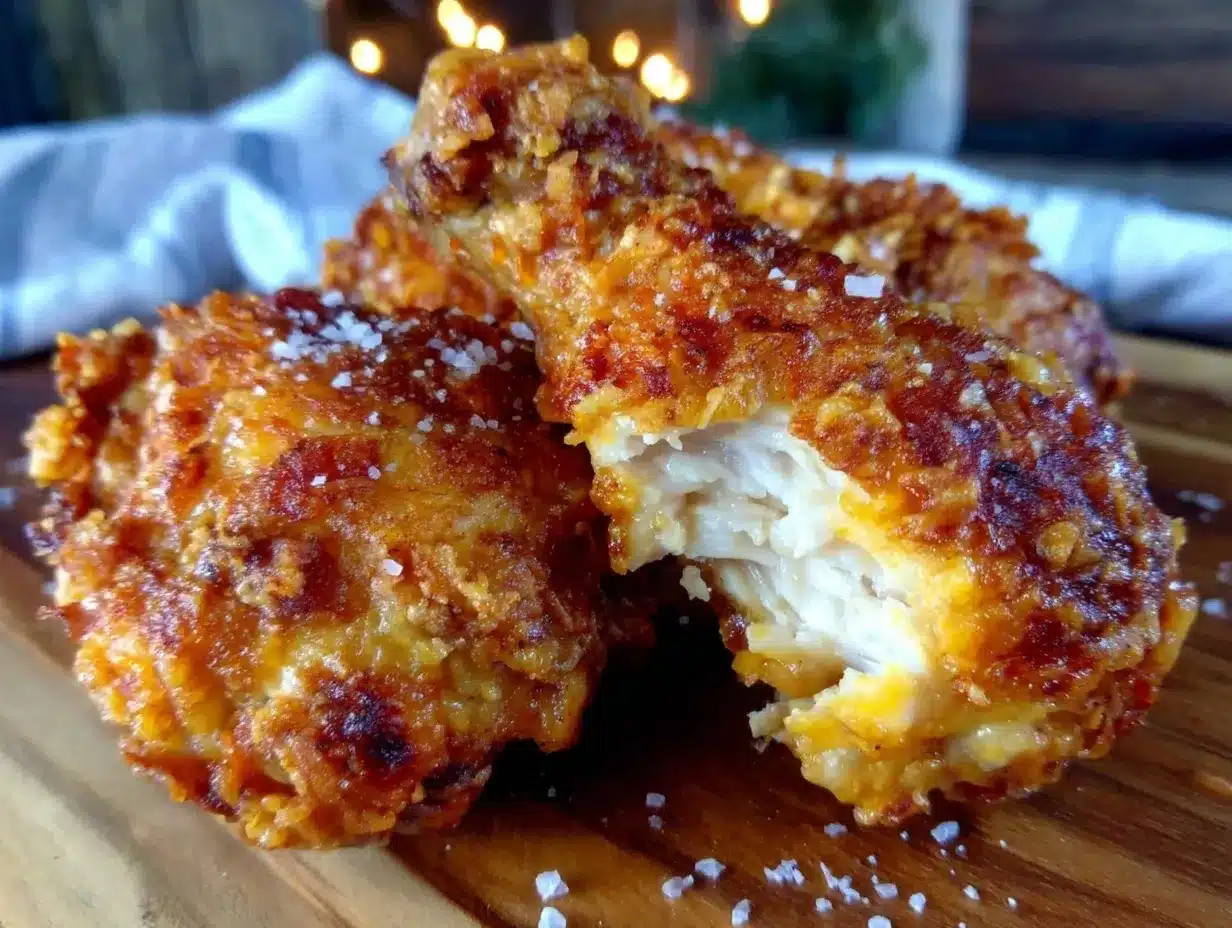
“You’re telling me this fried chicken still sounds crunchy three hours later?” That was my brother’s surprised text after dinner one night, and honestly, I was just as shocked. Usually, fried chicken starts to lose that satisfying crunch the minute it cools down. But this recipe? It’s stubbornly crispy long after the last bite, and it’s become my go-to for everything from casual hangouts to unexpectedly hosting the gang. Funny thing—this all started because I was late for a dinner party and threw together a last-minute batch, not expecting much. I half-expected soggy disappointment, but instead, it turned into a crunchy revelation. The smell of the seasoned crust frying up filled the kitchen, and I remember thinking, “Okay, this might actually be something special.”
Since that evening, I’ve made this fried chicken more times than I can count, tweaking bits here and there, trying to figure out what keeps it so crispy for hours without drying out the meat. The secret lies in a few not-so-obvious steps and a crunchy coating that holds up better than any others I’ve tried.
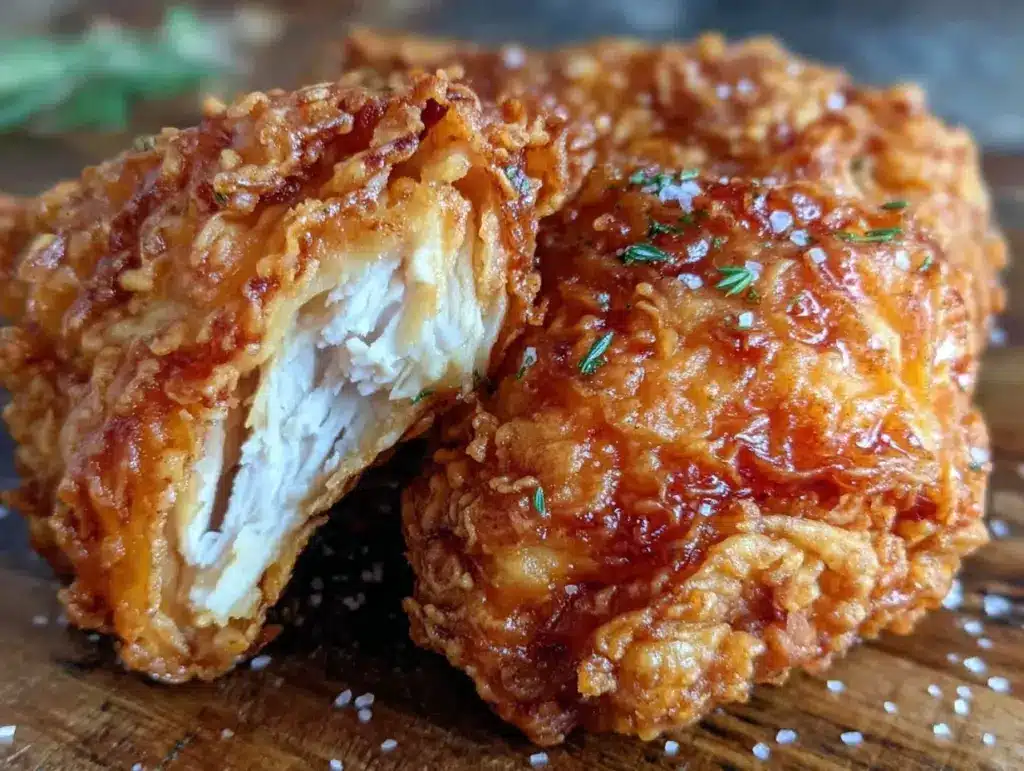
What’s wild is how this recipe fits right into my hectic weeknights or spontaneous get-togethers. It’s a little bit indulgent, a little bit practical, and totally foolproof. And yes, it’s exactly the kind of fried chicken that makes you close your eyes after the first bite — crispy, juicy, and just right. If you’ve ever struggled with fried chicken that turns soggy too soon, this one’s probably going to be a game changer for you, too.
Why You’ll Love This Recipe
After testing countless fried chicken recipes (and yes, eating way too much fried chicken in the process), I can confidently say this one stands apart. Here’s why:
- Quick & Easy: The whole process takes about 45 minutes from start to finish — a real win for busy weeknights or those unexpected cravings.
- Simple Ingredients: No fancy or hard-to-find items here. Most of these you probably have in your pantry or fridge already.
- Perfect for Gatherings: Whether it’s an impromptu game night or a weekend barbecue, this fried chicken impresses without the stress.
- Crowd-Pleaser: Kids, adults, picky eaters — everyone loves the crispy crust and juicy inside.
- Unbelievably Delicious: The crunch isn’t just surface-level; it’s a satisfying texture that lingers, thanks to a special coating and frying technique.
What makes this recipe different from the rest? It’s all about the double-dredge with a mix of cornstarch and flour, plus a little vinegar in the buttermilk soak that tenderizes the chicken perfectly. Oh, and the oil temperature is dialed in just right to create that extra crunch without burning. Over the years, I’ve refined the seasoning blend, too, so it’s bold but balanced — never overpowering.
This isn’t just fried chicken; it’s the kind that makes you pause and savor, the kind you want to share (or maybe selfishly keep to yourself). And if you love a good brunch, this crispy chicken pairs beautifully with a fluffy brioche French toast, like the recipe I tried recently from here. Trust me, that combo is unbeatable.
What Ingredients You Will Need
This recipe uses simple, wholesome ingredients to deliver bold flavor and satisfying texture without the fuss. Many are pantry staples, and substitutions are easy if needed.
- Chicken pieces: Bone-in, skin-on thighs and drumsticks work best for juiciness and flavor. You can also use breasts, but adjust cooking time accordingly.
- Buttermilk: About 2 cups (480 ml) for soaking. This tenderizes the chicken and adds subtle tang. If you don’t have buttermilk, mix 2 cups milk with 2 tablespoons white vinegar and let sit for 5 minutes.
- White vinegar: 1 tablespoon added to the buttermilk soak to help tenderize and keep meat juicy.
- All-purpose flour: 2 cups (240 g) for dredging. I prefer a trusted brand like King Arthur for consistent texture.
- Cornstarch: ½ cup (60 g) mixed with flour to create that unbeatable extra crisp crust.
- Seasonings:
- 2 teaspoons salt (adjust to taste)
- 1 teaspoon black pepper
- 1 teaspoon smoked paprika (adds smokiness without heat)
- 1 teaspoon garlic powder
- ½ teaspoon cayenne pepper (optional, for a gentle kick)
- Eggs: 2 large, beaten into the buttermilk soak to help the coating stick.
- Vegetable oil or peanut oil: For frying. Use a high smoke point oil to get crispy chicken without burning.
Feel free to swap all-purpose flour with gluten-free flour blends and almond milk yogurt for dairy-free options. For a seasonal twist, try adding a teaspoon of dried herbs like thyme or rosemary to the flour mix. I once swapped smoked paprika for chipotle powder for a smoky heat that was a hit at a backyard cookout.
Equipment Needed
- Deep frying pan or Dutch oven: At least 4-quart capacity for even oil heat and enough space to fry chicken pieces without crowding.
- Cooking thermometer: Essential for maintaining oil temperature between 325°F and 350°F (160°C–175°C) to get that perfect golden crust.
- Wire rack and baking sheet: For draining excess oil after frying; helps keep the crust crispy instead of soggy.
- Mixing bowls: One for the buttermilk soak, one for the flour dredge mixture.
- Tongs or slotted spoon: For safely handling the hot chicken when frying and transferring.
Don’t have a thermometer? No worries — a cube of bread will toast in about 60 seconds at the right oil temperature. If you’re short on space or budget, a deep skillet with high sides works fine — just keep an eye on oil level and temperature. I once used a heavy cast iron skillet and it held heat beautifully, giving a nice even crust.
Preparation Method
- Prepare the buttermilk soak: In a large bowl, whisk together 2 cups buttermilk, 1 tablespoon white vinegar, and 2 beaten eggs. Add the chicken pieces, making sure they’re fully submerged. Cover and refrigerate for at least 2 hours, preferably overnight. This step tenderizes the meat and helps the coating stick.
- Mix the dry dredge: In another bowl, combine 2 cups all-purpose flour, ½ cup cornstarch, 2 teaspoons salt, 1 teaspoon black pepper, 1 teaspoon smoked paprika, 1 teaspoon garlic powder, and ½ teaspoon cayenne pepper. Stir well to evenly distribute spices.
- Heat the oil: Pour enough vegetable or peanut oil into your frying pan or Dutch oven to reach about 2 inches (5 cm) deep. Heat to 325°F–350°F (160°C–175°C). Use a thermometer to check the temperature for accuracy.
- Dredge the chicken: Remove chicken from the buttermilk soak, letting excess drip off. Dredge each piece thoroughly in the flour mixture, pressing lightly to adhere. For extra crunch, dip back into the buttermilk briefly and then dredge again in the flour mix (double dredge). Place coated pieces on a wire rack while you finish all pieces.
- Fry in batches: Carefully add chicken pieces to hot oil, avoiding overcrowding. Fry 10-12 minutes per batch, turning occasionally, until golden brown and cooked through (internal temperature should reach 165°F or 74°C). Keep oil temperature steady; adjust heat as needed.
- Drain and rest: Transfer fried chicken to a wire rack set over a baking sheet to drain excess oil. Let rest for 10 minutes before serving to lock in juices and maintain crispiness.
- Serving note: If you need to keep chicken warm but crunchy while finishing batches, place it in a single layer on a wire rack inside a low oven (about 200°F or 95°C). This keeps the crust crisp without drying the meat.
When dredging, make sure not to shake off too much flour; the coating needs to stick well for that signature crunch. If the oil is too hot, the crust burns before the chicken cooks through — too low, and the crust gets greasy and soggy. I’ve learned the hard way how important that temperature is!
Cooking Tips & Techniques
Here are a few pro tips and hard-earned lessons to make sure your fried chicken comes out perfectly crisp every time:
- Double dredging is your friend: This technique builds a thicker crust that holds up longer. Don’t rush this step.
- Keep oil temperature steady: Use a thermometer to avoid soggy or burnt chicken. Adjust heat between batches.
- Don’t overcrowd the pan: Fry in manageable batches so oil temperature doesn’t drop too much.
- Use cornstarch in the flour mix: This lightens the coating and adds that unbeatable crunch.
- Rest after frying: Let chicken drain on a wire rack instead of paper towels to prevent steaming.
- Season well: Don’t skimp on salt or spices in the flour mixture — they build flavor in the crust.
- Marinate overnight if possible: The longer soak tenderizes deeply and boosts flavor.
- Multitask smartly: While chicken is marinating, prep sides or desserts — maybe something sweet like the creamy passion fruit mousse cups that complement the richness perfectly.
I once tried skipping the rest after frying and ended up with soggy crusts — lesson learned. Also, a friend swore by adding baking powder to the flour mix for crispiness; it works but changes texture slightly, so I prefer sticking to cornstarch. Experiment, but keep these basics in mind.
Variations & Adaptations
This recipe is flexible enough to suit different tastes and dietary needs:
- Spicy Crispy Fried Chicken: Double the cayenne pepper and add a dash of hot sauce to the buttermilk soak for heat lovers.
- Herb-Infused Version: Add finely chopped fresh rosemary, thyme, or oregano to the flour dredge for a fragrant twist.
- Gluten-Free Option: Swap all-purpose flour with a gluten-free blend and ensure cornstarch is gluten-free certified.
- Oven-Fried Crispy Chicken: For less oil, bake the dredged chicken on a wire rack at 425°F (220°C) for 35-40 minutes, flipping halfway.
- Dairy-Free Adaptation: Use coconut milk mixed with lemon juice instead of buttermilk and egg replacer for the soak.
Personally, I tried the herb-infused version on a weekend when I wanted something a bit lighter, and it paired beautifully with a fresh watermelon feta mint salad. It’s a nice way to brighten up the deep-fried richness.
Serving & Storage Suggestions
Serve this crispy fried chicken warm or at room temperature for the best crunch. It pairs well with classic sides like coleslaw, mashed potatoes, or even a fresh salad for balance. For something a bit fancy yet cozy, try it alongside a creamy quiche Lorraine from this recipe — the richness complements the crispy chicken nicely.
To store, let the chicken cool completely on a wire rack, then place in an airtight container. It stays crunchy in the fridge for up to 3 days. Reheat in the oven at 375°F (190°C) on a wire rack for 10-15 minutes to restore crispness. Avoid microwaving if you want to keep that crunch intact.
Leftover fried chicken also makes excellent sandwiches or salads the next day, especially when paired with fresh veggies or a crunchy pickle.
Nutritional Information & Benefits
This fried chicken recipe strikes a balance between indulgence and nourishment. A typical serving (about 1-2 pieces) contains roughly 350-450 calories, depending on the cut and frying method. Using skin-on pieces boosts flavor and juiciness but adds fat — you can opt for skinless to reduce calories.
Key ingredients like paprika and garlic powder offer antioxidants, while the vinegar and buttermilk soak aid digestion and tenderize meat naturally. Choosing peanut or vegetable oil with a high smoke point helps minimize harmful breakdown during frying.
For those mindful of gluten, adapting with gluten-free flour blends keeps this recipe accessible. Just note the oil and seasoning ingredients for potential allergens. Overall, this recipe fits well into a balanced diet when enjoyed in moderation.
Conclusion
This crispy extra crispy fried chicken recipe has become a reliable favorite in my kitchen because it delivers that perfect crunch and juicy meat every time. Whether you’re feeding a hungry family or impressing friends with something special, it’s a recipe that works without fuss or fancy ingredients.
Feel free to play with seasonings and cooking methods to make it your own, but don’t skip those key steps that keep the crust crunchy for hours — the double dredge and temperature control are non-negotiable in my book.
Honestly, I love how this fried chicken brings people together — it’s comfort food with a little magic that keeps everyone coming back for more. If you try it, I’d love to hear how you customize it or what sides you pair it with!
FAQs about Crispy Extra Crispy Fried Chicken
How do I keep fried chicken crispy after frying?
Drain the chicken on a wire rack instead of paper towels, avoid stacking pieces while hot, and keep warm on a rack in a low oven if needed. Maintaining oil temperature during frying also helps build a sturdy crust.
Can I use boneless chicken for this recipe?
Yes, but adjust frying time accordingly. Boneless pieces cook faster, so watch closely to avoid drying out the meat.
Is it necessary to soak chicken in buttermilk?
While not mandatory, the buttermilk soak tenderizes the chicken and helps the coating stick better, resulting in juicier, crunchier fried chicken.
What oil is best for frying chicken?
Use oils with high smoke points like peanut, vegetable, or canola oil. These oils handle the heat well without burning or imparting off-flavors.
Can I make this recipe gluten-free?
Absolutely! Substitute the all-purpose flour with a gluten-free flour blend and ensure your cornstarch is gluten-free. The result will still be crispy and delicious.
Pin This Recipe!
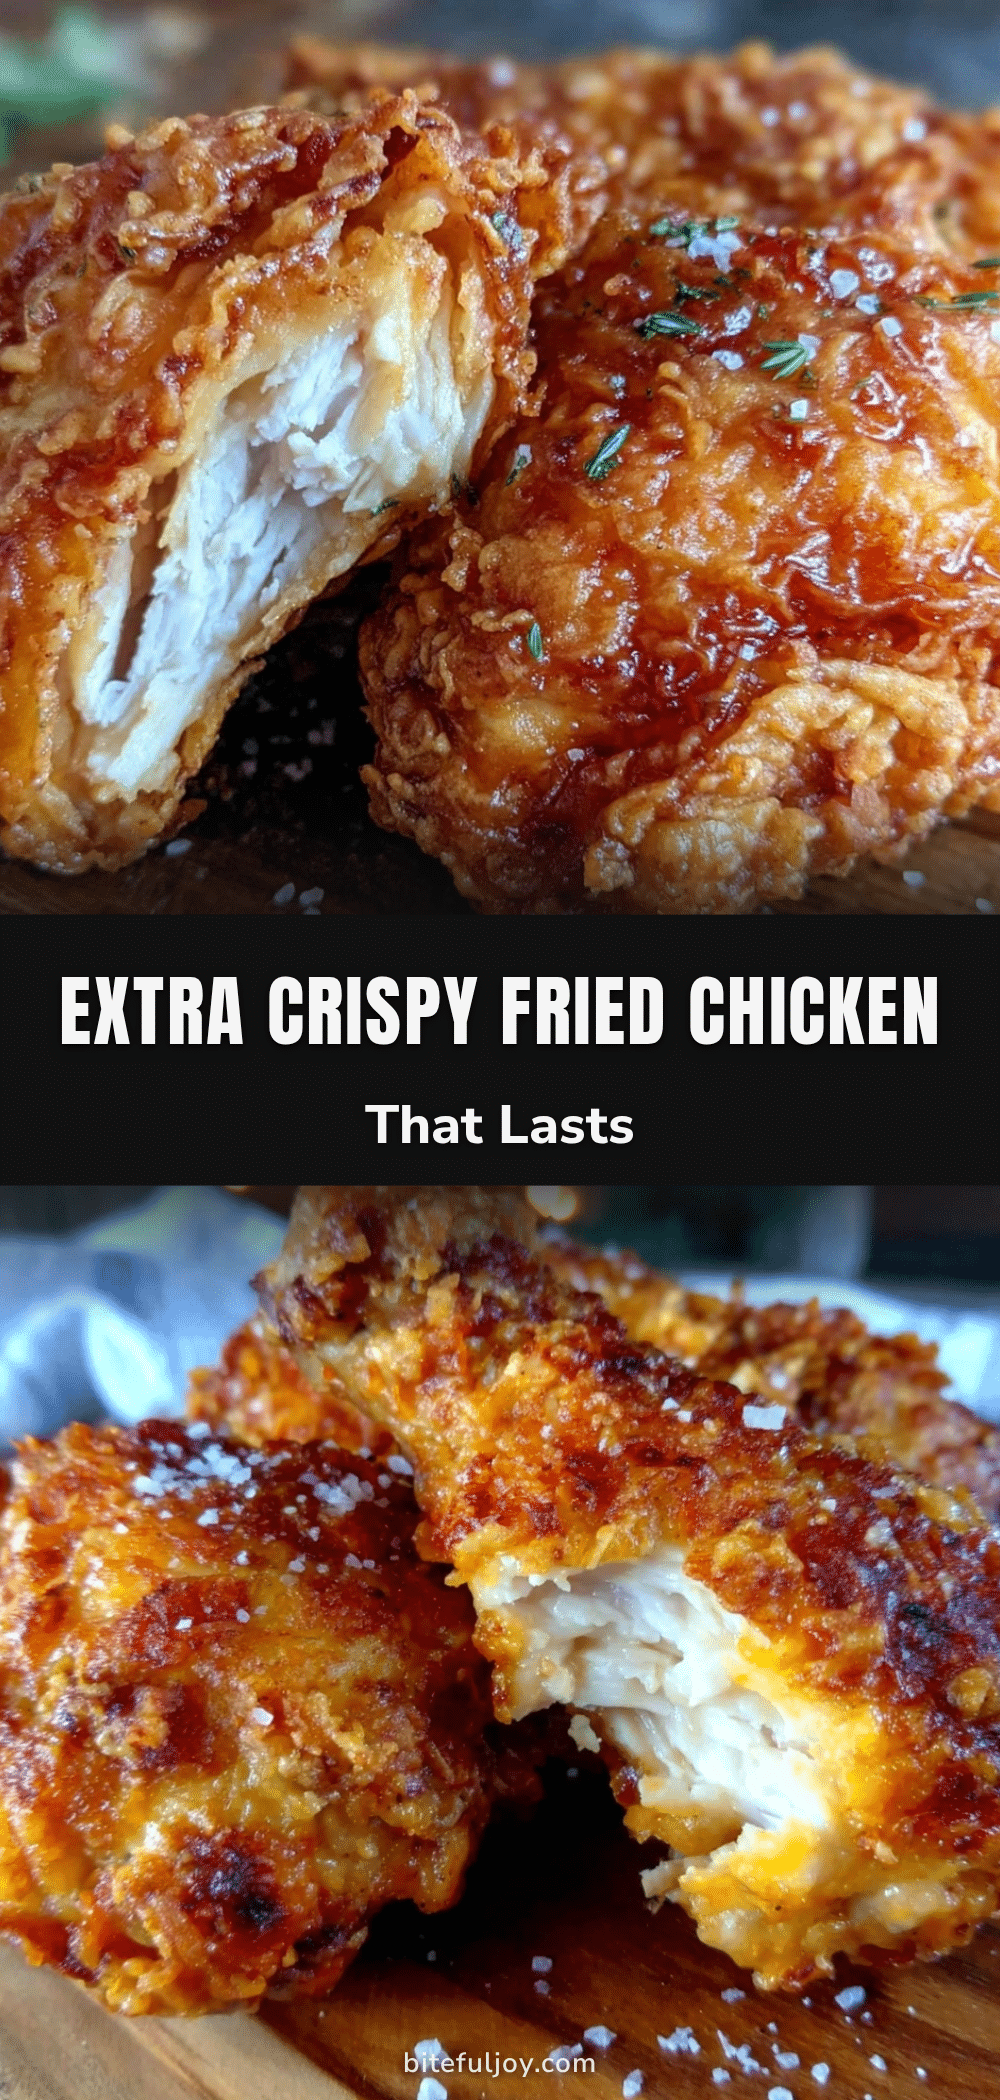
Crispy Extra Crispy Fried Chicken Recipe That Stays Crunchy for Hours

This fried chicken recipe delivers a stubbornly crispy crust that stays crunchy for hours while keeping the meat juicy and tender. Perfect for busy weeknights or gatherings, it features a double dredge and a buttermilk soak with vinegar for extra flavor and texture.
- Prep Time: 10 minutes
- Cook Time: 35 minutes
- Total Time: 45 minutes
- Yield: 4 servings 1x
- Category: Main Course
- Cuisine: American
Ingredients
- Bone-in, skin-on chicken pieces (thighs and drumsticks recommended)
- 2 cups buttermilk (or 2 cups milk + 2 tablespoons white vinegar, let sit 5 minutes)
- 1 tablespoon white vinegar
- 2 large eggs, beaten
- 2 cups all-purpose flour
- ½ cup cornstarch
- 2 teaspoons salt
- 1 teaspoon black pepper
- 1 teaspoon smoked paprika
- 1 teaspoon garlic powder
- ½ teaspoon cayenne pepper (optional)
- Vegetable oil or peanut oil for frying
Instructions
- Prepare the buttermilk soak: In a large bowl, whisk together 2 cups buttermilk, 1 tablespoon white vinegar, and 2 beaten eggs. Add the chicken pieces, making sure they’re fully submerged. Cover and refrigerate for at least 2 hours, preferably overnight.
- Mix the dry dredge: In another bowl, combine 2 cups all-purpose flour, ½ cup cornstarch, 2 teaspoons salt, 1 teaspoon black pepper, 1 teaspoon smoked paprika, 1 teaspoon garlic powder, and ½ teaspoon cayenne pepper. Stir well to evenly distribute spices.
- Heat the oil: Pour enough vegetable or peanut oil into your frying pan or Dutch oven to reach about 2 inches deep. Heat to 325°F–350°F (160°C–175°C). Use a thermometer to check the temperature.
- Dredge the chicken: Remove chicken from the buttermilk soak, letting excess drip off. Dredge each piece thoroughly in the flour mixture, pressing lightly to adhere. For extra crunch, dip back into the buttermilk briefly and then dredge again in the flour mix (double dredge). Place coated pieces on a wire rack.
- Fry in batches: Carefully add chicken pieces to hot oil, avoiding overcrowding. Fry 10-12 minutes per batch, turning occasionally, until golden brown and cooked through (internal temperature 165°F or 74°C). Keep oil temperature steady.
- Drain and rest: Transfer fried chicken to a wire rack set over a baking sheet to drain excess oil. Let rest for 10 minutes before serving.
- Serving note: To keep chicken warm and crunchy while finishing batches, place it in a single layer on a wire rack inside a low oven (about 200°F or 95°C).
Notes
Maintain oil temperature between 325°F and 350°F to avoid soggy or burnt crust. Double dredging builds a thicker crust that stays crispy longer. Drain chicken on a wire rack instead of paper towels to prevent steaming. Marinate overnight if possible for best flavor and tenderness. Reheat leftovers in the oven on a wire rack to restore crispness. For gluten-free, substitute flour with gluten-free blend and ensure cornstarch is gluten-free certified. For dairy-free, use coconut milk with lemon juice and egg replacer.
Nutrition
- Serving Size: About 1-2 pieces of
- Calories: 400
- Sugar: 1
- Sodium: 700
- Fat: 25
- Saturated Fat: 5
- Carbohydrates: 20
- Fiber: 1
- Protein: 30
Keywords: fried chicken, crispy fried chicken, extra crispy chicken, buttermilk fried chicken, double dredge, crunchy chicken, easy fried chicken recipe


