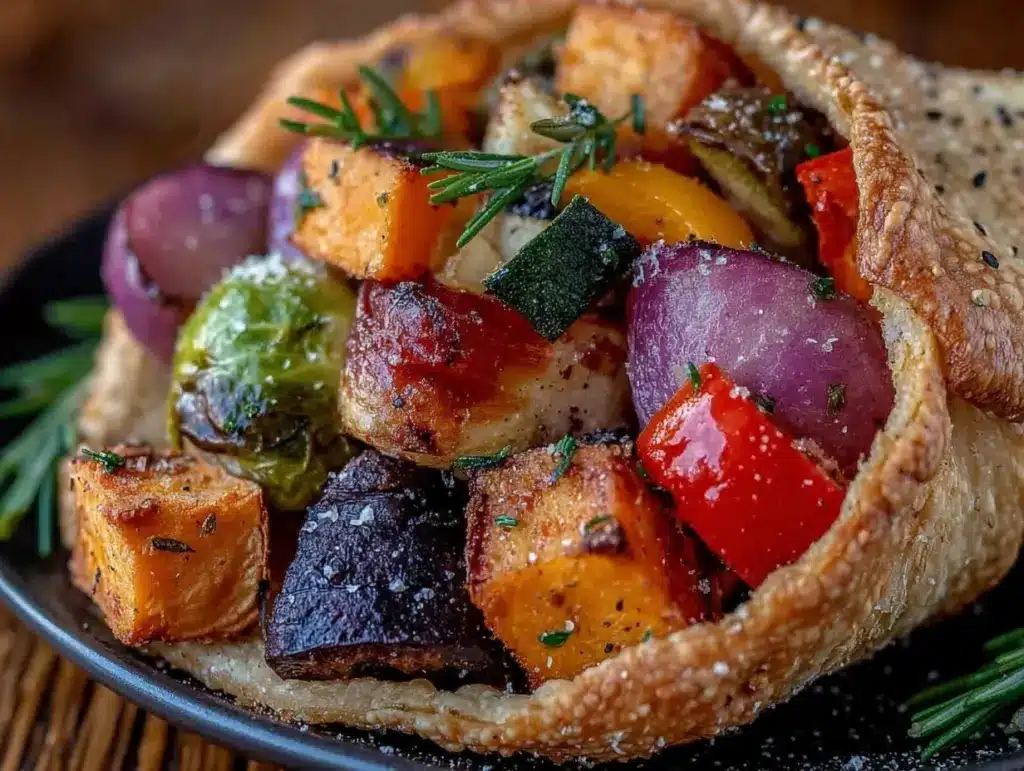
“You know, I wasn’t planning on making a fancy Thanksgiving dish this year. Honestly, it started out as a total scramble—running late, the oven already packed, and a fridge full of leftover fall veggies that needed some serious rescuing. I grabbed some wonton wrappers, thinking, ‘Why not roll them into cones and fill them with these roasted gems?’ The moment these crispy cornucopia cones came out golden and crackling, I knew I’d stumbled on something special. The sweet, caramelized edges of the roasted carrots, parsnips, and Brussels sprouts peeking out of that crunchy shell made me pause—and just savor the quiet joy of simple flavors done right.
What really got me was how these crispy cornucopia cones turned into a conversation starter at the dinner table, with guests asking for the recipe before the plates were empty. It’s funny how a last-minute kitchen improvisation can turn into a signature dish you want to make again (and again) during the cozy fall season. There’s something about the crunch combined with the warm, earthy roasted vegetables that just feels like a little edible celebration of autumn’s bounty. I’m sharing this recipe because it’s not just about the flavors—it’s about that unexpected delight you get when a humble idea turns into the star of your Thanksgiving spread.”
Why You’ll Love This Recipe
This crispy cornucopia cone filled with roasted fall vegetables has quickly become a favorite in my seasonal recipe rotation. Here’s why it stands out:
- Quick & Easy: Ready in under 45 minutes, it’s perfect when you want a festive dish without the fuss.
- Simple Ingredients: Uses pantry staples like wonton wrappers and common fall veggies—no need for specialty shopping.
- Perfect for Thanksgiving: Its presentation and flavors fit right in with fall dinners and holiday gatherings.
- Crowd-Pleaser: Even picky eaters love the crispy texture paired with the sweet and savory roasted vegetables.
- Unbelievably Delicious: The contrast of crunchy shells with tender, caramelized veggies makes each bite satisfying and comforting.
What sets this recipe apart is the idea of forming the wonton wrappers into festive cornucopia cones—a playful yet elegant touch that’s unique. Plus, roasting the vegetables with warm spices like cinnamon and smoked paprika adds a depth of flavor you don’t usually get in simple roast veggie sides. It’s cozy and refined all at once, kind of like that perfect balance you want when you’re serving something special but want to keep your sanity intact.
Honestly, this recipe isn’t just a side dish—it’s the kind of food that makes you pause and smile. Like the crispy brioche French toast with caramelized bananas I make for weekend mornings, it’s comfort food with a little twist, perfect for impressing guests without stress.
What Ingredients You Will Need
This recipe uses simple, wholesome ingredients to deliver bold flavor and satisfying texture without the fuss. Most are pantry staples, and you can customize based on what’s fresh or in season.
- Wonton Wrappers: About 12 sheets (I prefer the round ones for easier shaping, but square works fine).
- Olive Oil: 2 tablespoons, for brushing the wrappers (extra virgin works best for flavor).
- Assorted Fall Vegetables:
- 2 medium carrots, peeled and cut into sticks (adds sweetness and color)
- 1 small butternut squash, peeled and cubed (roasts beautifully)
- 1 cup Brussels sprouts, halved
- 1 small red onion, sliced
- Spices:
- 1 teaspoon smoked paprika (adds warmth and subtle smokiness)
- ½ teaspoon ground cinnamon (just a hint for that fall vibe)
- Salt and freshly ground black pepper, to taste
- Fresh Herbs: 2 tablespoons chopped fresh parsley or thyme for garnish (optional but freshens it up).
- Honey or Maple Syrup: 1 tablespoon, drizzled on veggies before roasting (balances savory with a touch of sweetness).
For gluten-free options, you could try rice paper to create cones, but they won’t be quite as crispy. Also, if you want a richer flavor, brush the cones with melted butter instead of olive oil—or try a mix of both.
Equipment Needed
- Baking Sheet: For roasting vegetables and baking the cornucopia cones.
- Cone Molds: Metal or silicone cone forms for shaping the wrappers. If you don’t have these, you can fashion cones using aluminum foil—just be careful to grease well.
- Mixing Bowls: For tossing veggies with oil and spices.
- Pastry Brush: To brush oil onto the wonton wrappers for crispiness.
- Sharp Knife and Cutting Board: For prepping vegetables.
If you’re on a budget or new to kitchen gadgets, aluminum foil cones work just fine and can be reused after washing. I’ve found that silicone molds hold their shape better and are easier to clean, so if you plan to make this dish often, they’re worth the investment. Keeping your cone molds well oiled makes the crispy cornucopia cones release easily after baking, which saves you some frustration.
Preparation Method
- Preheat your oven: Set it to 400°F (200°C). Line a baking sheet with parchment paper.
- Prepare the vegetables: Peel and chop carrots and butternut squash into sticks and cubes about 1-inch pieces. Trim and halve Brussels sprouts. Slice the red onion thinly. Toss all in a large bowl with 2 tablespoons olive oil, smoked paprika, cinnamon, salt, and pepper. Drizzle honey or maple syrup and toss again until evenly coated.
- Roast the vegetables: Spread veggies in a single layer on the baking sheet. Roast for 25-30 minutes, stirring halfway through, until tender and caramelized around the edges. They should smell sweet and savory, with a golden-brown finish.
- Shape the cornucopia cones: While veggies roast, lightly brush wonton wrappers with olive oil on both sides. Wrap each around a greased cone mold, sealing the edge with a little water. Place cones on a separate baking sheet lined with parchment.
- Bake the cones: Bake the wrapped cones for 8-10 minutes or until golden and crisp. Watch closely to avoid burning—the edges crisp quickly.
- Remove cones from molds: Let cones cool slightly before gently sliding molds out. If they stick, wiggle carefully or use a butter knife to nudge them free.
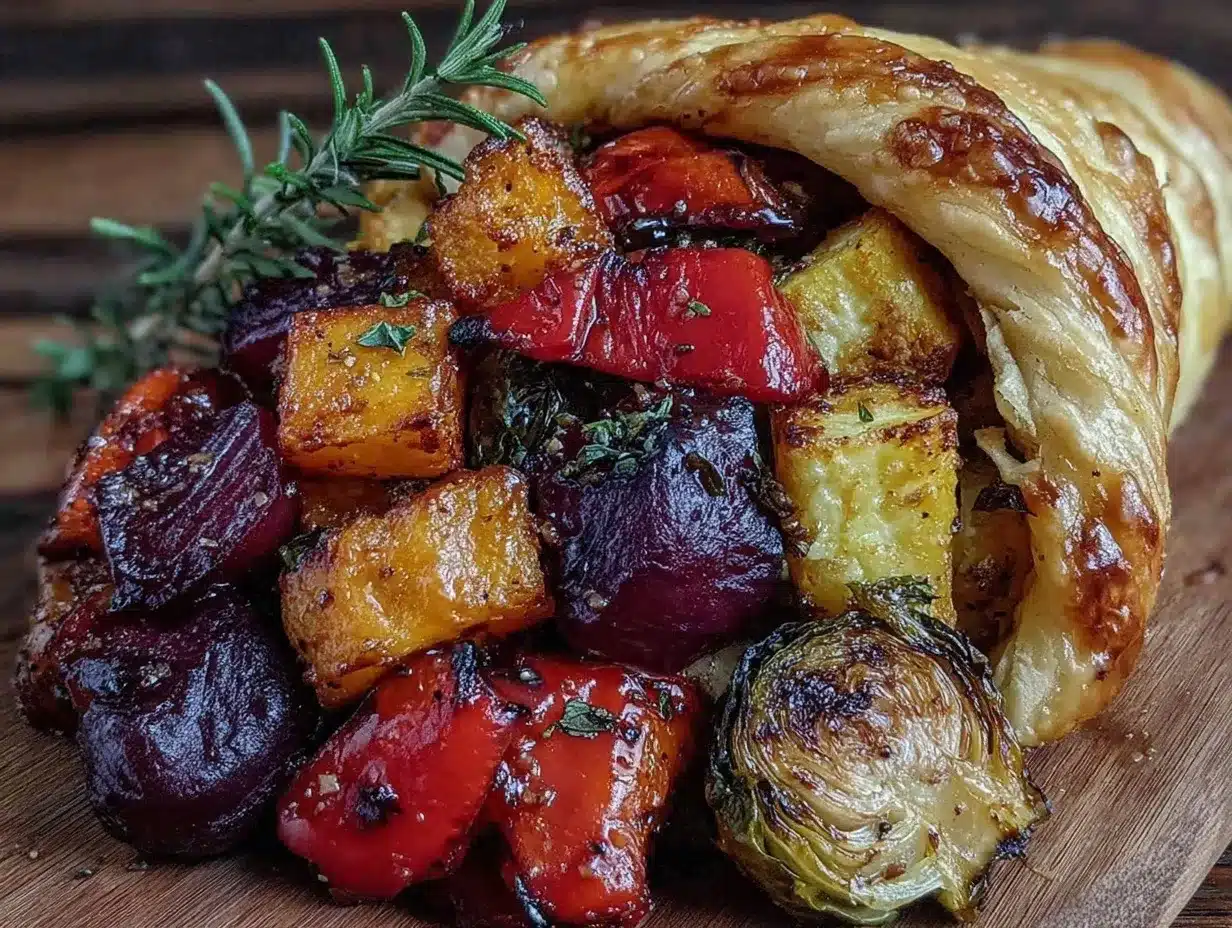
- Assemble the cornucopias: Fill each crispy cone generously with the roasted fall vegetables. Garnish with fresh parsley or thyme if desired.
- Serve immediately: These are best served warm to preserve the crunch and highlight the roasted flavors.
Note: If you want to prep ahead, roast veggies earlier and reheat slightly before filling cones. However, cones should be baked just before serving for peak crispiness. I learned this the hard way after making them hours ahead—the crunch just isn’t the same the next day.
Cooking Tips & Techniques
Getting those cornucopia cones perfectly crispy without burning can be tricky at first. Here’s what I’ve picked up:
- Brush oil evenly: Don’t skimp on the olive oil or butter on the wrappers. It’s what helps them crisp and brown nicely.
- Use fresh wonton wrappers: Older wrappers dry out and crack, making shaping harder. If you find them brittle, cover with a damp towel while working.
- Don’t overcrowd the roasting pan: Give veggies room to caramelize instead of steam. That’s where the flavor lives.
- Watch the oven closely: Cornucopia edges can go from golden to burnt in minutes. Check at 7 minutes and every minute after.
- Be gentle removing cones: The crispy shells are delicate, so patience is key. Cooling helps them firm up.
One slip-up I made was wrapping the wontons too thickly, resulting in soggy cones. Keeping the layers thin lets air circulate and crisp the shell beautifully. Also, roasting with a touch of sweetness like honey creates a caramelized glaze on the veggies that pairs perfectly with the smoky paprika. If you want to multitask, roast veggies while shaping cones—that saves time (and sanity) during busy holiday cooking.
Variations & Adaptations
This crispy cornucopia cone recipe invites creativity depending on your taste and dietary needs:
- Vegan Option: Swap honey for pure maple syrup and use olive oil or vegan butter to brush cones.
- Seasonal Swaps: In late fall or winter, try roasted sweet potatoes, parsnips, or even beets for a colorful twist.
- Add Protein: Toss in cooked quinoa or crumbled tempeh with your veggies for a heartier filling.
- Cheese Lovers: Sprinkle crumbled goat cheese or feta over the roasted veggies before filling the cones for a creamy contrast.
- Gluten-Free Alternative: Use gluten-free wonton wrappers if available, or try crispy baked phyllo sheets shaped like cones.
Once, I experimented by mixing in a little caramelized shallot jam with the roasted veggies—it added a surprising depth and touch of sweetness that folks raved about at a casual get-together. The beauty of this recipe is you can keep it simple or dress it up depending on your crowd or occasion. It pairs wonderfully with dishes like smoked salmon cucumber tea sandwiches for a full fall appetizer spread.
Serving & Storage Suggestions
Serve these crispy cornucopia cones warm, right out of the oven for the best crunch. Arrange them standing upright in a shallow bowl or on a platter lined with parchment to keep their shape and look festive on the table.
They make a fantastic starter or side at Thanksgiving but also work well at fall parties or cozy dinners. Pair with a crisp white wine or a light sparkling beverage to balance the roasted flavors.
If you have leftovers, store the roasted vegetables separately in an airtight container in the fridge for up to 3 days. The cones, however, lose crispiness quickly and are best eaten the same day. To reheat, warm the veggies in the oven or microwave, but skip reheating the cones to avoid sogginess.
Flavors in the roasted vegetables actually deepen and mellow overnight, so if you want to prep ahead, roast and season the veggies a day before. Just assemble the cones just before serving to keep everything at its best. You might also enjoy these alongside a cozy brunch dish like the spinach and feta croissant bake for a weekend treat.
Nutritional Information & Benefits
Each crispy cornucopia cone filled with roasted fall vegetables offers a nutritious, balanced bite:
- Calories: Approximately 150-180 per cone depending on size and oil used.
- Vitamins & Minerals: Packed with vitamin A from carrots and squash, vitamin C from Brussels sprouts, and antioxidants from the spices.
- Fiber: The veggies contribute a good amount of dietary fiber, aiding digestion and satiety.
- Low in Fat: Using olive oil keeps fats heart-healthy, especially with the added benefits of anti-inflammatory properties.
- Diet-Friendly: Naturally gluten-free if using gluten-free wraps, vegan adaptable, and low-carb if you watch portion sizes.
From a wellness perspective, this dish embraces the bounty of fall produce, turning simple ingredients into a comforting, wholesome option. It’s a great way to sneak more veggies onto your plate in a fun, approachable way that doesn’t feel like a sacrifice.
Conclusion
This crispy cornucopia cone filled with roasted fall vegetables is one of those recipes that quietly wins over every time. It’s approachable for cooks of all levels, looks charming on the table, and tastes like a celebration of the season’s best flavors. Whether you’re juggling a busy holiday kitchen or wanting a fresh spin on autumn sides, this recipe fits perfectly.
Feel free to tweak the veggies, spices, or even the shape of the cone to make it your own. That’s part of the fun—I love how it invites creativity without losing its comforting essence. If you’ve tried dishes like my creamy quiche Lorraine with fresh herbs, you’ll find this recipe similarly satisfying but with a lighter, crispier twist.
Give it a go and let me know how your crispy cornucopia cones turn out—I’m always curious about what variations folks come up with. Here’s to simple ingredients, minimal stress, and maximum cozy vibes at your next fall gathering.
FAQs
Can I make the cornucopia cones ahead of time?
You can bake the cones a few hours ahead, but they’re best served fresh to keep their crisp texture. Store in an airtight container once completely cooled.
What can I use if I don’t have cone molds?
Aluminum foil shaped into cones works well as a budget-friendly alternative. Just grease them thoroughly to prevent sticking.
Can this recipe be made gluten-free?
Yes! Use gluten-free wonton wrappers or substitute with phyllo dough sheets shaped into cones.
How do I keep the roasted vegetables from being soggy?
Make sure to cut veggies evenly and roast in a single layer without crowding the pan. Stir halfway through for even caramelization.
What are good side dishes to serve with these cornucopia cones?
They pair nicely with light salads, fresh breads, or even elegant appetizers like smoked salmon cucumber tea sandwiches for a full festive spread.
Pin This Recipe!
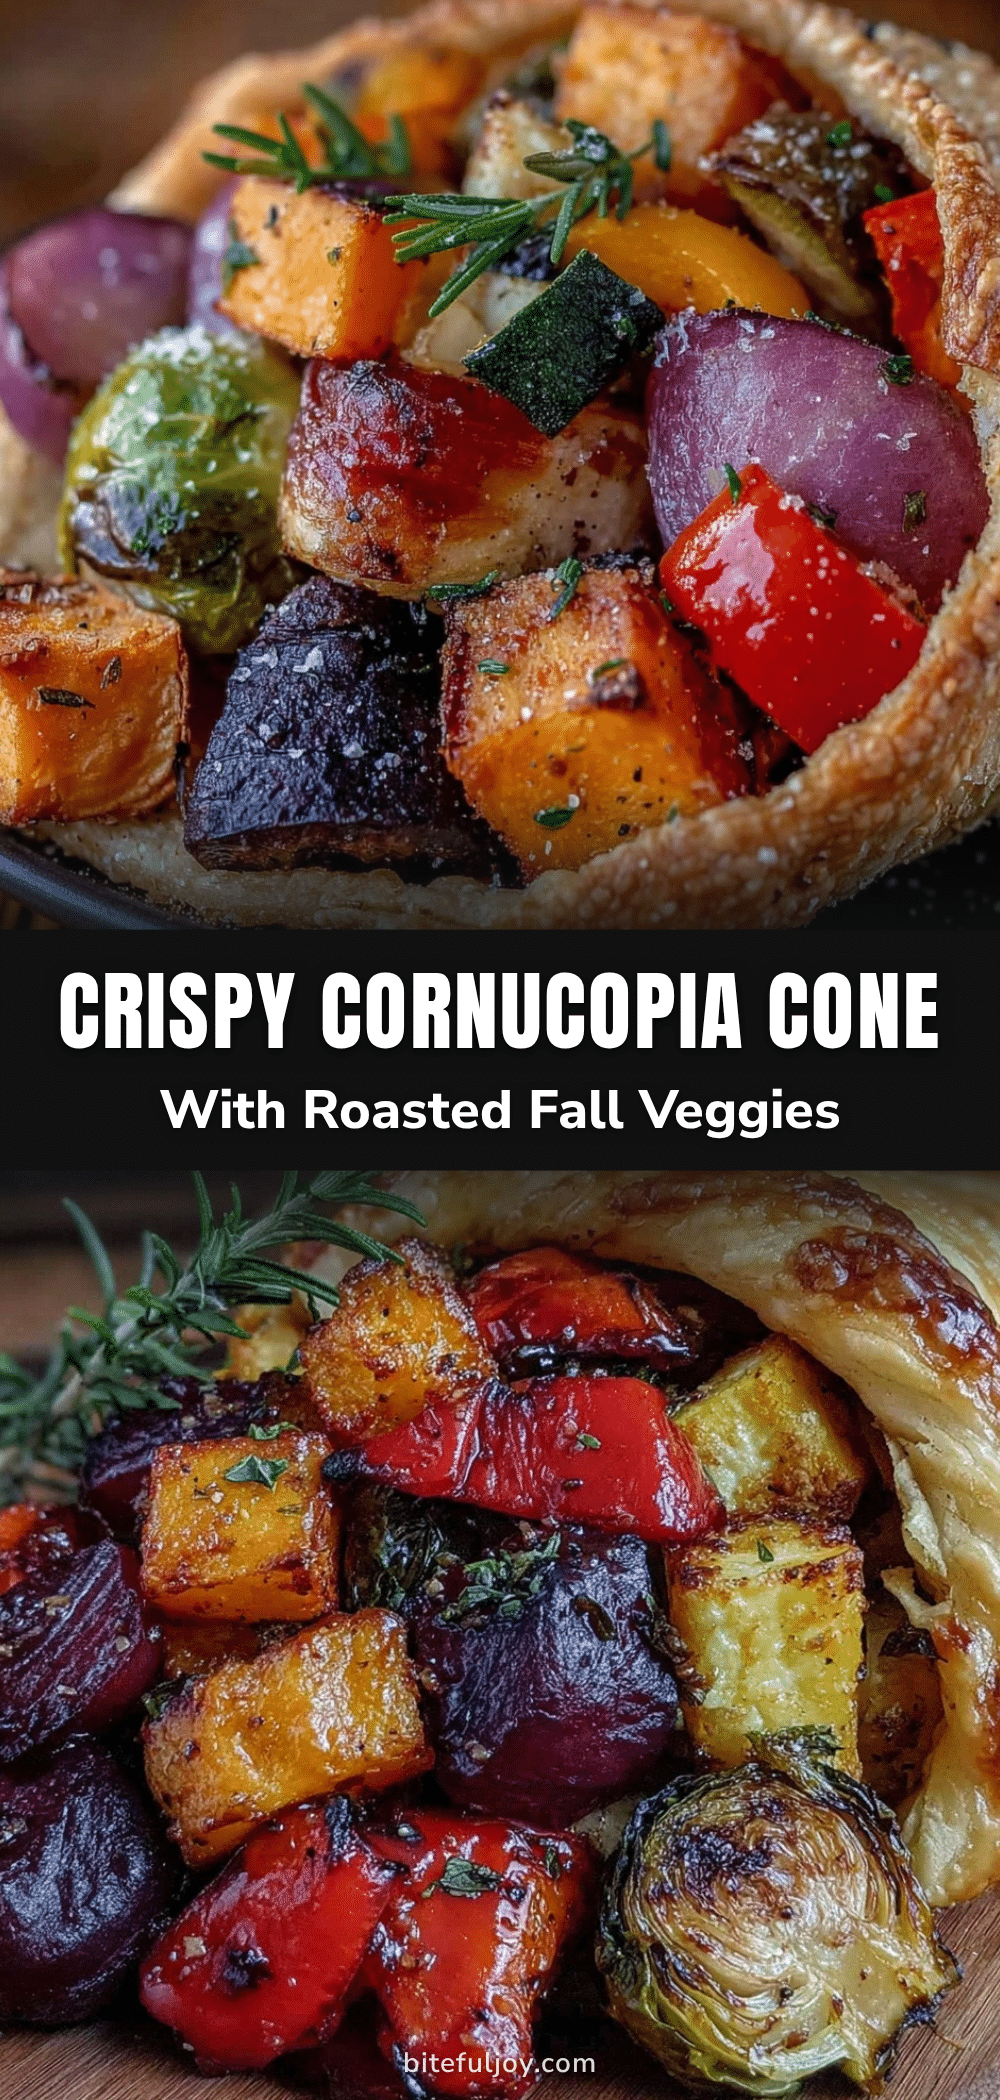
Crispy Cornucopia Cone Recipe Filled with Roasted Fall Vegetables

A quick and easy festive dish featuring crispy wonton wrapper cones filled with sweet, caramelized roasted fall vegetables, perfect for Thanksgiving and cozy fall gatherings.
- Prep Time: 15 minutes
- Cook Time: 35 minutes
- Total Time: 50 minutes
- Yield: 12 servings 1x
- Category: Appetizer
- Cuisine: American
Ingredients
- 12 wonton wrappers (round preferred, square works fine)
- 2 tablespoons extra virgin olive oil, for brushing wrappers
- 2 medium carrots, peeled and cut into sticks
- 1 small butternut squash, peeled and cubed
- 1 cup Brussels sprouts, halved
- 1 small red onion, sliced
- 1 teaspoon smoked paprika
- ½ teaspoon ground cinnamon
- Salt and freshly ground black pepper, to taste
- 1 tablespoon honey or maple syrup
- 2 tablespoons chopped fresh parsley or thyme (optional, for garnish)
Instructions
- Preheat your oven to 400°F (200°C). Line a baking sheet with parchment paper.
- Prepare the vegetables: Peel and chop carrots and butternut squash into 1-inch sticks and cubes. Trim and halve Brussels sprouts. Slice the red onion thinly.
- Toss all vegetables in a large bowl with 2 tablespoons olive oil, smoked paprika, cinnamon, salt, and pepper. Drizzle honey or maple syrup and toss again until evenly coated.
- Spread the veggies in a single layer on the baking sheet. Roast for 25-30 minutes, stirring halfway through, until tender and caramelized around the edges.
- While veggies roast, lightly brush wonton wrappers with olive oil on both sides. Wrap each around a greased cone mold, sealing the edge with a little water. Place cones on a separate baking sheet lined with parchment.
- Bake the wrapped cones for 8-10 minutes or until golden and crisp. Watch closely to avoid burning.
- Let cones cool slightly before gently sliding molds out. If they stick, wiggle carefully or use a butter knife to nudge them free.
- Fill each crispy cone generously with the roasted fall vegetables. Garnish with fresh parsley or thyme if desired.
- Serve immediately while warm to preserve crunch and highlight roasted flavors.
Notes
For gluten-free, use gluten-free wonton wrappers or phyllo dough sheets shaped into cones. Brush cones with melted butter instead of olive oil for richer flavor. Avoid overcrowding veggies when roasting to ensure caramelization. Bake cones just before serving for best crispiness. Older wonton wrappers may crack; keep covered with a damp towel while working. Aluminum foil cones are a budget-friendly alternative to molds but grease well.
Nutrition
- Serving Size: 1 cornucopia cone fi
- Calories: 165
- Sugar: 7
- Sodium: 150
- Fat: 7
- Saturated Fat: 1
- Carbohydrates: 22
- Fiber: 4
- Protein: 3
Keywords: Thanksgiving, fall vegetables, crispy cones, roasted vegetables, wonton wrappers, easy appetizer, holiday recipe, vegetarian, vegan option


