“Hey, can you pass me those wraps?” my buddy called out from the picnic bench, all while trying to juggle a cooler and a pile of firewood. Honestly, camping days can get chaotic fast, and the last thing anyone wants is to fuss over meals. That’s how these Easy No-Cook Camping Charcuterie Wrap Roll-Ups came about—right in the middle of a scramble to get dinner ready before sunset, with no stove in sight.
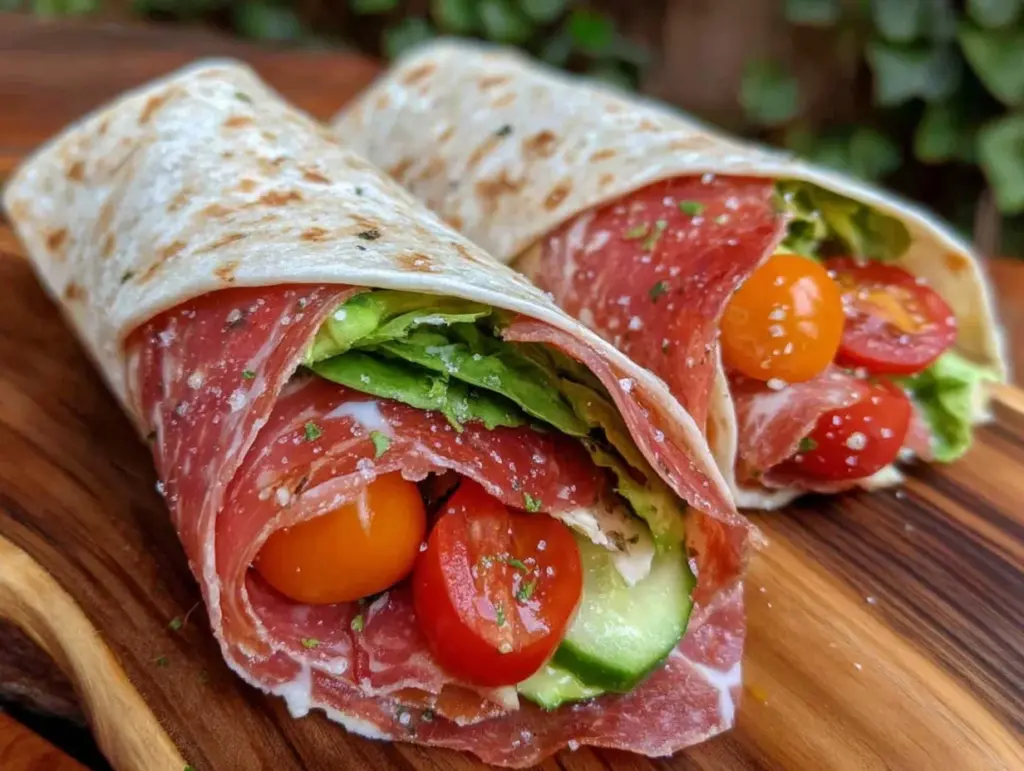
We tossed together whatever was on hand—some cured meats, cheese, fresh veggies, and spreads—rolled them up in soft tortillas, and suddenly, we had a snack that felt fancy but didn’t require a single flame. It was one of those “let’s just see if this works” moments that ended up being the highlight of our trip. The best part? Everyone was grabbing roll-ups like it was the main event, and there was zero cleanup stress.
Since then, I’ve made these wrap roll-ups more times than I can count, not just camping but as quick weekday bites or picnic contenders. They’re perfect when you want something satisfying without turning on the oven or heating up the kitchen. Plus, they bring that wonderful charcuterie vibe—variety, flavor, texture—without the usual hassle of assembling a board.
What stuck with me is how these roll-ups fit into moments when simplicity meets a bit of indulgence. They’re cozy and comforting but also fresh and vibrant. So, if you ever find yourself wondering how to pull together a snack that feels special but stays easy, these charcuterie wrap roll-ups are your go-to. No fuss, just pure tasty goodness that’s ready whenever you are.
Why You’ll Love This Recipe
Having tested these Easy No-Cook Camping Charcuterie Wrap Roll-Ups through several camping trips and casual hangouts, I can say with confidence they’re a reliable crowd-pleaser. Here’s why this recipe has become a staple:
- Quick & Easy: You can whip these up in under 10 minutes, which is clutch when you’re outdoors or just craving a no-fuss snack.
- Simple Ingredients: No need for special trips to fancy stores—most ingredients are pantry staples or easy to grab at any grocery.
- Perfect for On-the-Go: Whether you’re camping, hiking, or just packing a picnic, these roll-ups travel well and stay intact.
- Crowd-Pleaser: They appeal to all ages with their mix of savory meats, creamy cheeses, and fresh crunch.
- Unbelievably Delicious: The combo of salty charcuterie meats, creamy spreads, and crisp veggies hits all the right notes.
What makes these roll-ups different? It’s all about the layering technique and balance of flavors. For example, spreading cream cheese mixed with a hint of herbs creates a silky base that holds everything together without overpowering the meats or veggies. And swapping in pickled jalapeños adds a subtle kick that keeps things interesting. Honestly, it’s the kind of snack that makes you pause mid-bite, just to appreciate the flavors.
This recipe isn’t just good; it’s a little celebration of simple pleasures that feel special without the stress. Plus, if you liked the fresh, elegant simplicity of smoked salmon cucumber tea sandwiches, you’ll appreciate how these roll-ups bring that same approachable charm but with a heartier twist.
What Ingredients You Will Need
This recipe uses straightforward, wholesome ingredients that come together to offer bold flavor and satisfying texture without any cooking. You likely have most of these items on hand or can easily pick them up at your local store.
- Wraps or Tortillas: Large flour tortillas work best for easy rolling. You can use whole wheat or gluten-free options as well.
- Cured Meats: Thinly sliced salami, prosciutto, or pepperoni. I prefer Columbus Craft Meats for their authentic flavor and perfect thinness.
- Cheese: Soft cheeses like cream cheese or goat cheese for spreadability, plus firmer slices like Swiss or cheddar for texture contrast.
- Fresh Veggies: Crisp cucumber strips, red bell pepper slices, and baby spinach leaves add crunch and freshness. Swap in seasonal veggies like shredded carrot or radishes if you prefer.
- Pickled Elements: Pickled jalapeños or pepperoncini peppers add a tangy zing that balances the richness.
- Herbs & Spreads: Fresh basil or parsley chopped finely, mixed into the cream cheese spread with a little garlic powder for added flavor.
- Olive Oil: A light drizzle or brush on the wrap before rolling can add moisture and help seal the roll-ups.
- Optional Extras: Sliced olives, sun-dried tomatoes, or a smear of honey mustard for a touch of sweetness.
For substitutions, you can swap cream cheese with dairy-free coconut yogurt spread for a vegan twist. If you’re avoiding gluten, almond or cassava flour tortillas work well. I’ve found that the key is balancing the creamy and crunchy elements so the roll-ups don’t feel one-note or soggy.
Equipment Needed
- Cutting Board and Sharp Knife: For slicing meats, veggies, and cheese thinly and evenly.
- Spoon or Small Spreader: To evenly spread the soft cheese mixture across the tortillas.
- Plastic Wrap or Parchment Paper: Helpful to wrap roll-ups tightly for easy packing and slicing later.
- Container or Cooler: To keep your ingredients fresh if you’re prepping before heading out on your camping trip.
Honestly, you don’t need anything fancy here. A basic serrated knife and a clean cutting board will do the trick perfectly. I’ve tried using a mandoline for slicing veggies thinly, but it’s not essential—just be careful with your knife skills. Also, bringing along a small, sharp paring knife can be handy for quick touch-ups once you’re at the campsite.
Preparation Method
- Prepare the Cheese Spread (5 minutes): In a small bowl, mix 4 ounces (115 g) of cream cheese with 1 tablespoon (15 ml) of chopped fresh herbs like basil and parsley. Add a pinch of garlic powder and a small pinch of salt. Stir until smooth and creamy.
- Lay Out the Tortillas (2 minutes): Place 4 large flour tortillas (about 10 inches/25 cm diameter) flat on your clean surface.
- Spread the Cheese (3 minutes): Evenly spread about 2 tablespoons (30 g) of the herb cream cheese mixture onto each tortilla, leaving a small border around the edges.
- Layer Meats and Cheese (5 minutes): Arrange 3–4 thin slices of your chosen cured meats evenly over the spread. Then add 2 slices of firmer cheese (about 1 ounce/28 g each) on top of the meats.
- Add Fresh Veggies (3 minutes): Place thin cucumber strips (about ¼ cup/30 g), bell pepper slices (¼ cup/30 g), and a handful of baby spinach leaves evenly over each wrap.
- Add Pickled Peppers (1 minute): Scatter a few slices of pickled jalapeños or pepperoncini peppers for a tangy bite.
- Roll Them Up (3 minutes): Starting at one edge, roll the tortilla tightly to enclose the fillings. Use a little olive oil brushed on the edge if you want it to seal better.
- Wrap and Chill (Optional, 10 minutes): Wrap each roll-up tightly in plastic wrap or parchment paper. Chill in the fridge or cooler for 10–15 minutes to help them hold their shape before slicing.
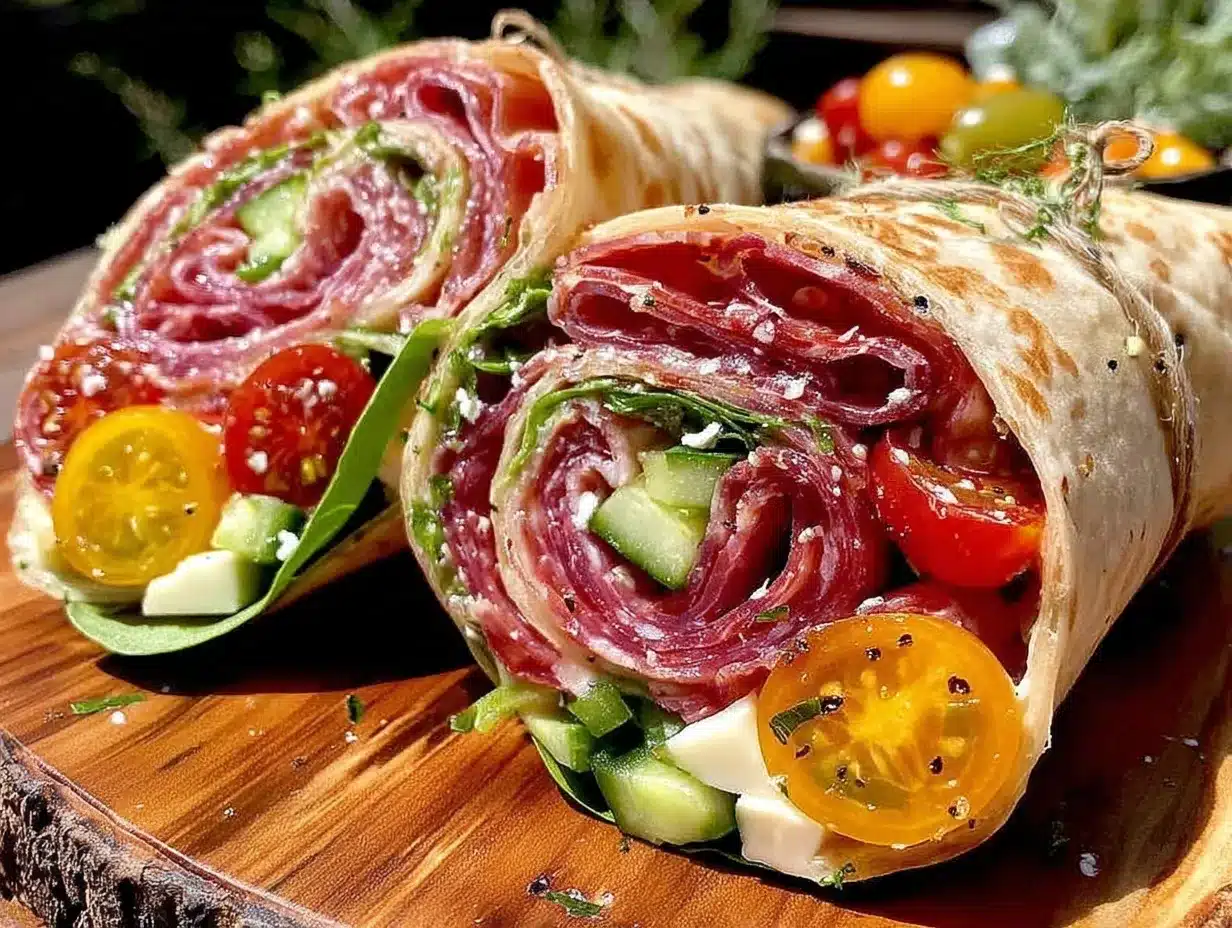
- Slice and Serve (5 minutes): Using a sharp serrated knife, slice each roll-up into 1-inch (2.5 cm) pinwheels. Arrange on a plate or packing container for easy snacking.
Tip: If the tortillas feel dry or stiff, warming them slightly wrapped in a damp paper towel for 10 seconds in the microwave can make rolling easier. Watch out for over-softening, though, or they might tear.
When rolling, keep your fillings snug but avoid overstuffing so the wraps don’t burst open. I usually find that layering the meats folded rather than flat helps with structure and bite.
Cooking Tips & Techniques
Since this recipe involves no cooking, your focus is on ingredient prep and assembly. Here are a few tips I’ve gathered over time:
- Choose Thin Slices: Thinly sliced meats and cheeses make rolling smoother and eating easier. Thick cuts tend to tear the tortilla or make the roll bulky.
- Keep Ingredients Dry: Pat veggies dry after washing to avoid soggy wraps. Excess moisture can make the tortillas soggy and harder to roll.
- Use a Light Hand with Spreads: Too much cream cheese can overpower or make the roll-up slippery. Spread thin and even for the best balance.
- Roll Tightly but Gently: Firm rolling helps the roll hold shape, but press too hard and you risk squeezing out fillings or tearing the wrap.
- Multitask While Assembling: Prepare the cheese spread and slice veggies while the tortillas are laid out to save time.
One time, I tried adding too many pickled elements, and the roll-ups got overly tangy. Lesson learned: subtlety works best here. Also, if you’re packing these for hikes, wrapping them tightly in parchment keeps them from falling apart and makes them easier to transport.
Variations & Adaptations
These wrap roll-ups are super versatile. Here are some ways to switch things up:
- Vegetarian Version: Skip the meats and add marinated grilled veggies like zucchini, eggplant, and roasted red peppers. Use hummus instead of cream cheese to add creaminess.
- Spicy Twist: Add a drizzle of Sriracha or a smear of chipotle mayo to the spread for a smoky heat kick.
- Seasonal Flavors: Swap fresh veggies based on the season—use crunchy apple slices and arugula in fall or thinly sliced summer peaches with mint in warmer months.
- Gluten-Free Option: Use gluten-free wraps or large lettuce leaves for a low-carb, gluten-free alternative.
- A Personal Favorite: I once added a layer of fig jam under the cream cheese, paired with prosciutto and arugula—sweet and salty magic in every bite.
For cooking method changes, these roll-ups are designed no-cook, but if you want a warm version, try grilling them gently on a panini press for a crisp exterior and melty cheese inside. Just be sure to wrap tightly so the fillings don’t spill out.
Serving & Storage Suggestions
Serve these charcuterie wrap roll-ups chilled or at room temperature. They’re perfect finger foods for camping, picnics, or casual gatherings. Present them on a wooden board or a colorful plate with extra pickled peppers or olives on the side for a little flair.
They pair wonderfully with crisp white wines or sparkling water with lemon for a refreshing contrast. If you enjoyed the creamy layering here, you might appreciate the balance of textures and flavors in creamy white chocolate raspberry cheesecake bars for dessert after your snack.
To store, wrap leftovers tightly in plastic wrap or place in an airtight container. Keep refrigerated and consume within 2 days for best freshness. If you’re taking these on the go, pack them in a cooler with ice packs to keep the cheese and meats safe.
Reheating isn’t necessary, but if you prefer warm bites, a quick 10-second zap in the microwave does the trick. Just beware of sogginess if heated too long.
Over time, the flavors meld nicely, especially if wrapped overnight, making these a great make-ahead snack for busy days outdoors or casual get-togethers.
Nutritional Information & Benefits
Each roll-up (makes about 4 servings) contains approximately:
| Nutrient | Amount per serving |
|---|---|
| Calories | 280–320 kcal |
| Protein | 15–18 g |
| Fat | 18–22 g |
| Carbohydrates | 15–20 g |
| Fiber | 2–3 g |
The cured meats provide a good source of protein and iron, while fresh veggies add fiber and vitamins. Using whole wheat or gluten-free tortillas can adjust the carb and fiber content to fit your dietary needs.
For those watching sodium, consider lower-sodium meats and cheeses. This recipe is naturally gluten-free if you choose suitable tortillas. Pickled peppers add probiotics for gut health benefits.
From a wellness standpoint, this snack balances indulgence with nourishment, making it a satisfying option that won’t leave you feeling sluggish or weighed down—perfect for keeping energy up during outdoor adventures or busy days.
Conclusion
Easy No-Cook Camping Charcuterie Wrap Roll-Ups have become my go-to for fuss-free, tasty snacking that fits any occasion—whether you’re out in nature or just need a quick bite at home. Their simplicity hides a thoughtful layering of flavors and textures that make each bite enjoyable and satisfying.
Feel free to tweak the ingredients and fillings to suit your taste or dietary needs. That’s the beauty of these roll-ups—they’re a blank canvas ready for your personal spin. I love how they bring people together, no matter where you enjoy them.
If you try this recipe, I’d love to hear what combo you created or how it worked for your camping trip. Sharing those little food moments makes cooking even more rewarding. Here’s to easy, delicious bites that make life a little brighter (and tastier) wherever you are!
FAQs
Can I prepare these wrap roll-ups ahead of time?
Absolutely! Wrap them tightly in plastic wrap and refrigerate for up to 24 hours. Chilling helps the flavors meld and makes slicing easier.
What if I don’t like cured meats?
You can substitute with grilled chicken slices, turkey, or go vegetarian with hummus and roasted veggies instead.
Can these roll-ups be frozen?
It’s best to enjoy them fresh or refrigerated. Freezing may change the texture of the tortillas and fillings, making them less appealing.
How can I keep the wraps from falling apart?
Spread the cheese evenly and roll tightly. Wrapping in parchment or plastic wrap before slicing also helps hold them together.
Are these suitable for kids?
Yes! These roll-ups are kid-friendly, especially if you adjust the fillings to milder flavors and avoid spicy pickled peppers.
Pin This Recipe!
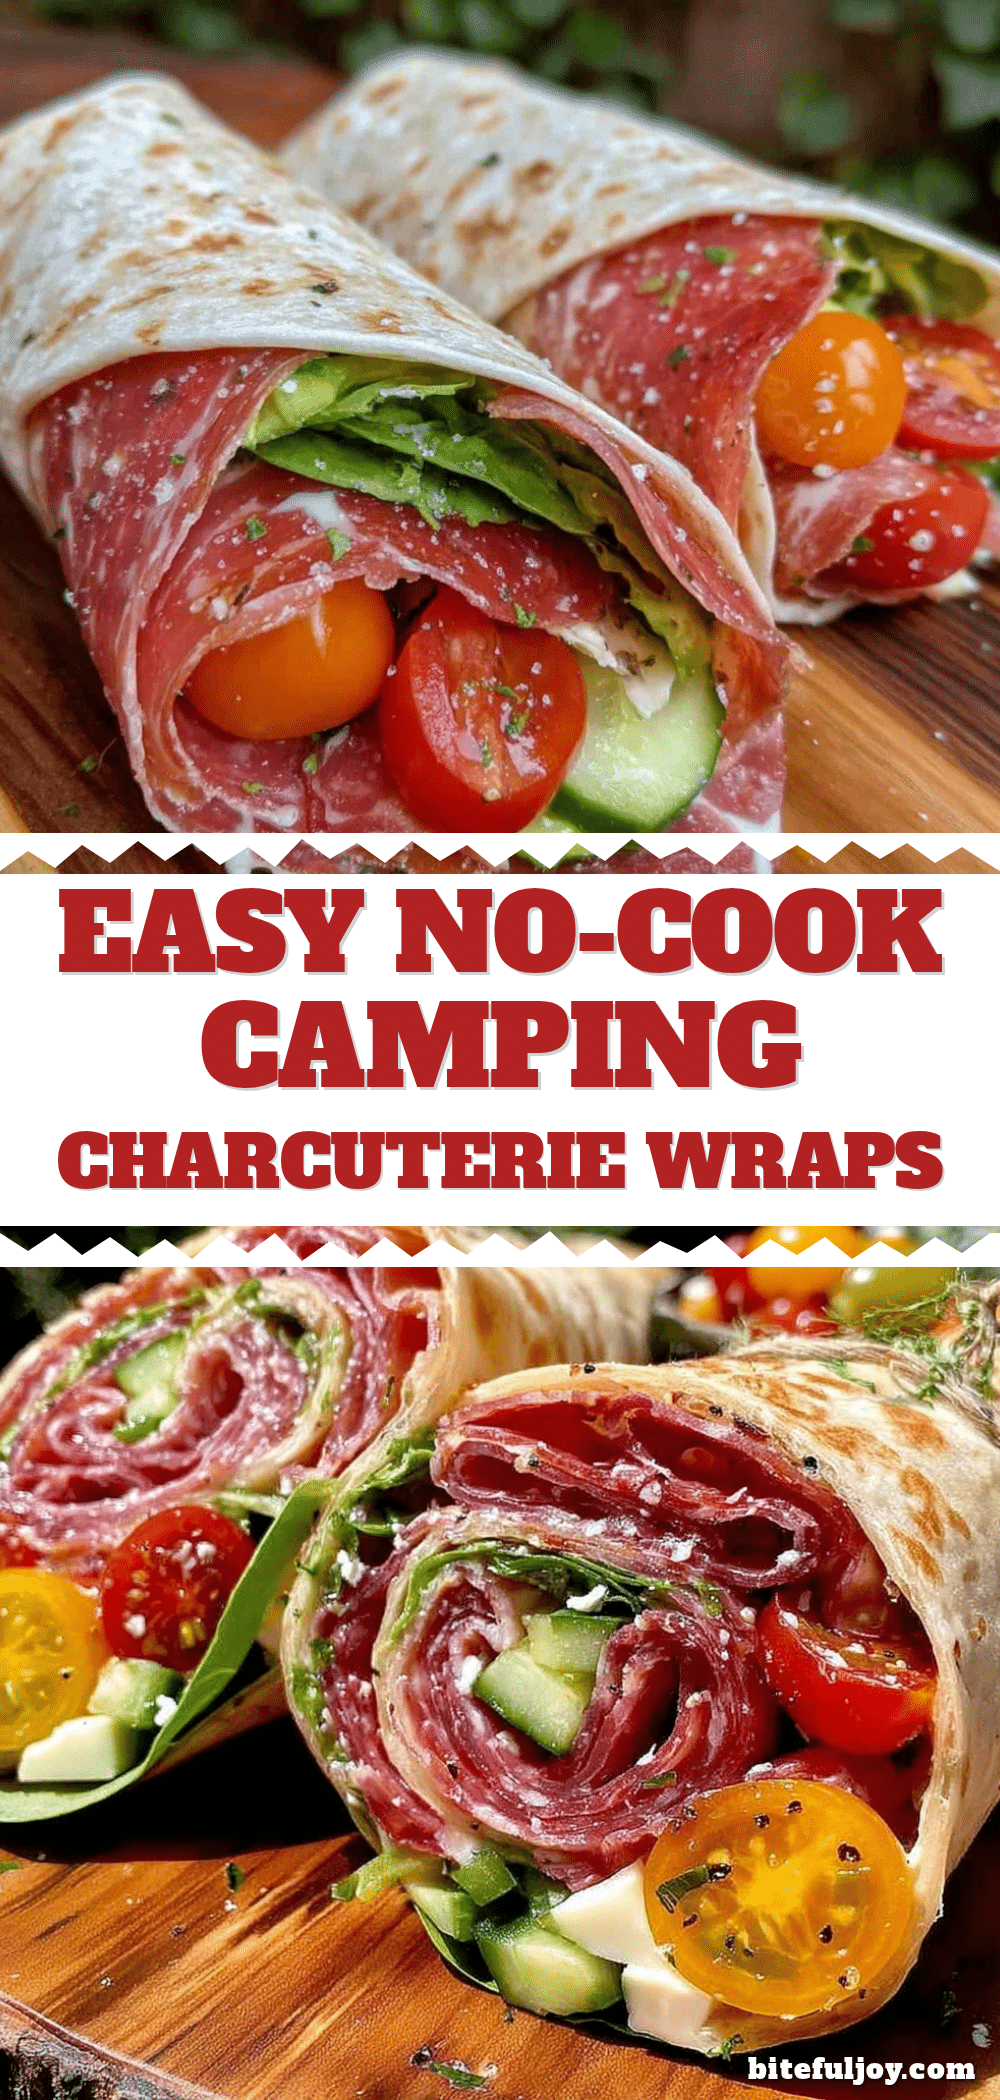
Easy No-Cook Camping Charcuterie Wrap Roll-Ups

These no-cook charcuterie wrap roll-ups are quick, easy, and perfect for camping, picnics, or quick weekday snacks. They combine cured meats, cheeses, fresh veggies, and spreads rolled in soft tortillas for a satisfying and flavorful bite.
- Prep Time: 10 minutes
- Cook Time: 0 minutes
- Total Time: 10 minutes
- Yield: 4 servings 1x
- Category: Snack
- Cuisine: American
Ingredients
- 4 large flour tortillas (about 10 inches diameter)
- 4 ounces cream cheese
- 1 tablespoon chopped fresh herbs (basil and parsley)
- Pinch of garlic powder
- Pinch of salt
- 3–4 thin slices cured meats per wrap (salami, prosciutto, or pepperoni)
- 2 slices firmer cheese per wrap (Swiss or cheddar, about 1 ounce each)
- ¼ cup thin cucumber strips (about 30 g)
- ¼ cup red bell pepper slices (about 30 g)
- Handful of baby spinach leaves
- Few slices pickled jalapeños or pepperoncini peppers
- Olive oil (for brushing)
- Optional: sliced olives, sun-dried tomatoes, honey mustard
Instructions
- In a small bowl, mix cream cheese with chopped fresh herbs, garlic powder, and salt until smooth and creamy.
- Place the tortillas flat on a clean surface.
- Spread about 2 tablespoons of the herb cream cheese mixture evenly onto each tortilla, leaving a small border around the edges.
- Arrange 3–4 thin slices of cured meats evenly over the spread on each tortilla.
- Add 2 slices of firmer cheese on top of the meats.
- Place cucumber strips, bell pepper slices, and baby spinach leaves evenly over each wrap.
- Scatter a few slices of pickled jalapeños or pepperoncini peppers on top.
- Starting at one edge, roll the tortilla tightly to enclose the fillings. Brush a little olive oil on the edge to help seal if desired.
- Optionally, wrap each roll-up tightly in plastic wrap or parchment paper and chill for 10–15 minutes to help hold shape.
- Using a sharp serrated knife, slice each roll-up into 1-inch pinwheels and arrange for serving.
Notes
Warm tortillas slightly wrapped in a damp paper towel for 10 seconds in the microwave if they feel dry or stiff to make rolling easier. Avoid over-softening to prevent tearing. Use thinly sliced meats and cheeses for easier rolling. Pat veggies dry to avoid soggy wraps. Roll tightly but gently to keep fillings inside. Wrap roll-ups tightly for easy transport and slicing.
Nutrition
- Serving Size: 1 roll-up (pinwheel
- Calories: 280320
- Fat: 1822
- Carbohydrates: 1520
- Fiber: 23
- Protein: 1518
Keywords: no-cook, camping, charcuterie, wrap, roll-ups, snack, easy, picnic, cured meats, cheese, fresh veggies


